Disclaimer: This blog post contains affiliate links. If you make a purchase through these links, I may earn a small commission at no additional cost to you. Learn More. Thank you for supporting our garden community.
How to Start Seeds Indoors the Easy Way
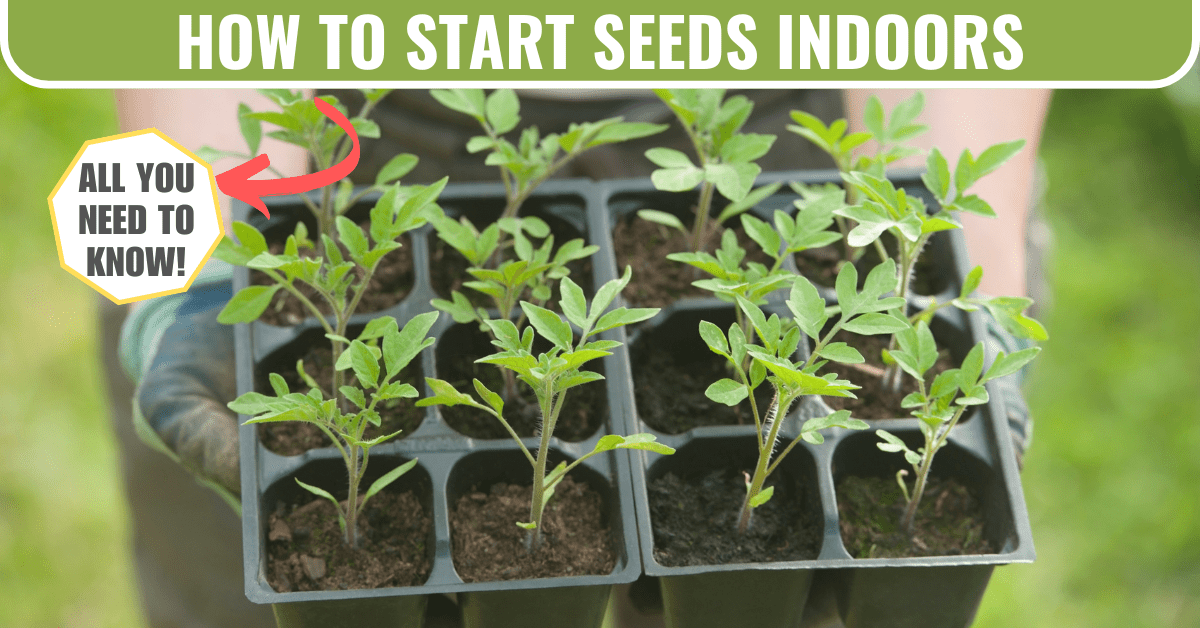
Starting seeds indoors is a rewarding way to kickstart your gardening season and gain more control over your garden’s growth. Whether you’re growing flowers, vegetables, or herbs, this guide will teach you everything you need to know about how to start seeds indoors, from choosing the right materials to transplanting your young seedlings.
How to Start Seeds Indoors
Here’s what you’ll learn in this article:
- The Benefits of Starting Seeds Indoors: You will understand how indoor seed starting gives you a head start on the growing season, offers more plant variety, and allows for healthier, controlled growth conditions.
- Step-by-Step Guidance: This article provides a clear, actionable process for starting seeds indoors, including selecting seeds, preparing containers, planting, and maintaining the right environment for germination and growth.
- Solutions to Common Problems: Practical tips help you identify challenges like leggy seedlings, overwatering, and fungal diseases, ensuring your success with minimal setbacks.
- Preparation for Transplanting: You will learn how to care for seedlings until they are strong enough to move outdoors, including advice on thinning, repotting, and hardening off.
Products
To buy high-quality garden seeds, check out Burpee.
For a wide selection of perennial garden plants, check out Nature Hills Nursery.
For gardening equipment, check out Bootstrap Farmer.
Why Start Seeds Indoors?
Starting seeds indoors offers many benefits that you would not get by direct-sowing all of your crops:
- Early Start: Extend your growing season by getting a head start before outdoor planting is possible. Your seedlings will be inside for at least a few weeks, so you will get at least a few weeks extra.
- Greater Variety: You gain access to unique or heirloom vegetable varieties that are not always available as seedlings at the nursery. They usually only have generic varieties at the big nurseries, so starting seeds indoors gives you the control.
- Healthier Plants: When young plants are nurtured inside your home, they become stronger and more developed before moving to the harsh outdoors.
Supplies You’ll Need
Before you start, gather these essential supplies:
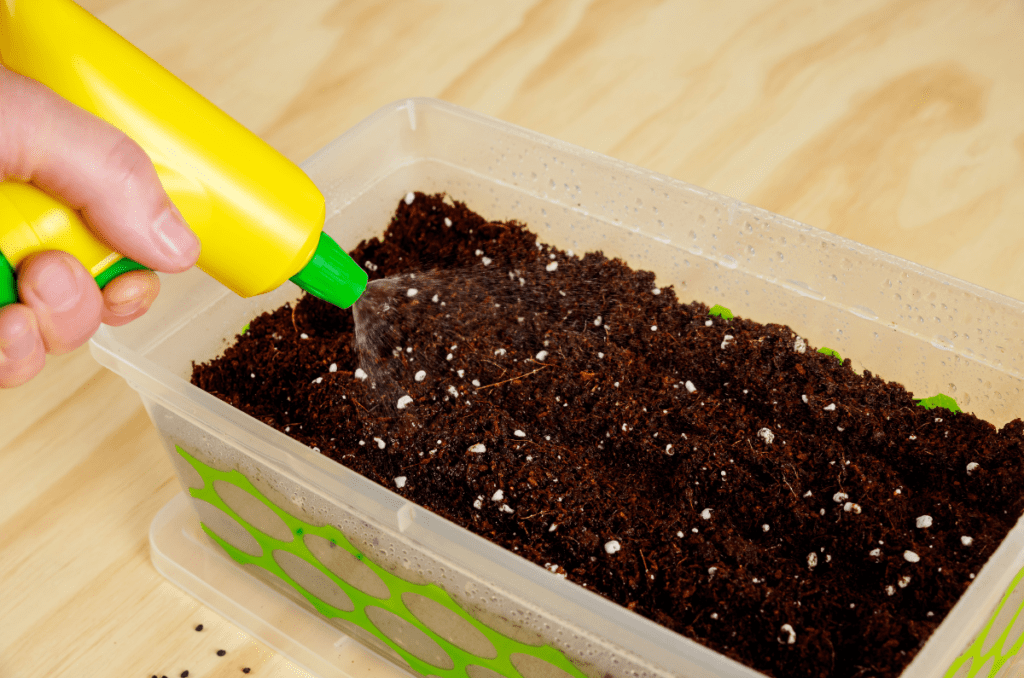
- Seed Starting Mix: An organic mix for growing your strongest, healthiest garden.
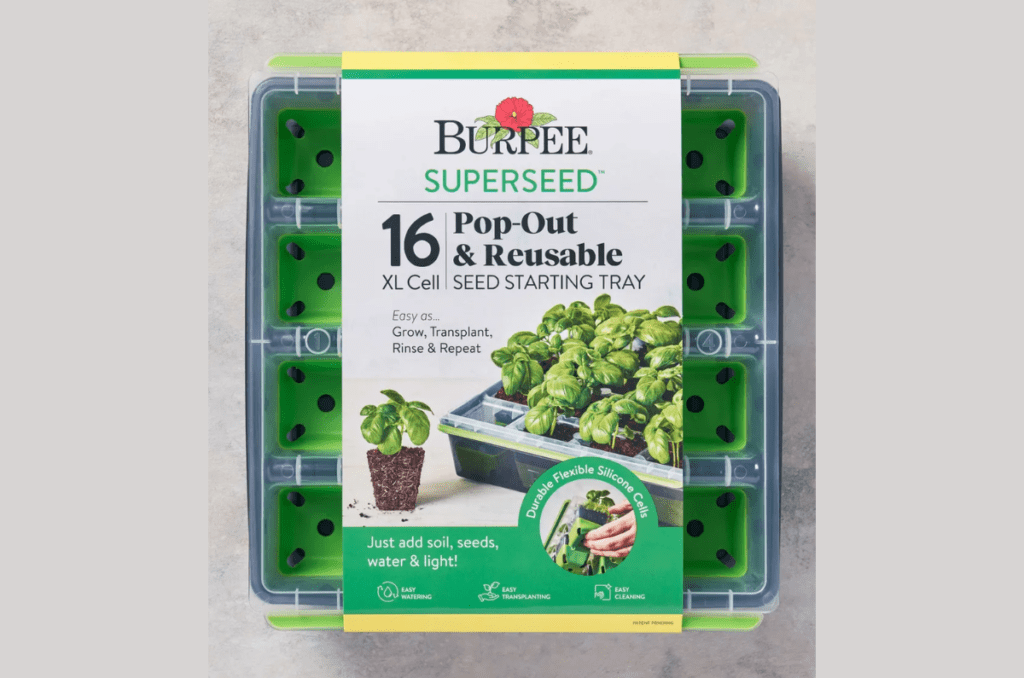
- Seedling Pots: Flexible silicone pop-out cells reduce stress on seedlings.
- Seeds: High-quality seeds suited to your growing region and season.
- Heat Mat: Accelerate germination and root development.
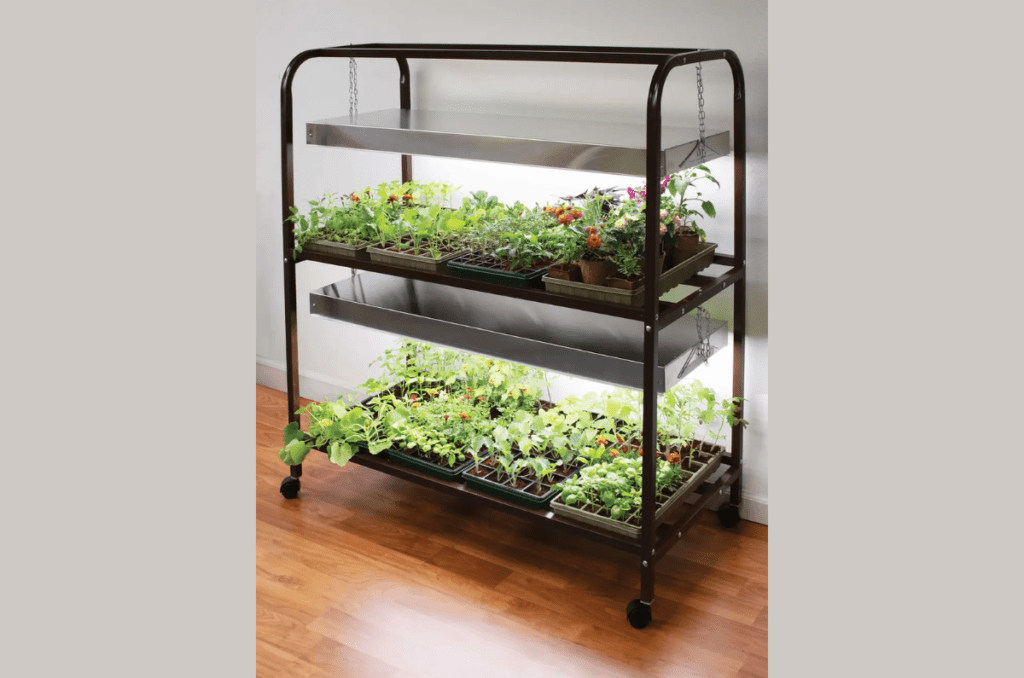
- Grow Lights: Double-deck LED grow lights with 2 large shelves.
- Watering Tools: A spray bottle or watering can with a fine nozzle to avoid disturbing seeds.
- Plant Labels: A great way to keep your garden organized and identifiable.
You can make your own seed starting mix at home using equal parts of coco coir, perlite, and vermiculite. However, it is so much easier to buy the pre-made one.
Keep in mind that containers can be anything that holds soil. Think of old plastic bottles, egg cartons, jars, and more. These are all capable of being used as seedling pots.
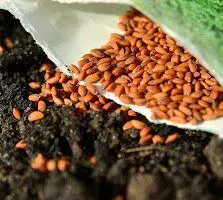
You choose your seeds! There are many guides that will say something like “the best seeds to start indoors,” but you can try anything.
Some seeds may require supplemental heat from the bottom, which is possible with a heat mat.
It is possible to get away with using the Sun as your light source, but just remember that this can lead to problems discussed later in the article.
And the labels. If you are anything like me, you tell yourself that you will remember which variety is which even after they are grown. And again, if you are anything like me, you will forget the next day. Use labels for your seedlings!
What is the Best Container to Start Seeds Indoors?
The best seedling pots to use are going to be those that are durable, reusable, and easy to move around.
While you definitely can use old plastic containers or egg cartons, these are not your best options.
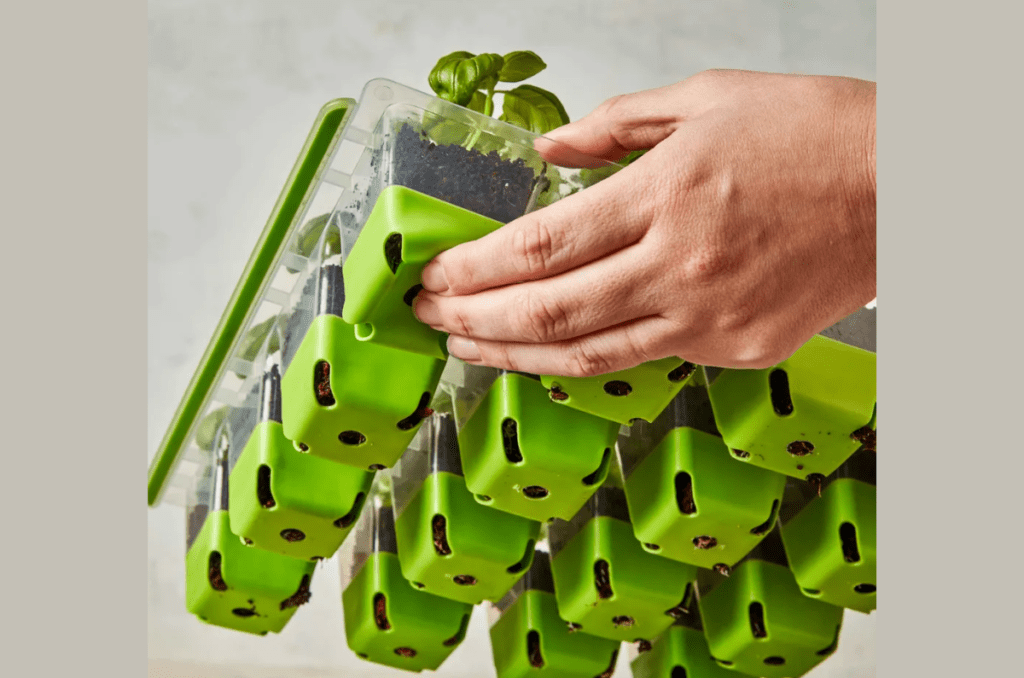
It is almost always a better option to buy new seedlings cells.
Burpee carries a flexible and durable line of seedling cells called SuperSeed, so check them out for their high-quality products.
These are made of food-grade silicone, meaning they are very flexible, very durable, and it’s easy to transplant the seedlings.
When to Sow Seeds Indoors
Select seeds that are appropriate for your climate and growing season. Check the seed packet for information on when to start them indoors, usually 6-8 weeks before your last frost date.
Here’s a table of 15 common vegetables and when to start them indoors, in relation to your last frost date. These guidelines help ensure your seedlings are ready for transplanting at the optimal time.
| Vegetable | When to Start Indoors (weeks before last frost date | Notes |
|---|---|---|
| Tomatoes | 6–8 | Require warm soil (70–80°F) and plenty of light for germination. |
| Peppers (Bell/Hot) | 8–10 | Slow-growing; need consistent warmth for germination and growth. |
| Eggplant | 8–10 | Heat-loving; start early to allow sufficient time to mature. |
| Broccoli | 4–6 | Cool-season crop; harden off before transplanting outdoors. |
| Cauliflower | 4–6 | Similar to broccoli; avoid starting too early to prevent bolting. |
| Kale | 4–6 | Frost-hardy; thrives in cool spring temperatures. |
| Cabbage | 4–6 | Start early for spring harvests; thrives in cool weather. |
| Lettuce | 4 | Germinates quickly; can also be direct-sown as weather warms. |
| Spinach | 4 | Cool-season; prefers temperatures between 60–70°F for germination. |
| Cucumbers | 3–4 | Fast-growing; avoid starting too early to prevent overgrowth indoors. |
| Zucchini | 3–4 | Germinates quickly; transplant when soil is consistently warm. |
| Squash (Winter) | 3–4 | Requires warm soil and a long growing season for maturing fruit. |
| Pumpkins | 3–4 | Start later than some crops; prefers warm soil for transplanting. |
| Onions (Bulbs) | 8–10 | Long germination period; prefers cool weather for early growth. |
| Parsley | 8–12 | Slow germination; soak seeds overnight before planting to speed up. |
If you are still confused, then think of it this way: My last frost date is around May 15, so I will have to start all of my seedlings before this date to ensure their success.
For example, pumpkins are to be sown 3-4 weeks before your last frost date. So I count back 4 weeks from May 15, and I land on approximately April 15.
This means that I will have to start my pumpkin seeds indoors on April 15. This gives it the right amount of time (4 weeks) to grow before going outside.
Hopefully this will clear up any confusion.
Do this with all of your vegetable varieties and you should be good to go!
Prepare Your Containers
Ensure your containers have drainage holes. Fill them with your pre-moistened seed-starting mix, which provides the right texture and nutrients for young plants.
If you are using a good mix, you should be able to press down the soil in the cells. This helps to anchor the young roots in the soil.
A bad seedling mix will not allow air to penetrate, which is why it is important to add perlite.
Planting the Seeds
Following the instructions on the seed packet for planting depth and timing.
Mist the soil lightly with water to maintain moisture without waterlogging. You can also cover the containers with plastic wrap or a humidity dome to create a greenhouse effect.
In short, you want the soil to be moist enough to penetrate the seed, but not wet enough to rot the seed.
Provide Adequate Light
Place the containers under your grow lights for 12-16 hours daily. This may sound like a lot (considering that full sun is 6-8 hours), but it is beneficial for young plants to receive lots of sunlight, which helps them to produce sugars and grow better.
Keep the lights about 2-3 inches above the seedlings to prevent leggy growth. If you keep the lights too far away, your seedlings will literally stretch to try to reach it.
Of course, this is when you get leggy seedlings.
Check out this article from The Micro Gardener.com about how to fix leggy seedlings.
Fertilizing Young Seedlings
If you are using an inert seed starting mix, you’re going to need to fertilize your seedlings once there are 2 to 3 sets of true leaves.
Use an all-round, organic liquid fertilizer, and follow the dilution instructions on the pack. Do this every few weeks.
Take it easy on the fertilizer because the seedlings are still very young and it is much easier for the roots to burn from over-fertilizing.
Maintain Temperature and Humidity
- Maintain a consistent temperature of 65-75°F (18-24°C) for germination. This can be achieved better with seedling heat mats, which provided consistent warmth from the bottom.
- Once you see that the seedlings have emerged, remove the plastic wrap or humidity domes to prevent overheating.
Thinning Seedlings
Once seedlings develop their first true leaves, thin them by snipping weaker ones at the base, leaving the strongest in each container.
This is important because we will often sow multiple seeds in the same hole. This means that if you let them all grow, they will overcrowd each other above and below the ground, leading to weaker plants.
Transplanting Seedlings
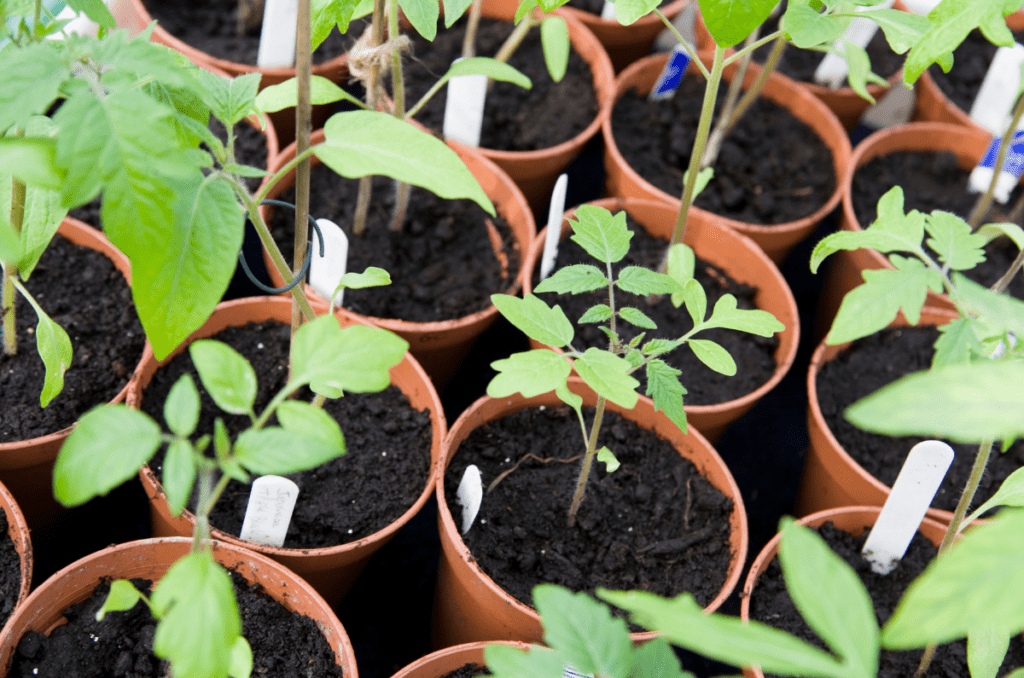
When seedlings outgrow their containers, transplant them into larger pots until they’re ready for outdoor planting.
How to Harden Off Seedlings
After your last frost date has passed, only then is it time to transplant them outdoors.
For example, my last frost date is around May 15. That means that all of my summer crops (tomatoes, peppers, squash, cucumber, etc.) will be transplanted outdoors after May 15. If not, I give my plants the chance of being frost damaged. Not ideal.
This, however, requires a process known as hardening off.
Hardening off is a process where you gradually acclimate your young seedlings to the harsh conditions of the outdoors.
See, inside your house is nice and cozy, no wind, constant temperature humidity. Sounds great.
But outside, there is so much wind, fluctuating temperatures, and a burning hot sun. Your plants would have a hard time instantly getting used to this when they have been in your home for 6 weeks.
That’s why we need to gradually get them used to it, or harden them off:
- Start Gradually: Start about 7–10 days before transplanting. Place seedlings outdoors in a shaded, sheltered spot for 2 hours on the first day.
- Increase Time Outside: Each day, increase their exposure by 2 hours, moving them into brighter sunlight and breezier conditions.
- Bring Them In at Night: For the first few days, bring seedlings back indoors, especially if temperatures drop below 50°F (10°C).
- Monitor Conditions: Protect seedlings from strong wind, rain, or extreme sunlight. Water them as needed to prevent drying out.
After 10 days, your seedlings should be ready to handle a full 24 hours of outdoor conditions. After this you can fully transplant them into your garden.
Discussion Questions:
- What’s your favourite vegetable to start indoors and why does it help you so much?
- Do you make your own seed-starting mix? What is your recipe?
Let us know in the comments below!
Frequently Asked Questions
The best way to germinate seeds is to drop 2 to 3 seeds into a pot filled with pre-moistened potting soil. Most seeds will germinate and emerge within 1 to 2 weeks.
Generally speaking, no. This is mostly a gardening myth. Seeds do not need to be pre-soaked in water as long as you keep the soil moist enough for the water to penetrate.
For most vegetables, the best time to start them indoors is between March to May. This will provide the seedlings with enough time to grow to withstand the harsh outdoor environment.
Unless you are cold stratifying your seeds, don’t waste your time germinating them in paper towels. You’ll get the same result as if you soak the seeds: nothing. Just keep the soil moist, that’s it.
Most common garden seeds need to be completely covered by soil to germinate better. However, there are a few that require light to germinate and should be sprinkled on the soil surface. Some of these are: chamomile, poppies, petunias, and some types of lettuce.
Even More Gardening Ideas
Here are a few more posts to get the ball rolling in your garden!
- 5 Best Edible Flowers for Your Garden
- The 10 Most Fragrant Flowers for Your Garden
- Nasturtium: The Garden Must-Have
If you enjoyed this article, make sure to share it with your friends and family members who are also looking to improve their gardening skills. Also, consider signing up for our email newsletter; don’t worry, we won’t send you spam, just fresh gardening tips and tricks every week!
If you want to learn more about gardening, foraging, and nature, check out The Real Gardener on LinkedIn, YouTube, and Pinterest.
Pin this post for later:

Leave a Reply