Disclaimer: This blog post contains affiliate links. If you make a purchase through these links, we may earn a small commission at no additional cost to you. Learn More. Thank you for supporting our garden community.
Vermicompost for Plants
Vermicomposting is a fantastic way to boost your plants’ health and productivity using worms to break down food scraps! This eco-friendly process creates nutrient-rich worm castings, also known as black gold for gardeners. Let’s explore the benefits of vermicompost for plants and how to get started with your own worm bin at home.
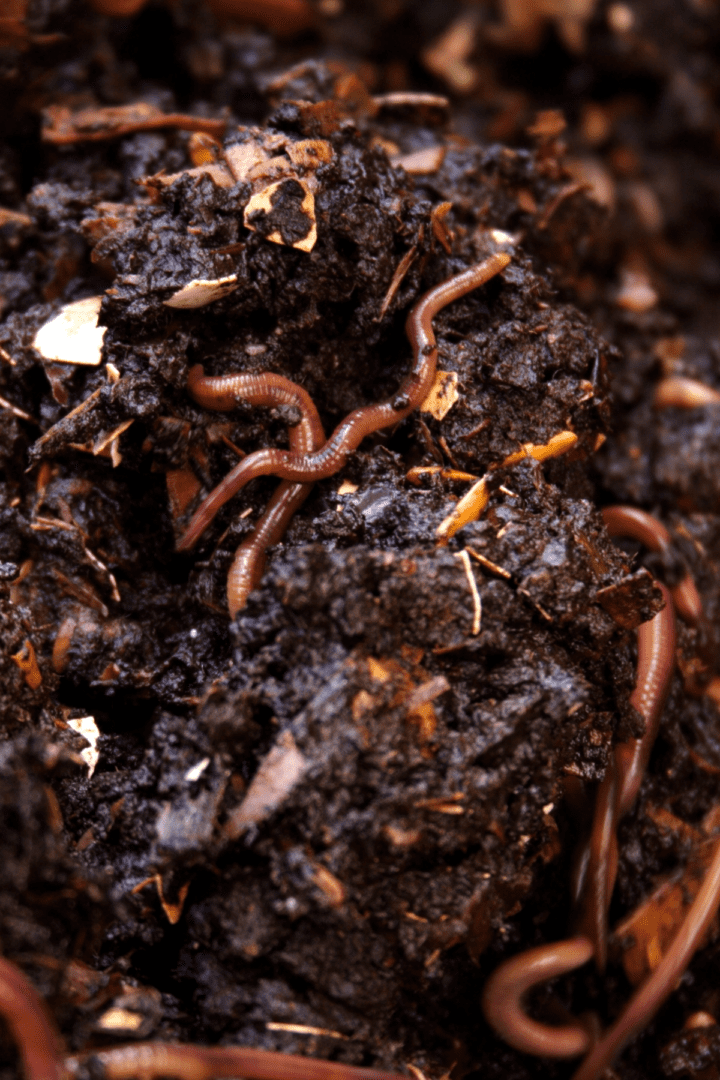
Worms are some of the best decomposers for your garden, contributing to the ecosystem in a sustainable manner.
Vermicompost for Plants
This blog post will teach you about vermicomposting, a process that uses worms to turn food scraps into nutrient-rich fertilizer for your plants. You’ll learn how vermicomposting benefits plants and the environment, and how to create your own worm bin at home with simple materials. It’s a fun and eco-friendly way to boost your plants’ growth!
Benefits of Vermicompost for Plants
- Nutrient Powerhouse: Worm castings are loaded with beneficial microbes and plant micronutrients that improve soil quality and promote healthy plant growth.
- Waste Reduction: By using food scraps instead of throwing them away, you’re reducing landfill waste and helping the environment. If you want to learn more about reducing your waste, check out our posts on burying food scraps in the garden, Lomi composter review, and how to make a compost pile.
- Natural Pest Control: Healthy soil from vermicomposting can help ward off pests and diseases.
How to Use Worm Castings
Worm castings are incredibly versatile for your garden:
- Mix them with soil: This creates a fertile planting medium for seedlings and potted plants.
- Top dress around plants: Sprinkle castings around the base of your plants for a nutrient boost.
- Supercharge your compost pile: Add castings to your compost bin to speed up decomposition.
If you want to buy ready-made worm castings for your garden, check out Meme’s Worms for their worm castings.
Making a Worm Bin at Home
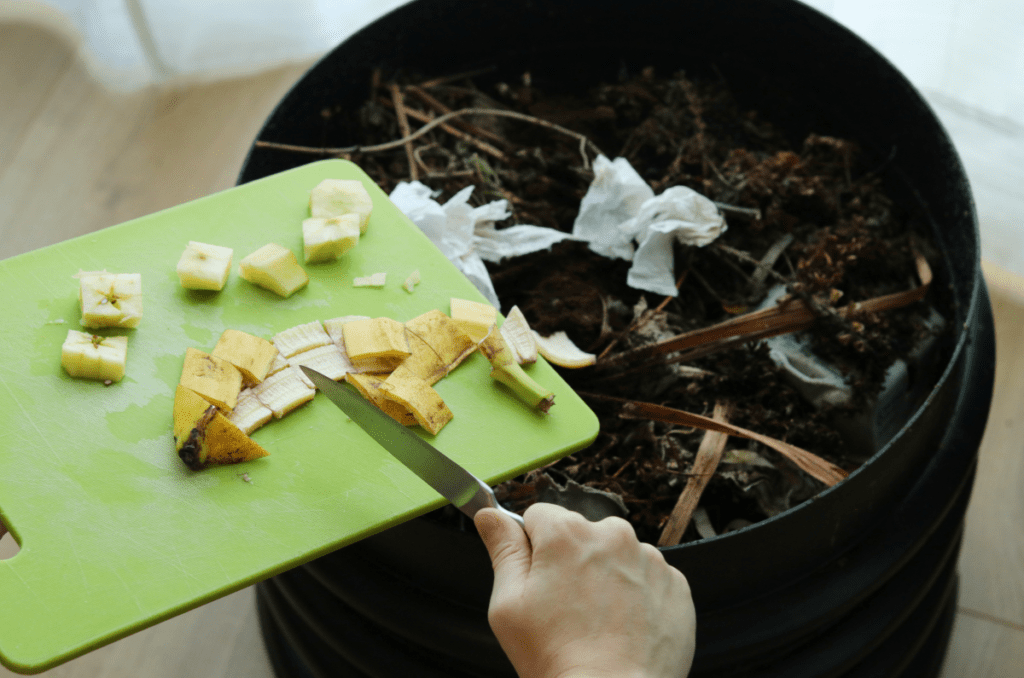
Creating your own worm bin is a simple process:
- Gather your supplies: You’ll need three food-grade 5 gallon buckets, bedding materials (cardboard, paper), and red wiggler worms.
- Set up the bin: Drill holes for drainage in two of the buckets. Stack the buckets with the solid one on the bottom.
- Add bedding: Fill the middle bucket with shredded paper or cardboard. Make sure to adequately moisten the bedding. You can also use Meme’s Worms Coco coir worm bedding.
- Welcome the worms: Introduce your red wiggler worms to the bedding. You can purchase your red wigglers directly from Meme’s Worms.
- Feed your worms: Provide them with a steady supply of chopped food scraps like fruits and vegetables (avoid meat, dairy, and oily foods). Alternatively, you can try this worm chow from Meme’s Worms.
- Harvest the castings: As the worms work their magic, castings will accumulate in the bottom bin.
- Rotate: As the bucket fills with castings, add food scraps to the top bucket. Allow the worms migrate upwards and then switch the buckets.
Alternatively, you can check out Meme’s Worms for their selection of high-quality pre-made worm bins, perfect for all vermicompost situations. Check out the “Hungry Bin,” the “Olle Garden In-Ground,” and the “Worm Bucket.”
Tips for Feeding the Worms
Start slow and gradually increase the amount of food as your worms settle in. Pay attention to how quickly they consume the food. If there is food leftover after a few days, you might be giving them too much. Bury the food within the bedding to prevent a buildup and encourage the worms to seek it out.
Chop up the food scraps into small pieces for easier digestion. Monitor moisture levels and add dry bedding if it gets too wet.

Additional Tips for Vermicompost for Plants
- Monitor moisture levels: Keep the bedding damp but not soggy.
- Prevent overfeeding: Start with a small amount of food scraps and adjust based on how quickly the worms consume them.
- Enjoy the worm tea: The liquid draining from the bottom bin is a potent plant fertilizer called worm tea. Dilute it with water and use it on your plants.
Frequently Asked Questions
The biggest disadvantage to vermicomposting is the time it takes to complete. Especially when you first start out, it can take months to establish a working worm population, and as long as 6 months to fully break down the compost.
While there are benefits to both methods, vermicomposting is better for small-space gardeners, as it takes up much less space than traditional composting methods. If you have a bit of a space restraint, I would definitely recommend vermicompost for plants.
Your vermicompost should not smell. If it does have an odour unlike fresh soil, there could be any of the following problems: too much moisture, too much sulphur from foods like onions, or mould growth. It is important to address these issues before it starts to affect the health of your worms.
Products:
For organic, non-GMO garden seeds, check out SeedsNow.
For gardening equipment, check out Bootstrap Farmer.
For organic all-purpose fertilizers, check out Arber.
For all worm-related products, check out Meme’s Worms.
Conclusion
Vermicomposting is a rewarding way to create a closed-loop system for your garden. You’re giving your plants a nutrient boost while reducing waste and helping the environment. So why not start your own worm bin today and witness the power of vermicompost for plants?
If you want to learn more about gardening, foraging, nature, and sustainability, check out The Real Gardener on Instagram, YouTube, and Pinterest.

Leave a Reply