Disclaimer: This blog post contains affiliate links. If you make a purchase through these links, we may earn a small commission at no additional cost to you. Learn More. Thank you for supporting our garden community.
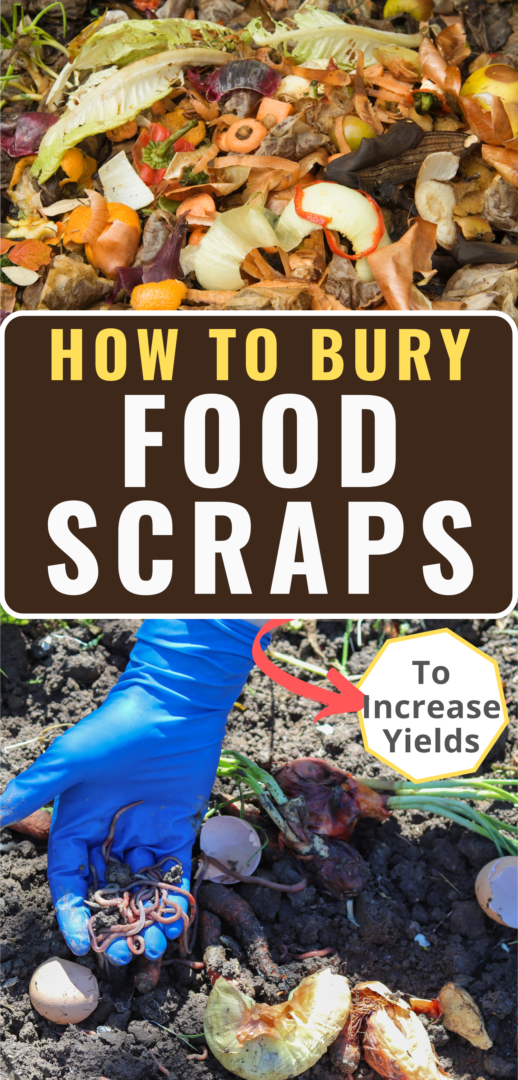
6 Steps to Bury Food Scraps in the Garden to Increase Crop Yields
Last Updated: August 8, 2024
Gardening enthusiasts and environmentally-conscious individuals alike understand the value of composting. An essential part of this is learning how to effectively bury food scraps to enrich the soil and minimize waste. Burying organic waste can provide your garden with a host of benefits, and in this guide, we’ll walk you through the process step by step.

An essential part of composting is learning how to effectively bury food scraps to enrich the soil and minimize waste. Burying organic waste can provide your garden with a host of benefits, and in this guide, we’ll walk you through the process step by step.
This practice not only nurtures your plants but also plays a crucial role in sustainable waste management, demonstrating that small, consistent actions at home can contribute significantly to environmental conservation.
How to Bury Food Scraps in the Garden
Here’s what you’ll learn from this article:
- Benefits of Burying Food Scraps: You will understand why burying food scraps is beneficial for your garden, including how it enriches the soil with essential nutrients, helps in waste reduction, and minimizes environmental impact.
- Suitable Food Scraps for Burying: This article educates on which types of kitchen waste are ideal for burying, highlighting the importance of choosing appropriate scraps while avoiding others to prevent pest attraction and ensure proper decomposition.
- Step-by-Step Burying Process: A comprehensive guide provides you with detailed steps on how to properly bury food scraps in your garden, covering everything from selecting the right location and preparing the soil, to digging the correct depth and maintaining the burial site.
- Overall Environmental and Garden Health Improvement: By emphasizing the long-term benefits of Burying food scraps in your garden you will learn how burying food scraps not only boosts your garden’s health and productivity but also contributes to a healthier planet.

Why Bury Food Scraps?
Before we dive into the how-to, let’s discuss why you should consider burying your kitchen scraps in the garden.
When you bury food scraps, you are directly adding nutrients back into the soil. As these organic materials break down, they release nitrogen, phosphorus, and other beneficial elements that foster plant growth.
Moreover, it’s an excellent method for reducing household waste and minimizing your environmental footprint. When you bury your kitchen scraps in the garden instead of throwing them out, you dramatically reduce your waste. This redirects it from the landfill back into your food.
Benefits of Burying Food Scraps In Your Garden
- Enhanced Soil Quality: Burying scraps improves soil structure and promotes the growth of beneficial microorganisms. Food scraps eaten by many insects and microorganisms. These organisms are behind the health of your soil.
- Reduction in Fertilizer Use: As food scraps decompose, they release essential nutrients, reducing the need for chemical fertilizers. These nutrients are then absorbed by your plants, increasing yields.
- Water Retention: Organic material helps soil retain water, which is advantageous for plants during hot and dry periods. When the kitchen scraps fully decompose, it acts in a similar way to compost on this matter.
- Lower Carbon Footprint: By composting at home, you reduce the amount of waste sent to landfills, thus cutting down on greenhouse gas emissions. As said previously, instead of throwing away your food scraps, you are putting them back into your food through your garden soil.
6 Steps to Burying Food Scraps in Your Garden
Now we have gotten into the core; we will teach you how to properly bury food scraps in your garden to increase crop yields. Here are 6 simple steps to accomplish this:
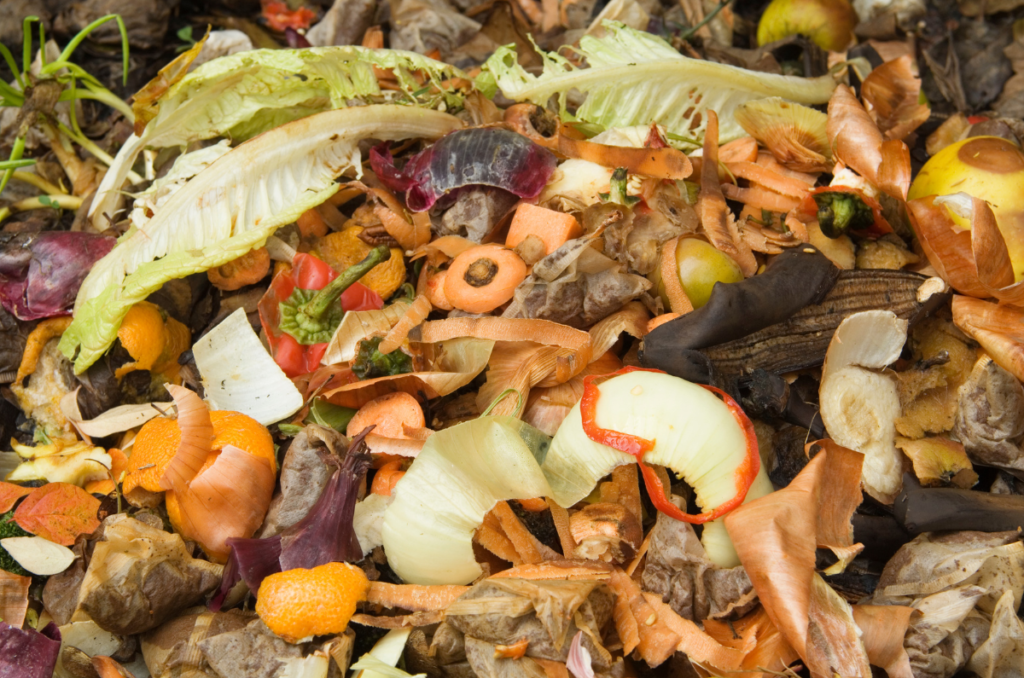
Step 1: Choosing Your Scraps
Not all kitchen waste is created equal when it comes to composting. Ideal scraps to bury include fruit and vegetable peels, coffee grounds, eggshells, and leafy greens. Avoid meats, dairy products, cooked foods and oily foods as they can attract pests and may not decompose well.
However, if you’re feeling special today, try to experiment with these forbidden food scraps and see what your garden thinks. At the end of the day, it’s organic matter!
Personally, I have basically buried everything before, except for dairy products.
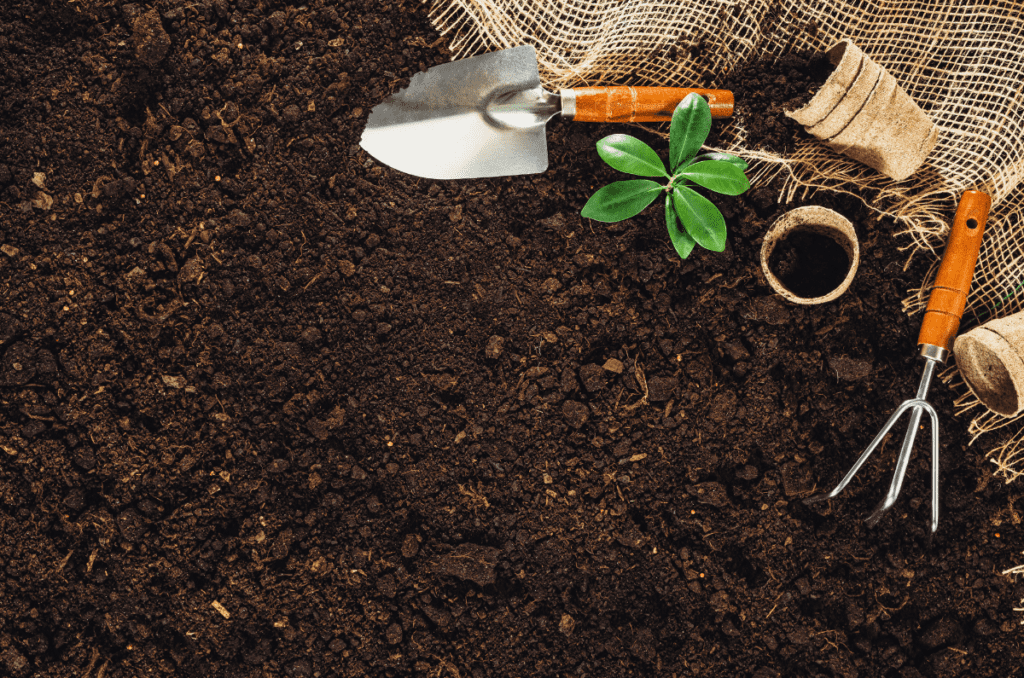
Step 2: Preparing Your Garden
Select a spot in your garden that’s away from the roots of living plants. Over time, the buried scraps will decompose and could affect the root systems nearby. Ensure your chosen spot gets plenty of natural moisture and sunlight to assist the decomposition process.
Additionally, choose a spot that you won’t be planting into for about 2-3 weeks. This time allows the food scraps to fully decompose.
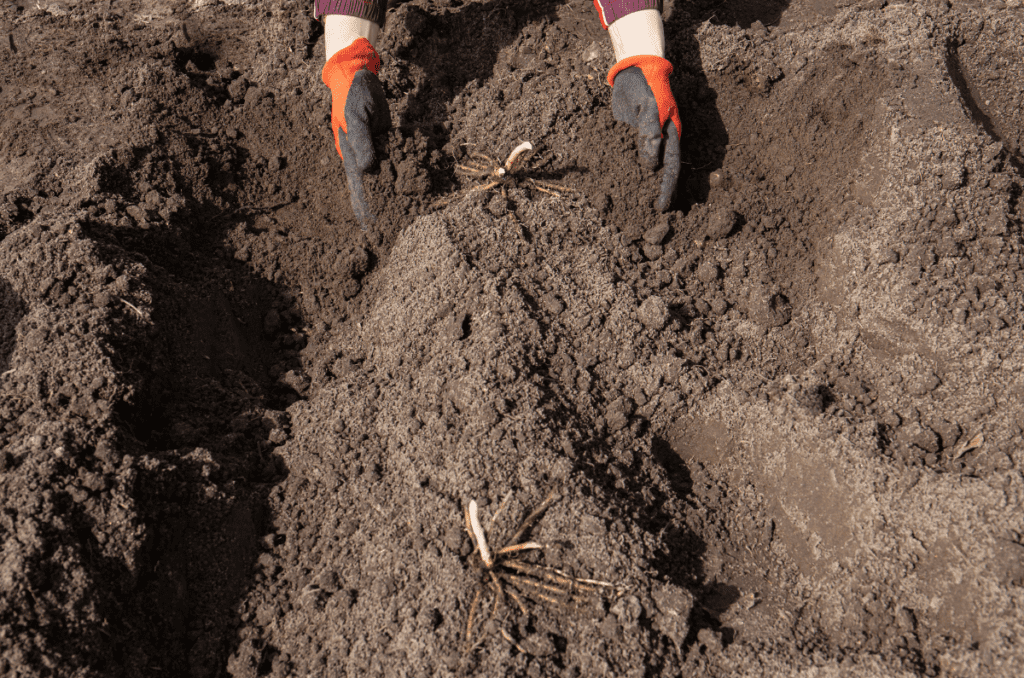
Step 3: Digging the Right Hole
Use this shovel or a trowel to dig a trench or hole about 10 to 12 inches deep. This depth is ideal for keeping pests away and ensuring that scraps decompose properly.
Sometimes, however, squirrels and other rodents will try to dig up the food scraps. If this happens, simply cover it back up to stop it from happening again.
Squirrels love to come to my garden and dig holes everywhere. I guess that’s a good thing? I don’t know, but I hate it!
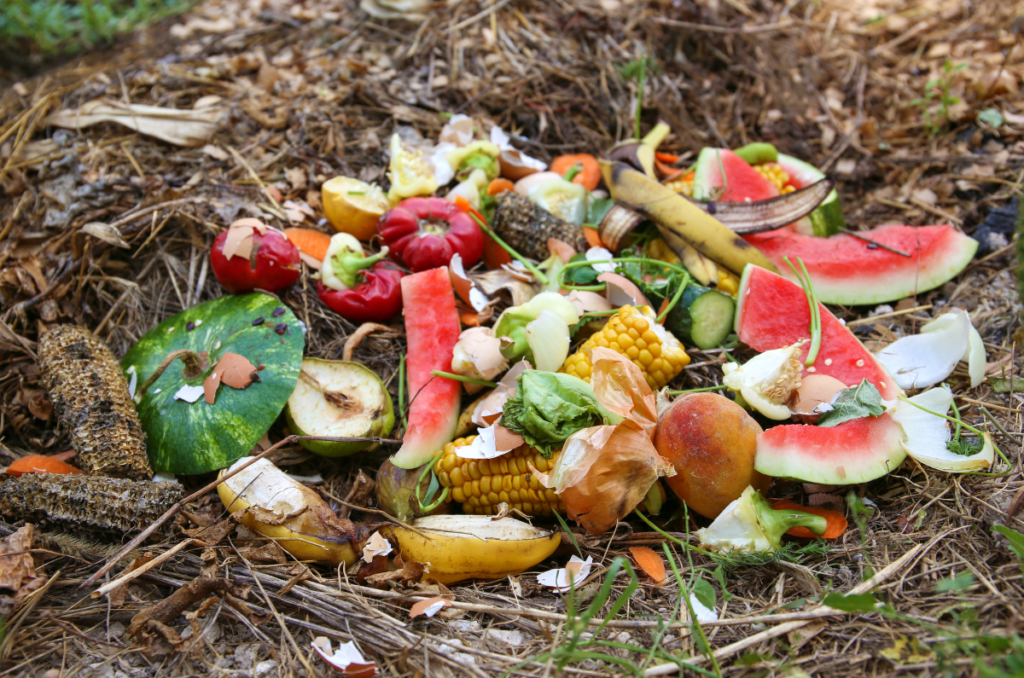
Step 4: Bury Your Food Scraps
Place your kitchen scraps into the hole and spread them out evenly. Crush or chop up larger pieces to speed up the decomposition process.
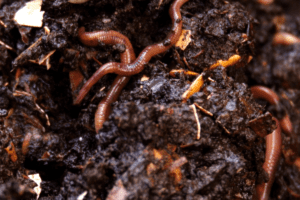
Many organisms, including worms, prefer to eat from smaller pieces of organic matter. By cutting the pieces smaller, you are helping these guys help your soil.
Additionally, many fruits and vegetables have a hard protective outer layer. For example, if you have a rotting apple and decide to bury it whole, it probably won’t decompose for a long time. This is because the apple’s skin is designed to protect the fruit inside. To avoid this, simply cut it into smaller pieces.
Step 5: Covering It Up
After you’ve filled the hole with scraps, cover them completely with the previously dug-out soil. Pat it down gently but firmly to eliminate air pockets and to discourage any animals from digging them up.

Step 6: Maintenance and Care
Water the area lightly if it’s particularly dry, but usually, the natural soil moisture is sufficient. Over time, you’ll want to rotate where you bury food scraps in your garden to distribute the nutrient benefits.
Don’t always bury the same food scraps in the same spot, every single time. Change it up a little bit so that your entire garden ecosystem can get a taste!
When to Plant Into the Hole
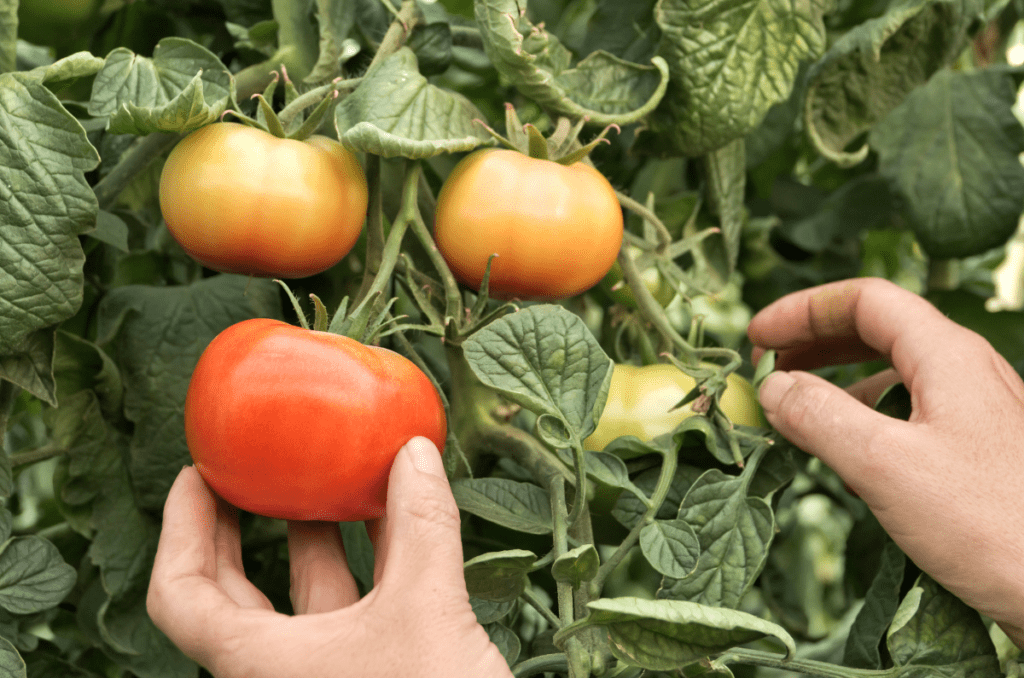
You can plant into the composting hole only after the food scraps have been fully broken down into nutrients. Usually, this takes 2-3 weeks. If you plant into the hole before the scraps are broken down, then your plants will be at risk of root-rot and other problems.
To ensure you get the most out of your burying process, plant your long-season summer crops into the holes after it has fully decomposed. These are the plants that are going to need the most nutrients to give you the biggest harvest.
I normally bury some food scraps 2 to 3 weeks before I plant my long-season vegetables (tomatoes, peppers, cucumbers, etc) in the same spot that they will be planted. This helps to reduce my use of fertilizer.
Additional Tips and Considerations
To manage pests and avoid attracting unwanted animals, cover the decaying matter with a layer of leaves, straw, or horticultural fleece.
If limited on space or time, consider alternative composting methods such as vermicomposting or using this compost tumbler.
Whatever it is, find what works for you and for your garden.
Frequently Asked Questions
Fats, dairy, cooked foods, and meat scraps should generally not be composted or buried directly into the garden.
While there are many benefits, burying food scraps into the garden can also attract unwanted pests, such as squirrels, birds, and racoons. It can also take up valuable space in your garden, which can be used to grow more vegetables.
For most scraps, it should take about 2-3 weeks when burying directly into the garden. When composting traditionally, it can take anywhere from 6-12 months to become usable compost.
It’s best to wait at least 2 months before burying food scraps in the same spot again. This reduces nutrient overload in one area.
While not strictly necessary, some gardeners like to add layers of leaves, straw, or grass clippings over the buried food scraps to enhance the composting process and further deter pests. You can also try to add biochar for an extra kick!
It’s possible, but caution is advised. Only a small amount of well-chopped, non-acidic scraps should be buried to avoid overloading the pot with nutrients and attracting pests. It’s more suitable for raised garden beds and in-ground beds.
Even More Gardening Ideas
Here are a few more posts to help you build healthy soil:
Products:
For organic, non-GMO garden seeds, check out SeedsNow.
To buy gardening equipment, check out Bootstrap Farmer.
For organic all-purpose fertilizers, check out Arber.
Conclusion
To sum up, when you learn how to bury food scraps effectively, you’re not just disposing of waste; you’re reinvesting in the health of your garden. It’s a simple yet powerfully sustainable practice that yields great rewards for your plants and the environment. Embrace the art of burying your kitchen waste and watch your garden thrive!
Did you find this guide helpful? If so, consider signing up for our email newsletter below! You’ll get fresh, new gardening ideas every Monday and Friday!
If you think I missed something, or you have something to share, let me know in the comments below and we’ll start a discussion!
If you want to learn more about gardening, foraging, nature, and sustainability, check out The Real Gardener on Instagram, YouTube, and Pinterest.
Pin this post for later:
Leave a Reply