Disclaimer: This blog post contains affiliate links. If you make a purchase through these links, I may earn a small commission at no additional cost to you. Learn More. Thank you for supporting our garden community.
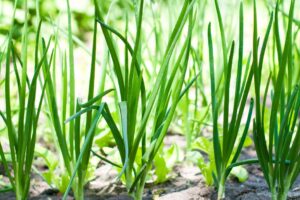
How to Grow Onions Perfectly Every Time
Onions are a staple crop and a very rewarding vegetable to grow in your garden. Whether you’re planting them for their raw or cooked applications in your dishes, growing onions can be a rewarding experience. This guide covers everything you need to know about how to grow onions, from planting to harvesting, and beyond.
How to Grow Onions
There are many things that need to be considered when growing onions; varieties, hardiness zones, and onion sets are all factors.
It’s important to get all of these things right when you grow your own onions so that you get the best possible harvest.
Many of us have grown onions before and they turn out to be small and underwhelming. This is most likely not because of your gardening skills, but because of the variety you chose.
So without wasting anymore time, let’s learn how to grow onions perfectly every time!
Products
To buy high-quality garden seeds, check out Burpee.
For a wide selection of perennial garden plants, check out Nature Hills Nursery.
For gardening equipment, check out Bootstrap Farmer.
Choosing the Right Onion Variety
All onions are divided into 3 main groups: short-day, intermediate day, and long-day. These are separated based on the amount of sunlight the plants require. If the leaves don’t get enough sun, then the bulb won’t develop properly.
- Short-Day Onions: These will grow well where there are 10-12 daylight hours every day in the summer. This is typically in hardiness zones 7+. These varieties take the longest to mature and are less suitable for long-term storage. Try this short-day onion collection for southern climates.
- Intermediate-Day Varieties: These are best grown where there are 12-14 daylight hours every day in the summer. These perform best in hardiness zones 5 and 6, maturing in about 110 days. Try this intermediate-day collection for central climates.
- Long-Day Varieties: These varieties need the most daylight, around 14-16 hours daily. They are typically grown in colder regions, in zones 6 and below. They mature in about 90-110 days and are the best for long-term storage. Try this long-day onion collection for northern climates that includes 210 onion sets.
Note that in this case, daylight hours do not mean direct sunlight. 16 hours of direct sunlight would be ridiculous.
Instead, it means the number of hours that the sun is out during the summer, from sunrise to sunset. When you think of it like this it makes more sense.
Think of somewhere very far north, they have much longer days in the summer. For example, here in Southern Ontario, our days are consistently above 15 hours for most of the summer.
And somewhere closer to the equator, like Mexico City, gets about 12-13 daylight hours at the peak of summer.
Make sure to check out Old Farmer’s Almanac for their hardiness zones guide.
Here are some of my favourite onion varieties:
- Granex Yellow Hybrid: This variety is exceptionally sweet and mild. It matures in 120-160 days, making it perfect for southern climates.
- Cippolini Red: This small, red, gourmet-style, heirloom onion variety is perfect for starting indoors. Matures in 120-150 days.
- Egyptian Walking Onion: This variety literally walks across the ground throughout the season. Matures in 60-80 days.
When to Grow Onions
For most people, planting onions in early spring is the best timing possible. This gives them enough time to mature before the season ends in the fall.
They need this time because the bulbs take very long to mature.
Can Onions Grow in Winter?
You can also get away with growing onions in the winter if you live in a warmer climate. In this case, you would plant them in the fall and let them grow over winter for an early summer harvest.
In my climate, I can only grow green onions in the fall and early winter. They take less time to mature and I find that they are more cold-tolerant.
Where do Onions Grow Best?
Onion plants need to grow in an area with full sun to thrive and produce large and delicious bulbs. Make sure they get at least 8 hours of direct sunlight per day.
Can Onions Grow in Shade?
Certain varieties, like green onions and scallions, can grow in partial shade. However, bulbing onions should never be grown in shade.
Any reduced amount of sunlight, even just 6 hours of sun, can affect the growth of your onion bulbs.
Preparing the Soil
Onions grow best in raised garden beds because you can customize the soil to whatever you want. If your soil is clay-heavy or very sandy, then you can just bypass it with raised beds.
This way, you just add a high-quality potting mix to your raised beds and your onions will be good.
If you do decide to grow in-ground, make sure to amend your soil. The best thing to do is add organic matter like compost or manure. Organic matter seems to fix most of these drainage and water retention-related problems.
Will Onions Grow in Sandy Soil?
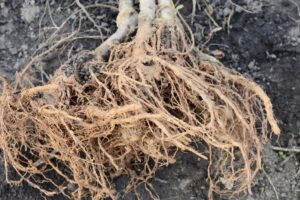
This is especially important if you have sandy soil. Because onions have very shallow roots, they can dry out quickly if the soil around them is dry. And we all know how little water sandy soil holds onto.
So make sure to amend your sandy soil with lots of organic matter so that it can hold onto moisture for longer and accommodate your onions’ roots.
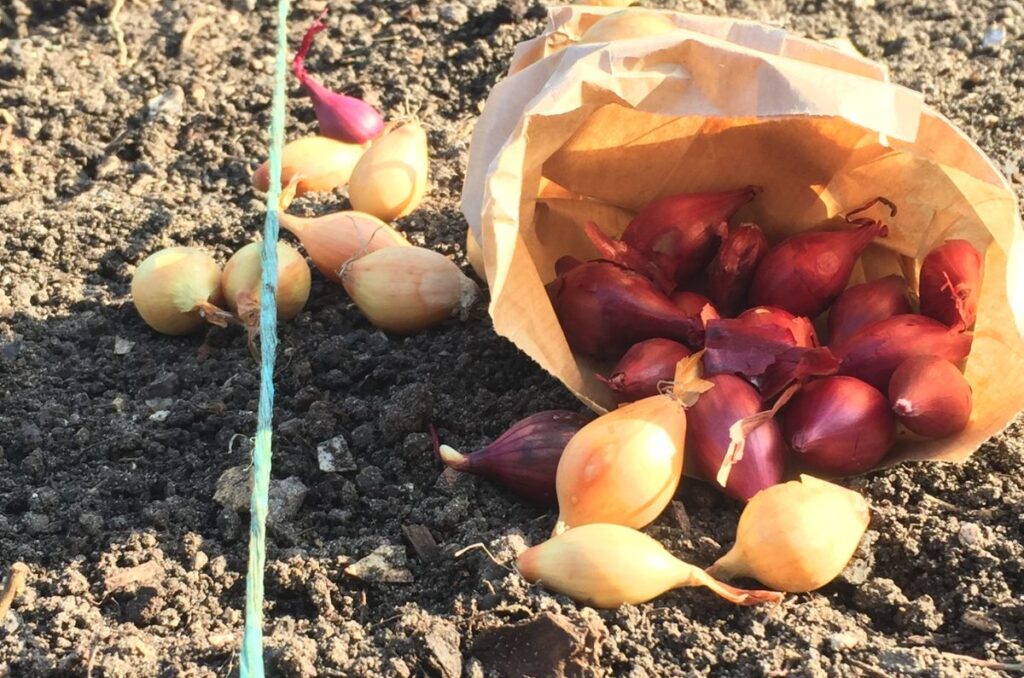
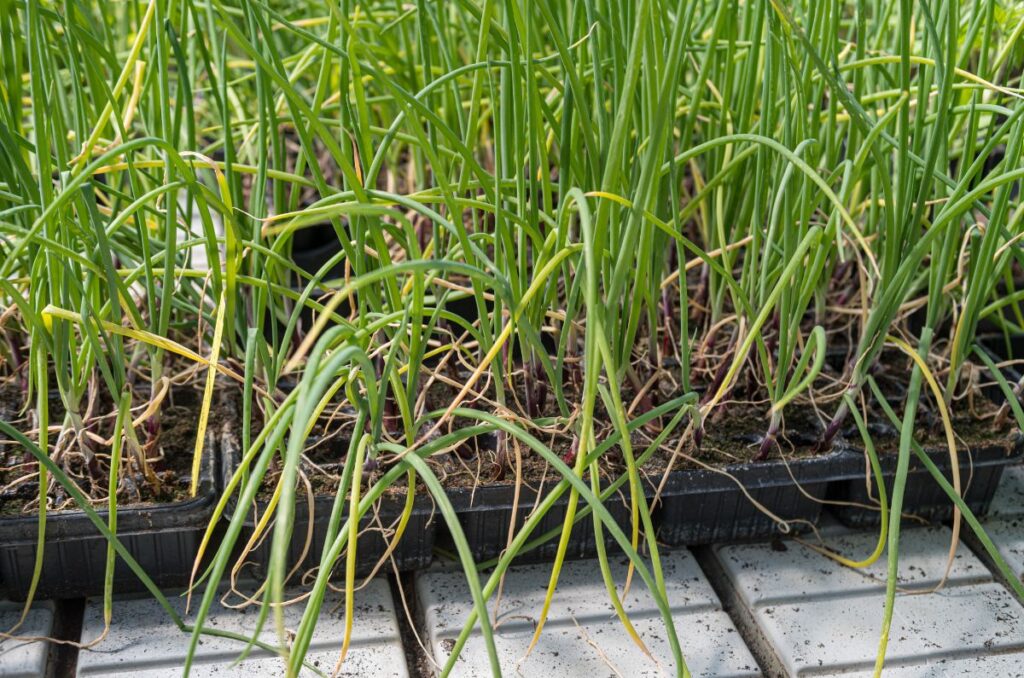
Planting Onion Sets
This is by far the easiest and most popular method for growing onions.
Onion sets are tiny onions that have been grown from seed and harvested very early. They have their growth interrupted and are pulled out of the ground while they are still immature.
They are then dried like flower bulbs and packaged for sale. Some are even sold as fresh young plants, with the leaves still intact.
Once you buy them, then you can plant them just like seeds in your garden and they will continue to mature into a big bulb.
When planting onion sets, make sure to space them about 3-6 inches apart to grow a full-sized onion bulb.
Make sure the pointed end of the onion set is facing up when you plant them.
You can also use white onion sets to grow scallions. In this case, space them about 1 inch apart and harvest them earlier than normal.
Aim to plant your sets outside about 3-4 before your last frost date.
Starting Onion Seeds Indoors
Growing onions from seed can be a little bit more difficult and time-consuming, but it can give you a better harvest. Gardeners consistently report that onions grown from seed size up larger than onions grown from sets.
Make sure to start your seeds indoors about 10-12 weeks before your last frost date in the spring. Starting them this early gives the seeds a head start on bulb formation. Remember, some onions can take 4 or 5 months to mature, so growing them indoors for 2-3 months takes off at least half that time.
This allows them to establish strong roots before you transplant them outside.
Make sure the seedling mix is evenly moist during the germination period, which can take about 7-10 days.
You can also use a heat mat to provide additional heat from the bottom of the seedling cells. This can speed up germination if it is cold. I have my seed starting setup in my basement, where it is typically a few degrees colder than upstairs, so this is really helpful for me.
If you do not have access to natural light for your seedlings, consider using grow lights. This will help with all of your seed starting this season and for many years to come.
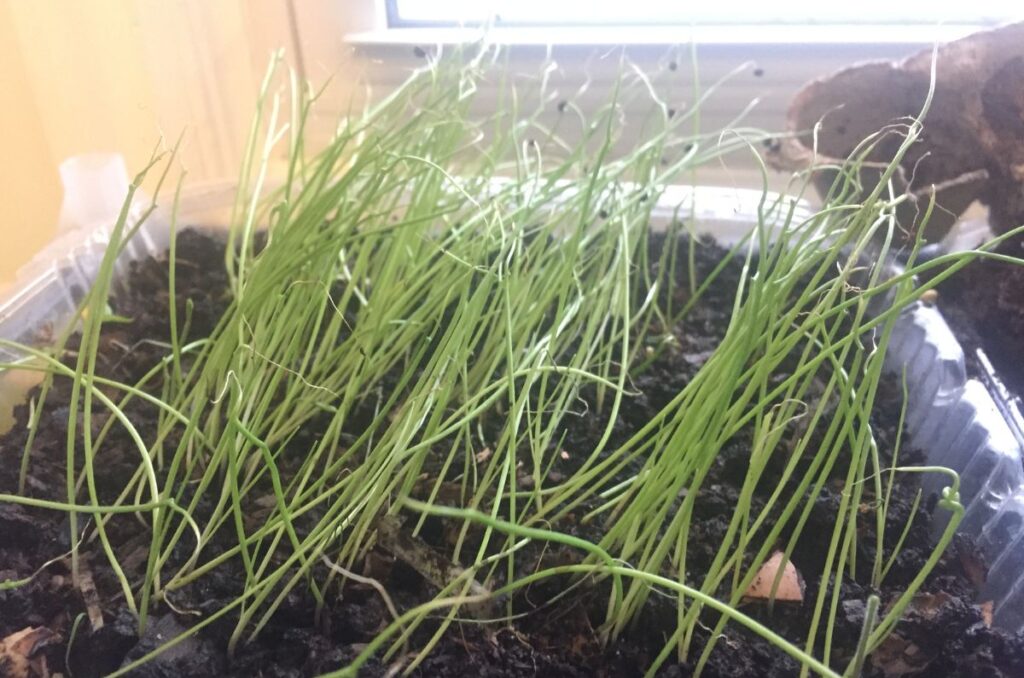
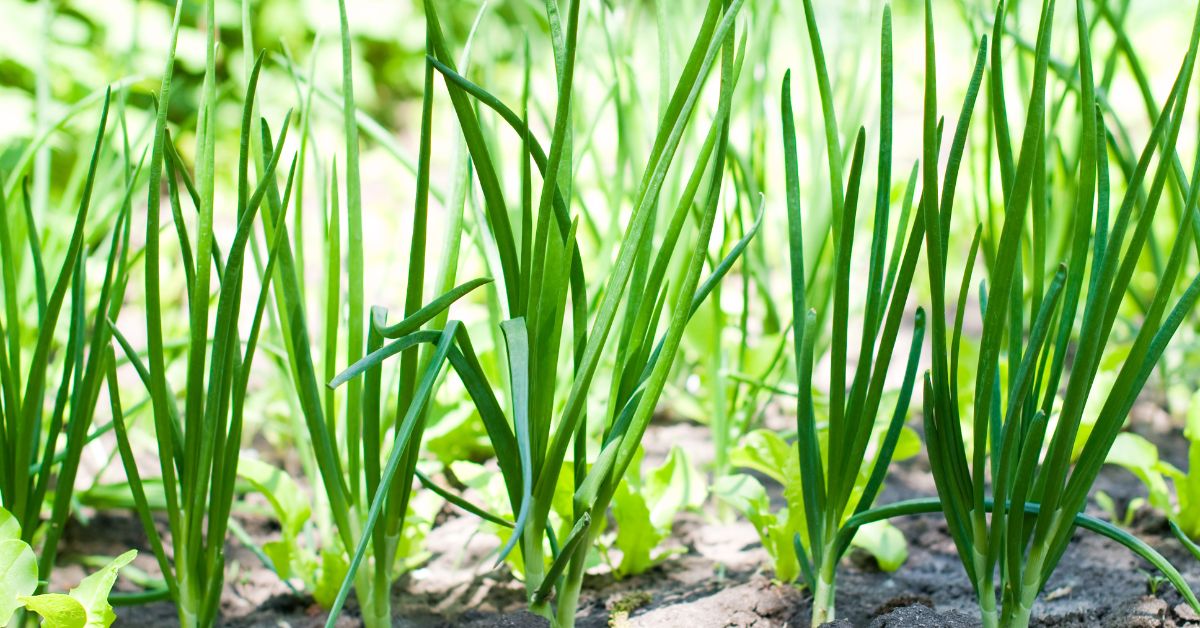
Trimming Onion Seedlings
Onion seedlings start to grow very tall quickly, which is why it is important to trim them back when they are still young.
You see, if you let the leaves grow crazily, the onions will likely only produce a lot of leaves and not a good bulb. The stems will also get very leggy and weak, which is not an ideal transplant.
But if you trim the leaves, it will concentrate the plant’s energy into bulb formation and stem strengthening. This will give you a healthier transplant and larger onion bulbs in the long run.
Aim to trim your onion seedlings when they reach about 4-5 inches. And try to keep them under 6-7 inches in height until you transplant them.
Cut off about 40-50% of the leaves; never cut off more than 50%. I know, sometimes I can’t get myself to do it either, but everybody needs a haircut! And you can also use these trimmings in your cooking because the leaves are edible!
Hardening Off Onion Seedlings
Hardening off is the process of gradually exposing your seedlings to the outdoor conditions.
You see, inside your home is nice and cozy, there’s no wind, and there’s a constant temperature and humidity. Sounds great!
But outside, there are fast winds, fluctuating temperatures, and a burning hot star in the sky. Your plants would have a hard time instantly getting used to this when they have been in your home for over 10 weeks.
That’s why we need this simple process known as hardening off:
- Start Gradually: Start about 7–10 days before transplanting. Bring your seedlings outdoors in a shaded, sheltered spot for 2 hours on day 1.
- Increase Time Outside: On each day, increase their time outside exposure by 2 hours, moving them into brighter sunlight and breezier conditions.
- Bring Them In at Night: For the first few days, bring the seedlings back indoors when it gets dark, especially if temperatures drop below 50°F (10°C).
- Monitor Conditions: Protect your seedlings from strong wind, rain, or extreme sunlight. Water them as needed to prevent drying out.
After 10 days, your onion seedlings should be ready to survive a full 24 hours outside. Then you can fully transplant them into your garden beds.
Transplanting Onion Seedlings
When transplanting your onion seedlings, make sure not to plant them too deep into the soil. This can cause the stems to rot and will slow down bulb formation.
They should be about 1 inch deep and 3-6 inches apart, depending on how big the varieties get.
You can also try multi-sowing, which is a space-saving gardening practice where you grow multiple plants in the same hole. You can do this by putting 3-4 onion seedlings in the same hole and allowing them to grow closely.
They seem to not compete with each other in this method, but I have always been skeptical of it. And for that reason, I almost never multi-sow, except with radishes. So just stick with regular spacing if you think like I do.
Watering Onions
Always water in your seedlings right at the time of transplanting.
Remember that onions have very shallow roots, meaning they are close to the surface, meaning if the soil dries out, so will the roots and so will the plant. So maintain consistent watering practices with your onion plants.
To achieve this, make sure to give your onions about 1-2 inches of water per week. You can do this easily with drip irrigation tubing, which delivers water directly to the root zone of your onions.
If you are hand-watering with a hose or watering can, make sure to water just the soil and not the leaves. When you water the leaves, you increase the humidity, which is perfect for powdery mildew to colonize and spread.
Mulching Onion Plants
As I have said, onions have very shallow roots. This means that if the soil dries out, so will your plants.
To prevent this from happening, you should apply a thick layer of organic mulch on top of your soil. This will help to insulate the plants’ roots and conserve water.
Some of the best mulches for the vegetable garden are straw, shredded leaves, and grass clippings. But use whatever you have easy access to. For me, leaves drop on my yard every year, so I always have leaves available.
When applying mulch around your onions, make sure to keep it about an inch away from the stems of the plants. If mulch is too close to the stem, it can cause the stem to rot and your plants will die. Make sure to allow for plenty of airflow.
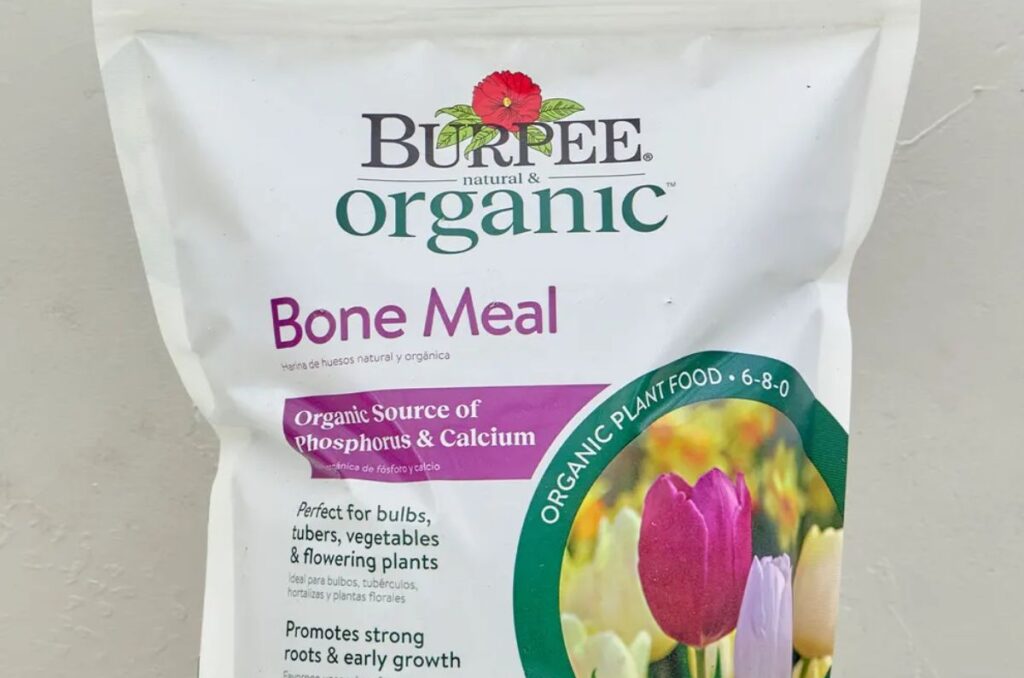
Fertilizing Onions
Onions do well with a fertilizer that is higher in phosphorus. This is because phosphorus promotes root and bulb development.
When you transplant your seedlings, add bone meal fertilizer to the transplant hole to give them a boost as they start growing.
Using a fertilizer that is too high in nitrogen may result in too much leaf growth, smaller bulbs, and green-tinted flesh (on your onions, of course 😂).
Continue to apply fertilizer every 3-4 weeks. You can use a liquid or granular fertilizer, but I tend to prefer the granular fertilizers.
You can also use compost tea to add beneficial microorganisms to your soil. These will help to make certain nutrients more bioavailable to your onions during the growing season.
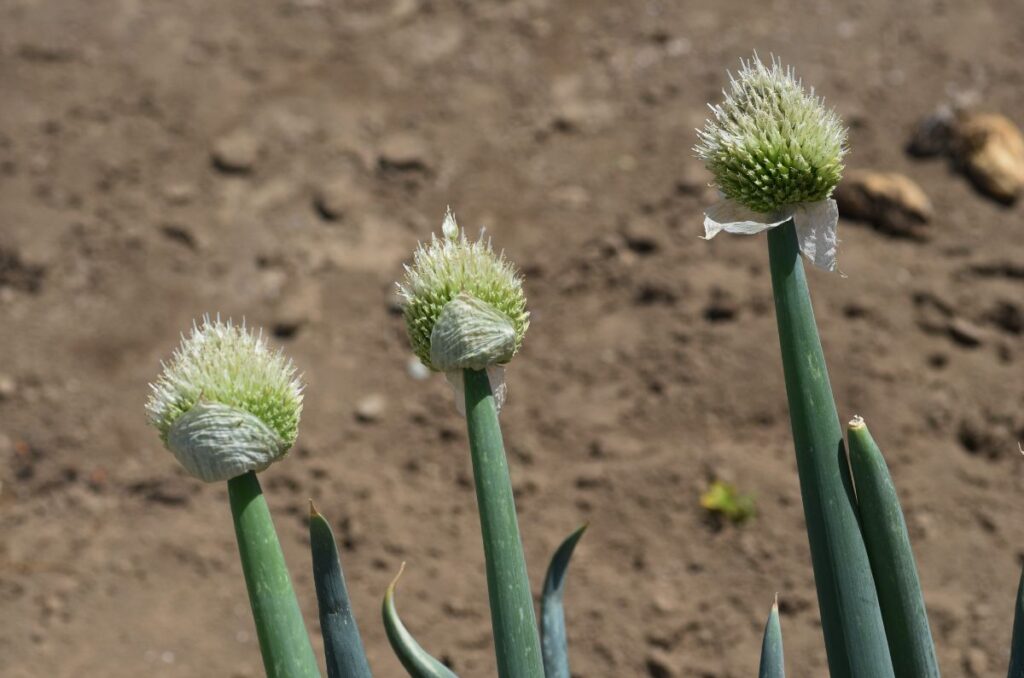
Why do Onions Grow Flowers?
Onions are biennials, meaning they grow a bulb in their first year and flower in their second year.
However, your onions could also produce a flower stalk too early in its life, which is known as bolting. Bolting is when plants produce flowers earlier than they should.
This is especially common among onions grown from sets, and it can be pretty sad. It usually happens because it is too hot and your plants are not getting enough water.
When they bolt, they are triggering a life phase that cannot be reversed. So that means the bulbs will remain small and flavourless even if you let them grow more.
If you have some onions that are bolting, just remove the flower stalk and harvest what you can from the plant: the leaves and the small bulb. It’s still edible at this point. There’s no reason to let it grow because it won’t get much larger.
To prevent this from happening to your other onion plants, just make sure to water them evenly and don’t let the soil dry out.

Onion Pests
Onions are generally fairly resilient to pest damage, especially considering their pungent odour.
However, there is one pest that I have dealt with that can destroy your entire onion crop.
This is the onion fly. Onion flies dig into your soil and lay their eggs near the bulbs of onion plants, garlic, and other bulb-forming plants. When the maggots hatch, they bore into the bulbs and eat as they go.
This creates a horizontal cross-section of the onion bulb, which everyone and their dog knows is detrimental to the plants.
Not only does it stress the plants, but it also increases the chances that another pest or disease will attack the onions. This will cause even more damage, causing the plants to rot and die.
The only way to fully prevent these pests is to cover the soil with insect netting. This will ensure that the flies can’t get into the soil, meaning they can’t lay their eggs.
If you already have pest damage, just discard the damaged plants and protect the soil.
To prevent future damage, you can also try crop rotation, which is just rotating your crops around your garden to reduce pest pressure. Don’t worry, if you don’t have the space to do this, then just leave it. I never rotate my crops, but it can be a valuable method for some gardeners.
Do Onions Deter Garden Pests?
Onions are considered one of the best companion plants because of their natural pungent aroma. Certain pests are put off by this onion smell and may avoid parts of your garden with onions.
Aphids, cabbage moths, carrot flies and mosquitoes are all put off by the smell of onions, garlic, and other allium crops.
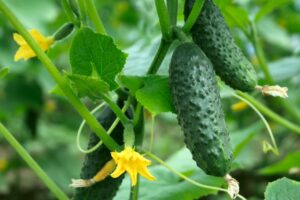
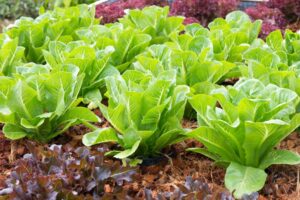
This means that if you plant onions near other commonly attacked vegetable crops, they will keep away a lot of the pests. So plant onions near broccoli, lettuce, cabbage, tomatoes, carrots, and any other plant you have trouble dealing with pests.
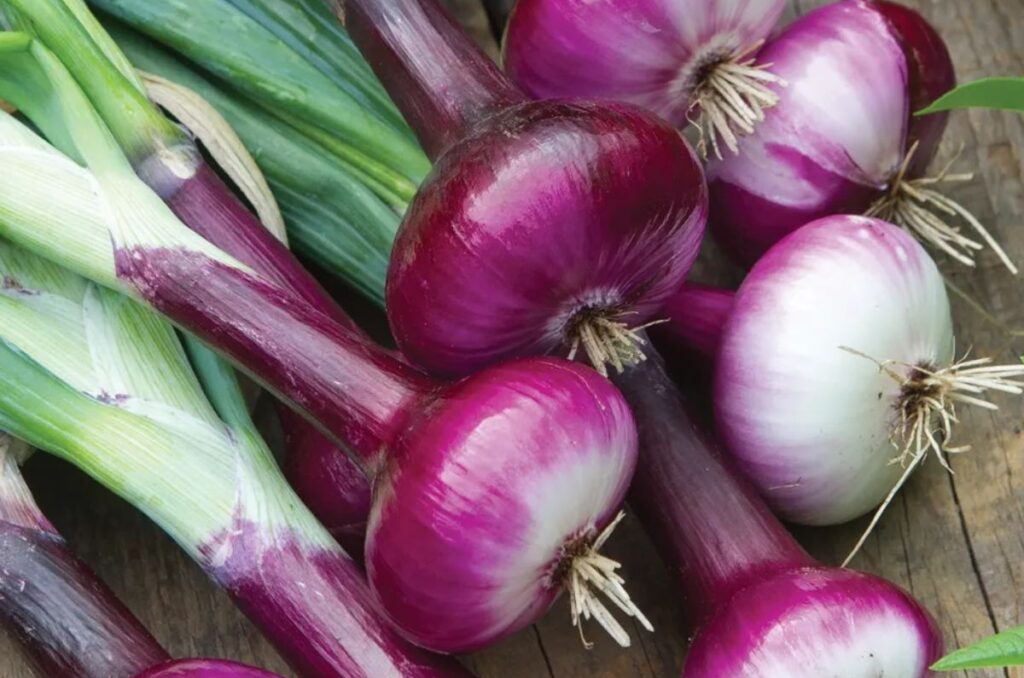
Harvesting Onions
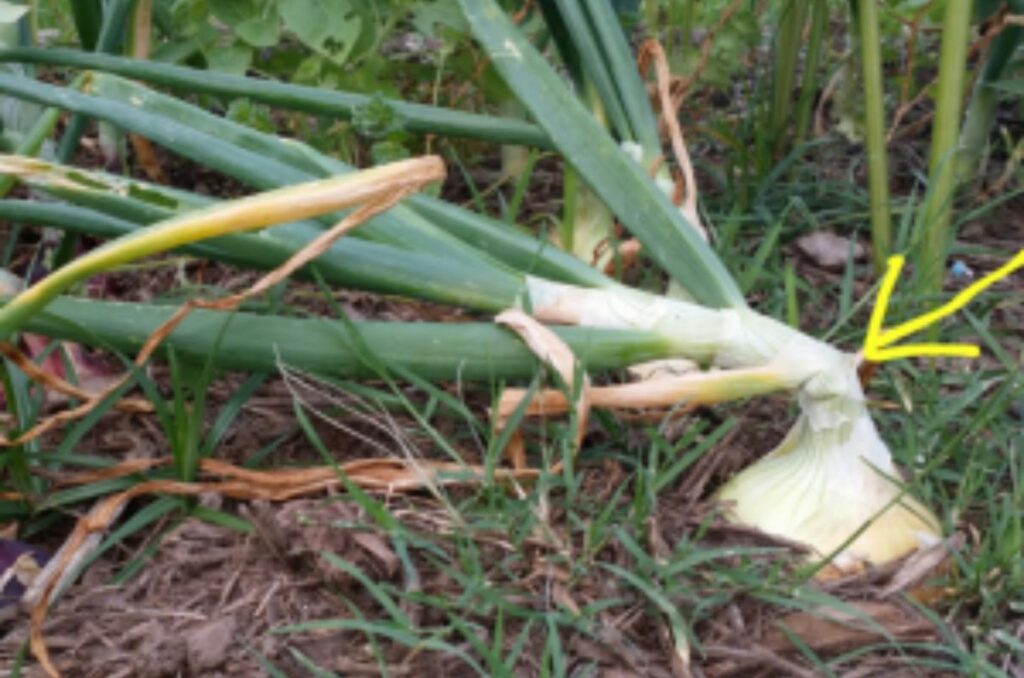
You’ll know exactly when bulbing onions are ready to harvest because their stem will become flexible and the tops will fall over (known as a “broken neck”). At this point, the leaves begin to turn yellow and brown, and they start to dry out a little bit.
Harvest these onions early in the morning using a small trowel, being careful not to damage the bulbs. Pull them out of the soil gently and do not remove the papery skin, leaves, stems, or roots of the plants yet.
For green onions, harvest them when they are still young, small, and green. They will not store well so you have to use them in your cooking right away. If you’re growing lots of green onions, you can freeze or dehydrate them to preserve them.
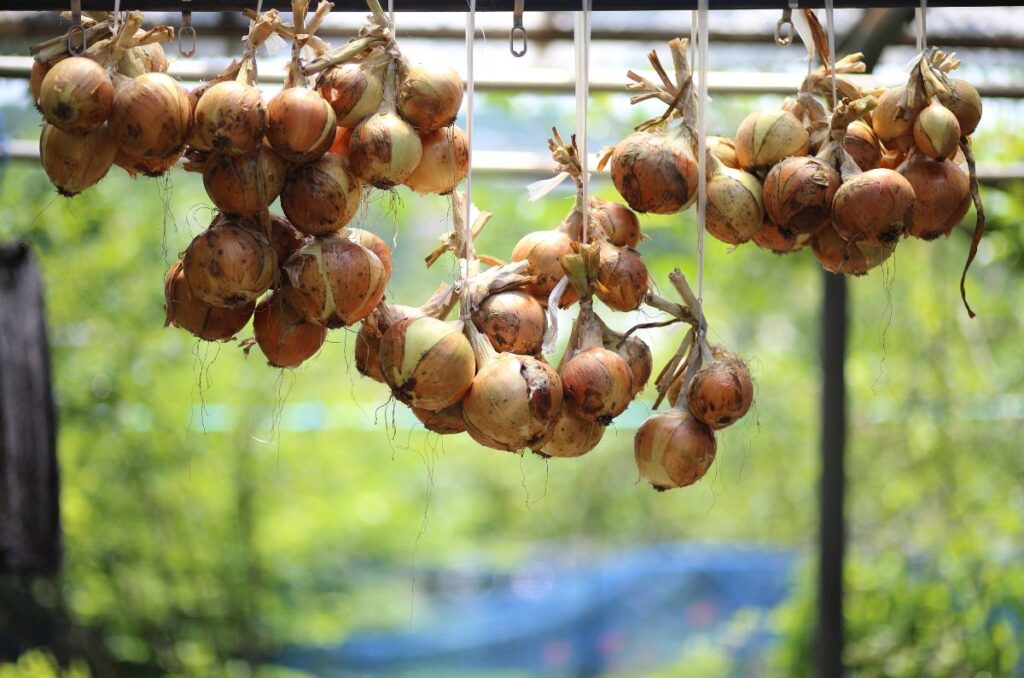
Curing Onions for Long-Term Storage
All kinds of bulbing onions are perfect for long-term storage, as long as you cure them properly.
Never wash your onions after pulling them out of the ground! This will increase the chances of them rotting. Instead, just brush or shake off any loose dirt.
Then, you want to put them in any place that is cool, dry, and away from direct sunlight. This could be your garage, cellar, basement, shed, or attic. Make sure to separate each onion onto a single layer, either flat on a rack or hanging somewhere.
The curing process should take about 2-4 weeks, and you’ll know they’re done when the skin feels thin, dry, and papery, and the roots are completely brittle. To confirm it, cut into one of the stems to see if any moisture remains. If they’re dry, then you’re good to go!
You can now cut off all of the dry tops and roots. Make sure not to damage the papery skin or flesh, as this is what keeps the onions preserved.
Store them in a cool and dry place away from direct sunlight. Handle them with care and they can last over 6 months. Obviously they’ll be so good that they won’t get the chance to make it that far, but still!
Frequently Asked Questions
How long does it take to grow onions?
Most onion varieties will mature in about 90-100 days from seed.
Can you grow onions from an onion?
If you have some onions in your pantry that are sprouting, you can regrow them to get a new onion bulb. Just peel off all the outer layers until you reach the inner sprout. Then stick it in soil and watch it grow!
How many onions do you get from one plant?
Each onion plant produces only one onion. If you multi-sow, you can get 3 or 4 onions per hole, but still one onion per plant.
Can you grow onions with potatoes?
Onions are a great companion plant for potatoes because they help to deter common potato pests. Aphids are repelled by the scent of onions, so they won’t attack your potatoes.
Can you grow onions with garlic?
Growing onions with any of the allium crops (garlic, leeks, chives, shallots) is a great idea. They grow the same, require the same nutrients and water, and don’t compete too much with each other.
Even More Gardening Ideas
Here are a few more posts to get the ball rolling in your garden!
- How to Grow Tomatoes that are Juicy and Delicious
- How to Make Biochar as a Soil Amendment
- 9 Practical Uses for Sawdust in the Garden
If you liked this article, make sure to share it with your friends and family members who are also looking to sharpen their gardening skills. Also, consider signing up for our email newsletter; don’t worry, we won’t send you spam, just fresh gardening ideas every week!
If you want to learn more about vegetable gardening, check out The Real Gardener on LinkedIn, YouTube, and Pinterest.
Pin this post for later:
Leave a Reply