Disclaimer: This blog post contains affiliate links. If you make a purchase through these links, I may earn a small commission at no additional cost to you. Learn More. Thank you for supporting our garden community.
6 Steps for Trench Composting Food Scraps
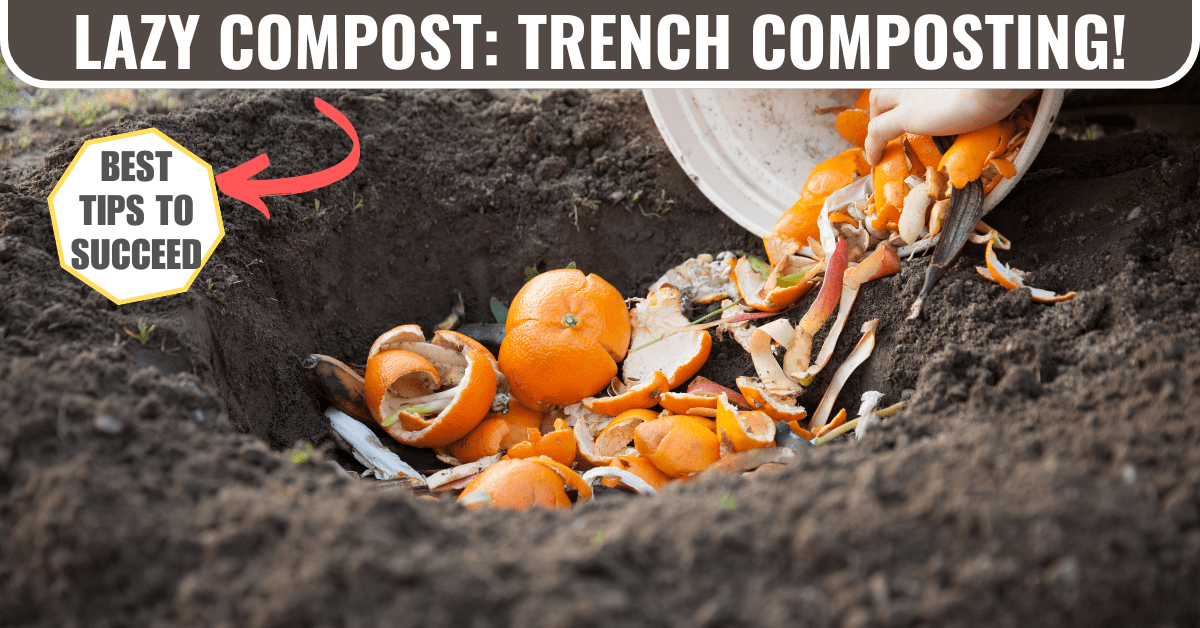
Traditional composting methods are very popular for vegetable gardeners around the world. However, some of us don’t have nearly enough space or time for a separate compost bin. This is where trench composting comes in handy! Trench composting is a very easy and effective method for composting food scraps in your vegetable garden. Today, we’ll show you how.
How to Start Trench Composting
Trench composting is (in my humble opinion) one of the best composting methods, especially for small-space gardeners.
It doesn’t take up nearly as much space, and it takes much less time compared to regular composting.
Trench composting is very easy to get started and requires no additional preparation. No need to buy or build a compost bin.
With all that being said, let’s get right into how to start trench composting!
Products
To buy high-quality garden seeds, check out Burpee.
For a wide selection of perennial garden plants, check out Nature Hills Nursery.
For gardening equipment, check out Bootstrap Farmer.
What is Trench Composting?
Trench composting is a method of composting where you bury organic matter directly into your garden soil, instead of in a separate compost bin.
You can bury food scraps, plant material, cardboard, or any other organic matter that will break down quickly.
This composting method works best with smaller amounts of organic matter, such as your family’s food scraps for the week.
Why Would You Compost in a Trench
Before we dive into the how-to, let’s discuss why anybody would even want to start a trench compost, especially when more familiar methods exist.
- Saves Space: Trench composting does not require a separate area for composting, like a separate compost bin or tumbler. It goes straight into your garden beds!
- Saves Time: Traditional compost can take anywhere from 6 months to 2 years to fully decompose. When you bury food scraps, they can be decomposed enough to plant in the same spot after only 2 weeks!
- Direct Nutrients: That being said, the food scraps that are buried in your garden are broken down right there. This means that all of the nutrients are going right into your plants. You don’t have to transfer compost back and forth from your bin.
- Less Effort: Maintaining a compost pile can be a lot of work. Many of us don’t want to turn it every week like it is recommended. So trench composting saves you from this back-breaking work.
- Water Retention: Organic material helps soil retain water, which is beneficial for plants during hot and dry periods. When the food scraps fully decompose, it acts in a similar way to compost.
6 Steps for Trench Composting Food Scraps
This composting process is very simple and requires only a handful of steps.
1. Choosing Your Scraps
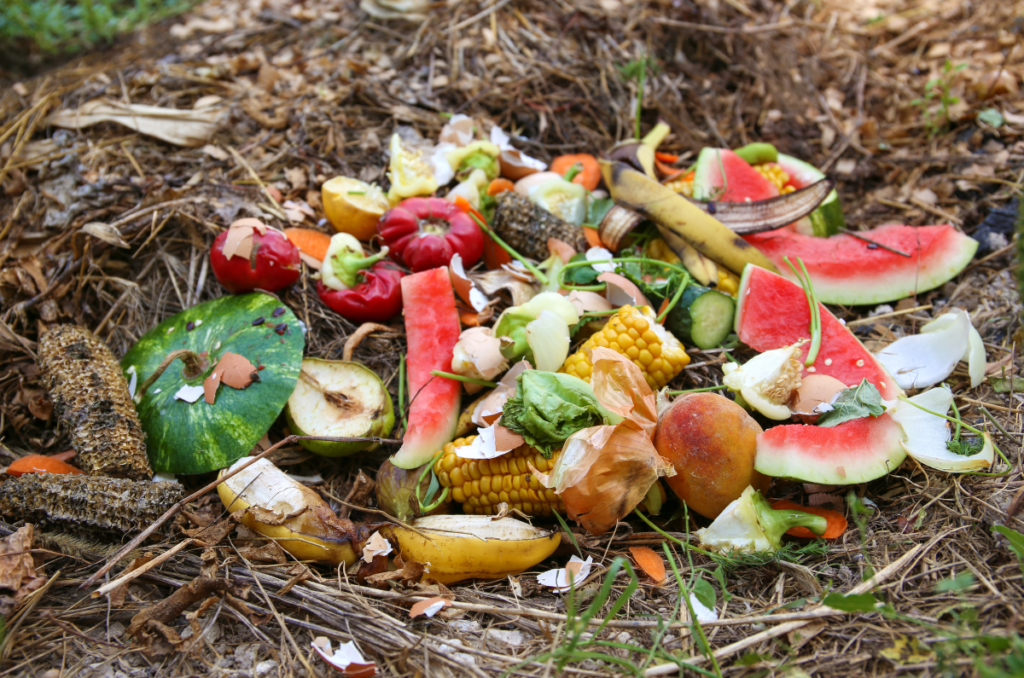
Some gardeners will say that you absolutely cannot bury certain food products. These would include meats, dairy products, and cooked foods.
If I’m being honest with you, I bury almost everything. I have tried everything in my garden and I can say that it doesn’t matter. Bury the bones, the leftovers, the dairy, and everything else.
It turns out that the soil organisms don’t care as much as we do.
But generally speaking, the most common kitchen scraps are going to be fruit and vegetable peels, eggshells, and coffee grounds. I even used to take the coffee grounds out of those little pods that you put in the coffee machine. So there are no excuses!
Other organic matter like grass clippings, fallen leaves, animal fur (including wool), hair, nail clippings, cotton, biochar, and potash.
However, you should avoid burying diseased plant material, weed seeds, and synthetic materials. Diseased plant material may spread diseases to your plants, weed seeds will sprout and grow more weeds, and synthetic materials will leach toxins into your soil.
So avoid these things like the plague when it comes to burying organic matter.
2. Preparing Your Garden
Choose a spot in your garden that’s away from the roots of living plants. You don’t want to dig right next to the roots of your vegetables.
Make sure the spot receives plenty of natural moisture and sunlight, which will help with the decomposition process.
Additionally, choose a spot that you won’t be planting into for about 2 to 4 weeks. This gives the food scraps enough time to fully decompose before we try growing anything in the same spot.
3. Digging the Hole
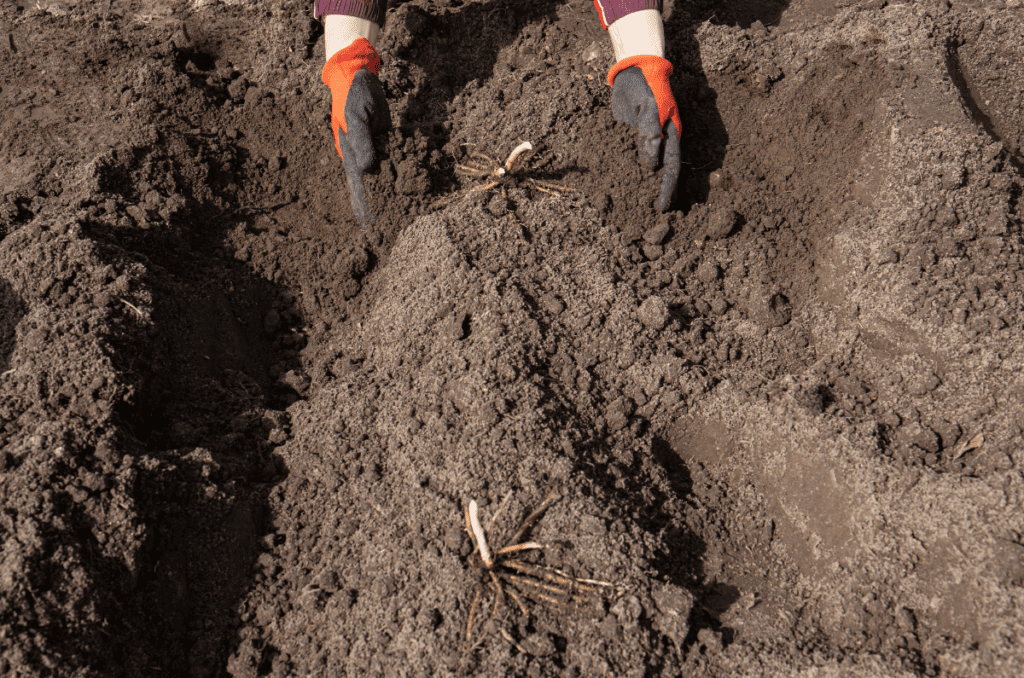
Use a shovel or trowel to dig a trench or hole about 10 to 12 inches deep. This depth is ideal for keeping digging pests away.
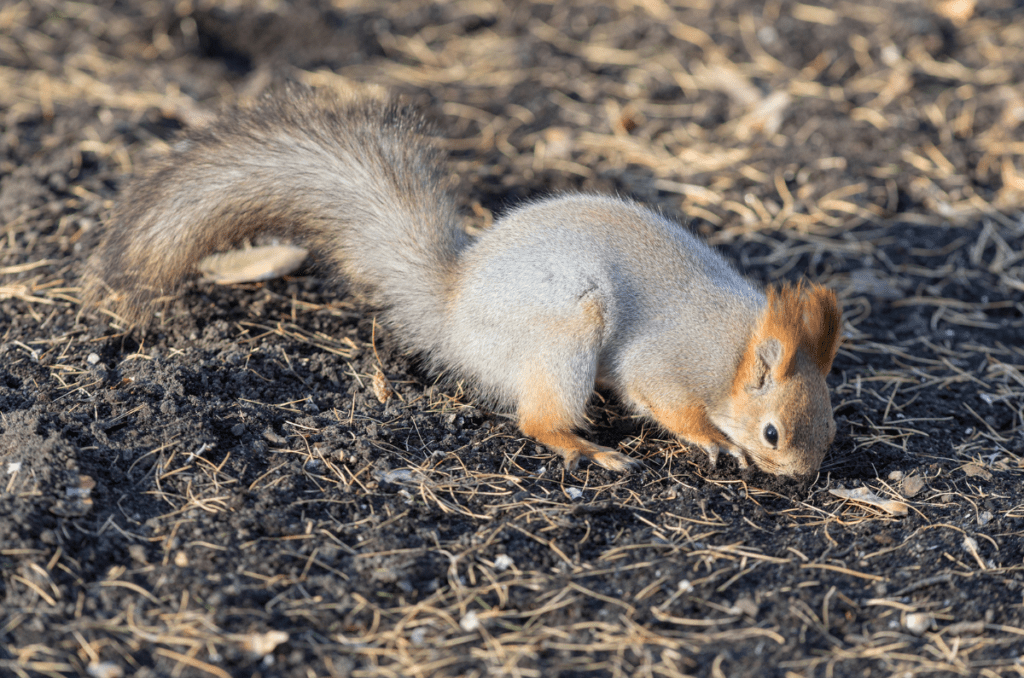
Squirrels love coming to my garden to dig holes everywhere, so make sure to dig the trench deep enough.
4. Burying Your Food Scraps
Before putting your waste into the hole, chop them into small pieces or puree them in a blender. This may sound nasty but it is necessary for increasing the surface area of the food scraps. This will help with the decomposition process.
Also, many organisms, including worms, prefer to eat from smaller pieces of organic matter. By cutting the pieces smaller, you are helping these guys help your soil.
Additionally, many fruits and vegetables have a hard outer layer to protect the centre. For example, if you decide to bury a whole apple, it probably won’t decompose for a long time. This is because the apple’s skin is designed to protect the fruit inside. To avoid this, simply cut it into smaller pieces.
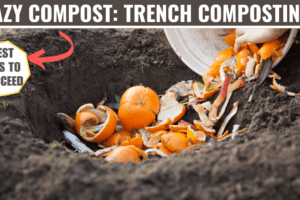
Pour your food scraps into the trench and spread it out evenly.
5. Covering Up the Hole
After you’ve filled the hole with scraps, cover them completely with the previously dug-out soil.
Pat it down gently but firmly to eliminate air pockets and to discourage any animals from digging them up.
Additionally, cover the soil with a thick layer of mulch to reduce the smell of rotting organic matter.
6. Maintenance and Care
Make sure to keep the area moist and water occasionally, similarly to a compost pile.
Don’t always start a trench compost in the same spot. This kind of defeats the purpose. Rotate where you bury your food scraps so that the nutrients get spread across your garden.
When to Plant Into the Hole
You should plant into the trench only after the food scraps have been fully broken down. Usually, this takes 2 to 4 weeks. If you plant into the hole before the scraps are broken down, then the roots of your plants might rot with all the organic matter.
To ensure you get the most out of your trench composting, plant your long-season summer crops into the holes after it has fully decomposed. These are the plants that are going to need the most nutrients to grow properly
I normally bury a whole trench of food scraps about 4 weeks before I plant my long-season vegetables (tomatoes, peppers, cucumbers, etc) in the spring. This helps to reduce my use of fertilizer.
What are the Disadvantages of Trench Composting?
While trench composting is an amazing composting method for small-space gardeners, there are a few drawbacks to be aware of”
- Pests: Let’s be honest, burying food scraps can attract many digging pests. This includes squirrels, mice, rats, and skunks. In particular, the rodents are the ones to despise. If you bury the scraps at the right depth and cover them with mulch, you shouldn’t have too much of a problem.
- Smell: Once again, a problem from not burying the food scraps deep enough. If they are too close to the surface, you may start to get that rotten / alcohol fermentation smell.
- Takes up Space: Because you are digging a trench in your actual garden beds, there is going to be less space for your vegetables. Yes it’s only going to be for a few weeks, but it is still something to consider.
Additional Tips for Trench Composting
While trench composting can be done at any time of the year, there is an ideal time to do it.
This would be the fall, after you have harvested everything from your garden. This is an ideal time because there are going no plants that will get in your way.
You can basically make a trench anywhere and not have to worry about disturbing other plants.
Additionally, because you probably won’t be growing too much over the winter, the food scraps will have lots of time to decompose and become nutrients for your plants next season.
This means that your spring plants will have the right amount of organic matter to truly thrive next year.
Discussion Questions
- What organic matter do you like to use for trench composting? Is there anything that you avoid burying directly into your garden soil?
Please let me know in the comment section below!
Frequently Asked Questions
Unless all of your clothes are made from 100% natural fibres (cotton, silk, linen, wool, etc.), never put dryer lint in your garden. Clothes made from synthetic fibres will introduce tons of microplastics and other harmful toxins to your garden through the dryer lint.
It may be difficult to dig up a trench when the soil is actively frozen. However, burying your food scraps before a freeze is actually a great idea because it gives it the whole of winter to decompose before planting into it.
Trench composting can be sped up by keeping the area moist, warm, and covered with a layer of mulch. This will help to facilitate bacterial decomposition. You can also add a handful of biochar to the trench to create housing for beneficial microorganisms.
It’s possible, but caution is advised. Only a small amount of well-chopped food scraps should be buried to avoid overloading the pot with nutrients and attracting pests. It’s more suitable for raised garden beds and in-ground beds.
For most scraps, it should take about 2 to 4 weeks when burying directly into the garden. When composting traditionally, it can take anywhere from 6-12 months to become usable compost.
It’s best to bury your food scraps at least 10 to 12 inches deep. This will reduce the chances of pests digging them up.
Underground composters are different in the sense that they are actual containers that are placed and kept in the soil. These can be good for vermicomposting systems.
Even More Gardening Ideas
Here are a few more posts to help you build healthy soil:
If you enjoyed this article, make sure to share it with your friends and family members who are also looking to improve their gardening skills. Also, consider signing up for our email newsletter; don’t worry, we won’t spam you, just fresh gardening tips and tricks every week!
If you want to learn more about gardening, foraging, and nature, check out The Real Gardener on LinkedIn, YouTube, and Pinterest.
Pin this post for later:

Leave a Reply