Disclaimer: This blog post contains affiliate links. If you make a purchase through these links, I may earn a small commission at no additional cost to you. Learn More. Thank you for supporting our garden community.
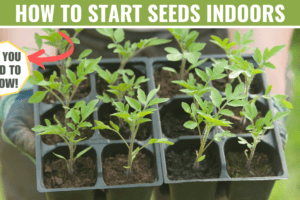
Fix These 11 Common Seedling Problems Easily
Starting plants from seed is one of the most rewarding aspects of gardening, but it doesn’t always go as we plant. Many gardeners face seedling problems that can stunt growth, weaken plants, or even lead to total failure. Understanding these issues and knowing how to fix them is key to raising strong, healthy seedlings.
Common Seedling Problems
Starting seeds indoors is supposed to help our gardens, not harm them. And generally, it does that.
However, there are some problems that come about because of this process. Not because it’s a bad process, but because you may be doing some things wrong.
I have managed to compile 11 common seedling problems that you may come across when starting your seeds indoors this season. Plus, I’ve included the best ways to fix them.
So let’s not waste any more time and get into the 11 common seedling problems and how to easily fix them.
Products:
To buy high-quality garden seeds, check out Burpee.
For a wide selection of perennial garden plants, check out Nature Hills Nursery.
For gardening equipment, check out Bootstrap Farmer.
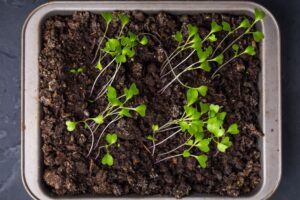
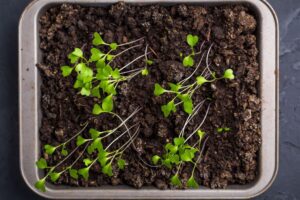
1. Poor Germination
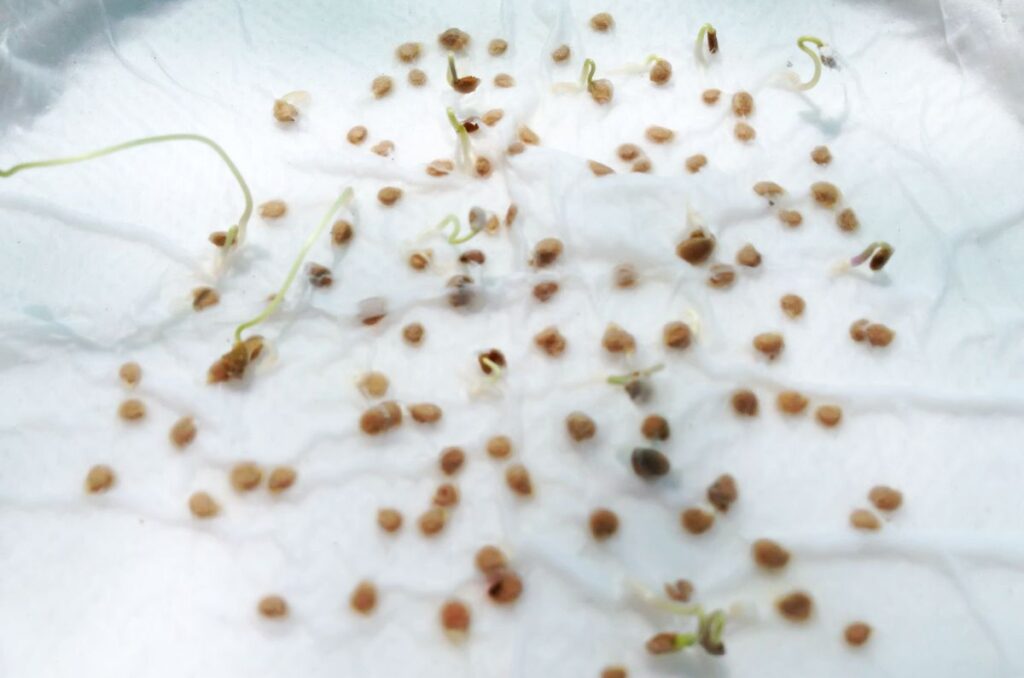
Sometimes you plant a bunch of seeds in your garden, ready for them to sprout and grow into beautiful plants. And then you wait, and wait … and wait, and no seedlings ever come up.
This means that your seeds have not germinated, or they germinated but couldn’t make above the soil.
There are a few possible reasons for this:
- Old Seeds: If you have some seed packets from who knows how long ago and you try to germinate them, they may not come up. To test the viability of your seeds, you can perform a simple germination test.
- Planted Too Deep: On each seed packet, there is a “planting depth” that is not really a recommendation. Of course, none of us really follow these. But for beginner gardeners, it’s hard to determine the planting depth of seeds, so just follow the packet.
- It’s Too Cold: Many seeds, especially the long-season summer crops, need a very warm place to germinate. Because my seed starting setup is in my basement, it gets a few degrees colder than upstairs. Use a heat mat to increase the temperatures around the soil area.
- Cold Stratification: Some seeds actually need a period of cold and moist conditions, known as cold stratification. This applies more to the native plants, long-living perennials, and trees, such as lavender, asters, oak trees, and maples. Some vegetables, like garlic and artichokes, need cold stratification as well.
For a full overview, check out my post on Why are My Seeds not Germinating?
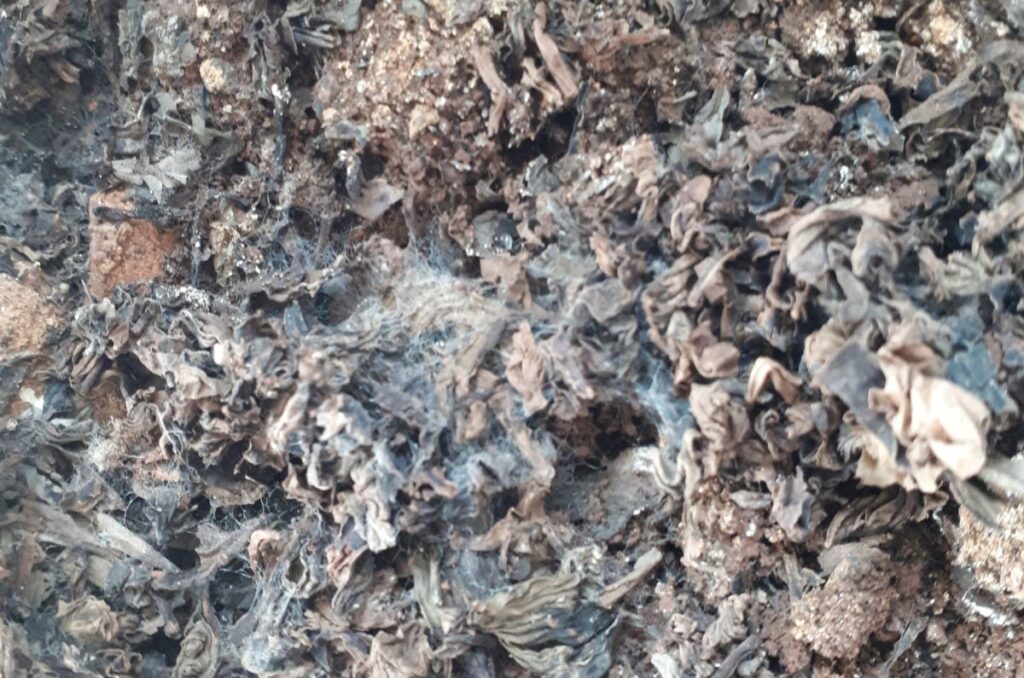
2. Moldy Soil
You’ll notice if your soil is moldy because you’ll see a white and fuzzy mold on the surface of your seedlings cells. You might also notice a musty odour from the decomposition of soil components.
It’s very common, even in my garden, and it’s caused mainly by overwatering. And of course, I tend to overwater my seedlings too.
But there’s an easy fix.
Firstly, don’t overwater. Ok, maybe that’s too hard to just say like that.
But you can do this easily by just waiting to water when the surface of the soil is dry. If you let the surface of all of your seedling cells dry out before watering, it won’t get moldy as quickly.
Additionally, you can make the area even less hospitable for mold if you use a fan to blow air around your seedlings. The fan will dry out the soil faster, making it harder for mold to grow.
I like to keep a fan running directed towards my seedlings for about 2 hours every day. This helps to increase airflow around the soil and plants, reduce mold growth.
Some gardeners also say that you can sprinkle cinnamon on the soil to prevent mold. I haven’t had any success with this method; leave the cinnamon for your desserts in the kitchen.
If you still get mold on the soil, then it’s not too big of a deal. Your plants will still grow normally and they shouldn’t have any problems.
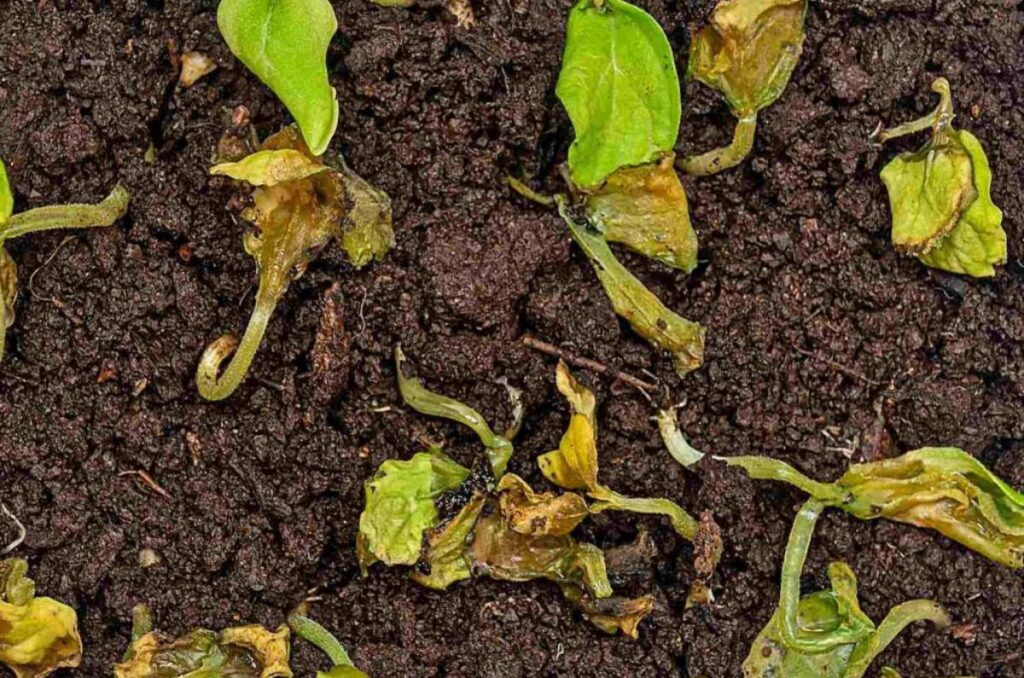
3. Damping Off
Damping off is a strange problem that occurs right after your seeds have germinated, and it’s one of the most common seedling problems.
You’ll notice that your new seedlings’ stems are rotting at the base. Soon enough, they’ll suddenly collapse and die right on the surface of the soil.
If you look very closely, you should be able to see a white or gray fungus growing on the soil and plants. This is what causes damping off.
It is similar to mold in the sense that the fungus is attracted to moist and stagnant conditions. So again, avoid overwatering and use a fan to increase airflow around your plants.
The fungus can also overwinter in the soil or on seedling pots or trays. So if you know you have an issue with damping off, then make sure to thoroughly wash all of your equipment before you use it.
4. Overwatering
Seedlings have very small root systems and generally don’t use too much water until they get larger. This makes it very easy to overwater them, which causes the roots to rot.
You should only be watering your seedlings if the surface of the soil is completely dry.
If the surface of the soil is still wet, then they don’t need any more water.
If you overwater your seedlings, it can lead to the other problems we have mentioned, like moldy soil and damping off.
Additionally, keep a fan running in front of your seedlings for about 2 hours every day. This keeps the air flowing and helps to prevent overwatering, as it dries out the soil quicker.
You should also be using a well-draining seed-starting mix with added perlite for extra drainage.
5. Underwatering
Underwatering seedlings can be just as bad, if not worse than overwatering seedlings.
You’ll know exactly when you’re underwatering because your plants’ leaves will start to droop. We don’t want them to droop! Water them before the leaves droop.
But you should also wait for the soil to be dry before watering, as to prevent overwatering.
You can tell when the soil is dry by picking up the seedling cells. If they feel really light, then they need some water. If they still feel heavy, then you don’t have to water right now.
When you notice that the soil is constantly drying out, then your plants are probably too big for that pot. You should either transplant them outside if it’s the right time, or put them in a slightly larger pot until you bring them outside.
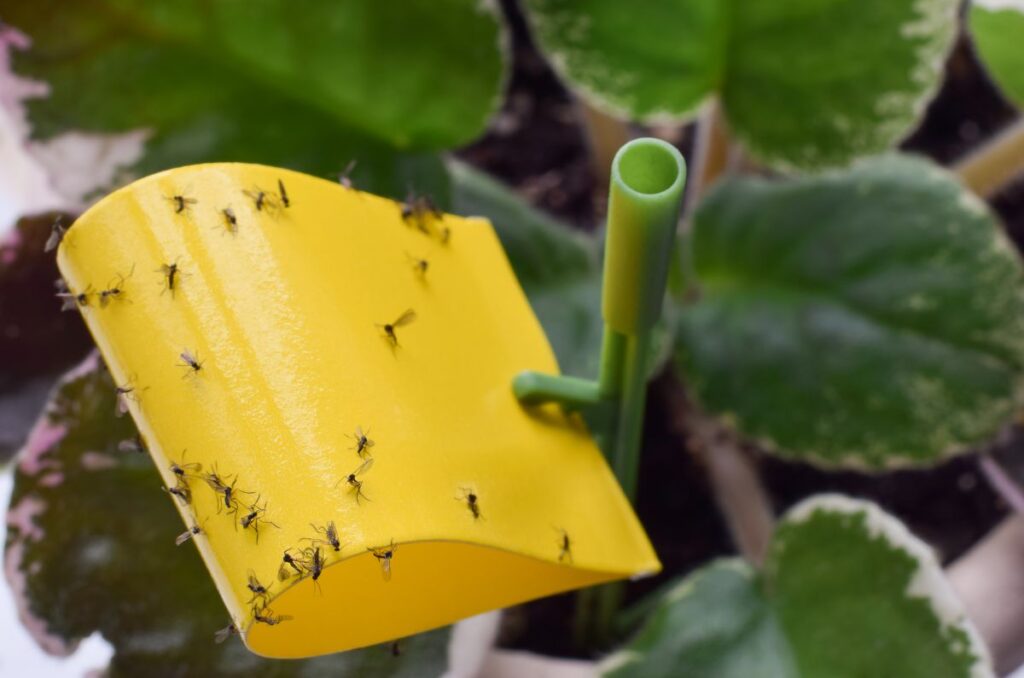
6. Fungus Gnats
Another very common seedling problem, fungus gnats are one of the worst pests that you can have in your home. Not because they really do anything, but just because they’re so annoying.
They always fly in front of my face when I’m in the basement and they really just get on my nerves more than anything else.
They are attracted to moist areas; they only lay their eggs in moist soil. So now you already know how to prevent them. Again, just don’t overwater.
Use a well-draining seed-starting mix with added perlite and avoiding adding too much water to the soil. Additionally, use a fan to increase airflow around your plants.
If you already have fungus gnats, there isn’t really a good way to get rid of them quickly. Some people use hydrogen peroxide, some use neem oil.
But with these, you have to soak the roots and soil in a solution. So it would get rid of the eggs inside the soil, but it would do nothing to the adults flying around your house.
Instead, just use the long-term solution of avoiding overwatering. And once again, use a fan to circulate air around your seedlings.
If you keep the soil inhospitable to fungus gnats, they won’t lay their eggs there, and eventually the population will die out.
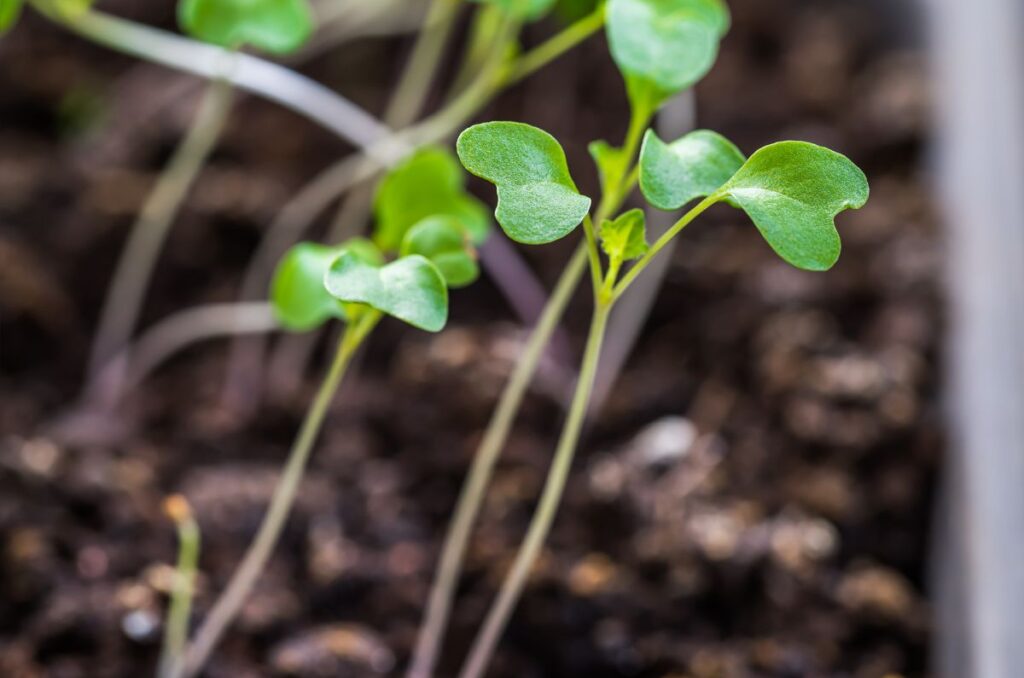
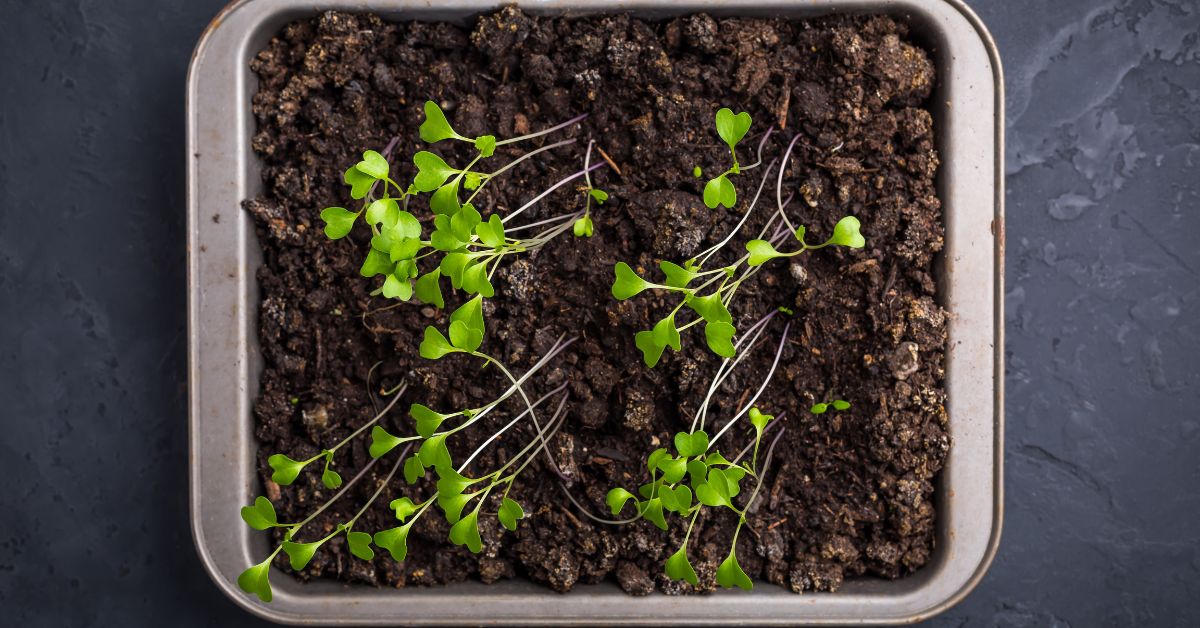
7. Leggy Seedlings
This is also one of the most common seedling problems.
Leggy seedlings are seedlings that are way too tall and weak. You’ll notice the large spaces between each set of leaves, and that’s how you know.
There are 3 main causes for leggy seedlings:
- Light is Too Far: If you are using natural light from a window, then leggy seedlings are more common. Because the lighting is irregular, the seedlings tend to stretch towards it to try to get some. Instead, use high-quality LED grow lights and position them about 2-5 inches above your seedlings. This gives them the right amount of direct light so they won’t be stretching to reach it.
- No Airflow: Sometimes seedlings become weak because they are not exposed to their natural conditions. We can fix this by using, you guessed it, a fan! By allowing a fan to blow directly towards your seedlings for about 2 hours every day, you are strengthening the stems. This means they will grow stronger and stockier with the correct stem spacing between leaf sets.
- Crowded Seedlings: When you plant multiple seeds in the planting hole, they could all come up and crowd each other. This will cause each one to stretch vertically to try to get some light for photosynthesis. To prevent this, simply thin out your seedlings to leave one per seedling cell. This will give them enough space to get the right amount of light.
Do these 3 things before your seedlings have the chance to get leggy.
If they are already leggy right now, then either start a new batch if you have time, or just make sure to bury them a little bit deeper when transplanting outside.
8. Too Little Fertilizer
When you’re looking at your seedlings and you see that the leaves are very pale or yellow in colour, then you probably haven’t been fertilizing them enough.
Obviously, this is caused either by your soil mix lacking nutrients, or by you waiting too long to fertilize.
We can fix this easily before the plants die by using a fertilizer specifically for seedlings. Fertilize only when the first set of true leaves appear, and every 1-2 weeks after that.
If your seedling mix already has some fertilizer in it, then you shouldn’t have to fertilize. This might cause another problem.
9. Too Much Fertilizer
You’ll know if you’ve applied too much fertilizer because the leaves of your plants will be very dark and curled. You may also start to notice that the tips of the leaves are burning and getting crispy.
Sometimes there’s even a crusty white buildup on the surface of the soil from all the minerals settling.
So obviously this happens when you use too much fertilizer, but it can also happen if you use a fertilizer that is too strong or one that is not meant for seedlings.
Any fertilizer with an NPK higher than 5 is probably too strong for young seedlings. So all those 15-15-15 fertilizers, use them for your larger plants.
Instead, try this all-purpose 5-2-4 organic fertilizer for your seedlings. Stick to a regular fertilizing schedule of every 1-2 weeks.
10. Burnt Leaves
Leaves can develop brown spots, edges, or sections for at least 2 main reasons:
- Fertilizer Burn: If you use too much fertilizer for your young seedlings, then the plant will respond with slightly burnt leaves. Just tone down the strength and frequency of fertilizer to prevent this.
- Too Much Direct Light: Sometimes the leaves of my plants will grow quickly and actually touch the grow lights, causing them to burn a little bit. Just stay on top of moving the lights to keep them about 2-5 inches above the plants. This can also happen when transplanting seedlings outdoors. If you don’t harden off your seedlings, the harsh sunlight can burn the leaves quickly.
11. Stunted Seedlings
When a plant is stunted, it means that it has dramatically slowed down or completely stopped growth. And you’ll notice it if your plants have stayed the same size for a couple of weeks.
There are 3 main reasons for stunted seedlings that you can easily fix:
- Inadequate Light: If the plant detects that there isn’t enough light, it may stop growing until the light appears. Make sure to invest in high-quality LED grow lights and don’t rely on the sunlight from a window. Position the lights about 2-5 inches away from the seedlings for maximum exposure.
- Nutrient Deficiency: Similarly, when plants don’t get enough nutrients, they just won’t grow properly. Use an all-purpose organic fertilizer to fertilize your young seedlings about once every 1-2 weeks.
- Plants are Root-Bound: Root-bound means that a plant has taken up all the root space in its container and there is no more space for the roots to grow. If it’s not time to transplant the seedlings outdoors, then put them into larger containers until they’re ready. This will give it lots of fresh soil for the roots to take over.
You can do these things before your seedlings are stunted in order to prevent it from happening. Make sure to use good LED grow lights, fertilize regularly, and always check the roots to see if they need to be transplanted.
Frequently Asked Questions
What do overwatered seedlings look like?
Overwatered plants tend to develop yellow or brown leaves, and they sometimes start drooping as well. This is different from underwatering because the leaves will be limp, not crispy.
Can seedlings recover from overwatering?
It depends on how young and small the seedlings are, but most plants will recover from being overwatered within 10-14 days.
Should seedlings dry out between watering?
Don’t ever let the entire amount of soil dry out, just the surface. If you let just the surface dry out, then you are preventing overwatering and underwatering.
Is bottom watering better for seedlings?
Bottom watering is much better for seedlings. If you pour water from the top, it may disturb them, causing them to fall and die. Bottom watering allows the water to soak up from the bottom.
What percent of home-grown seedlings survive?
Most of my seedlings survive, above 80% of them. But you should also plant extras just in case many more of them die.
Do seeds rot in soil?
Seeds can definitely rot in the soil, especially if you are consistently overwatering them.
Can too much light stunt seedling growth?
There are 2 types of reactions in photosynthesis: light-dependent and light-independent. The energy created from the light-dependent reaction is used for the light-independent reaction (when it is dark). If there is always light on the seedlings, they can’t complete the light-independent reactions.
Can LED grow lights be too close to seedlings?
Sometimes my seedlings actually touch the grow lights and I don’t realize for a few days. This causes the leaves to burn. Keep the lights about 2-5 inches away from the seedlings.
Even More Gardening Ideas
Here are a few more posts to get the ball rolling in your garden!
- How to Grow Carrots from Seed to Harvest
- How to Harden Off Seedlings to Reduce Transplant Shock
- How to Deter Slugs in the Garden Naturally
If you liked this article, make sure to share it with your gardener friends.
Also, consider signing up for our email newsletter; don’t worry, we won’t send you spam, just fresh gardening ideas every week!
If you want to learn more about vegetable gardening, check out The Real Gardener on Facebook, YouTube, and Pinterest.
Pin this post for later:
Leave a Reply