Disclaimer: This blog post contains affiliate links. If you make a purchase through these links, I may earn a small commission at no additional cost to you. Learn More. Thank you for supporting our garden community.
100% Success Method for Propagating Grape Vines from Cuttings
Propagating grape vines from cuttings is a rewarding and cost-effective way to expand your fruit garden or simply enjoy a new project. Grape vines are resilient and, with the right approach, are somewhat easy to grow from cuttings. In this guide, we’ll take you step-by-step through this 100% success process, ensuring you have all the knowledge you need to get started.
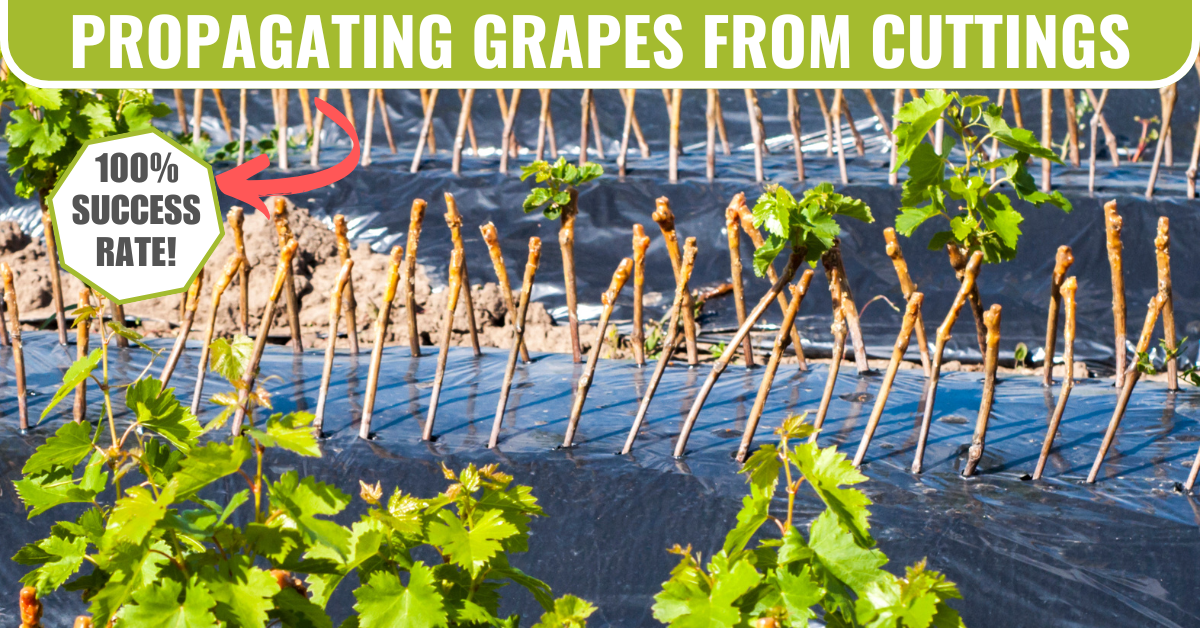
I learned this method of propagating grapes from JSacadura on YouTube. He makes videos about growing, pruning, propagating, and grafting fruit trees, and he is amazing at it. So check out his channel if you are interested.
Propagating Grape Vines from Cuttings
Here’s what you will learn in this article:
- When and How to Take Grape Vine Cuttings: You will understand the ideal time to take cuttings from grapevines and the best practices for selecting healthy canes.
- Step-by-Step Propagation Process: A clear, detailed guide on preparing, planting, and caring for grape vine cuttings to encourage root growth.
- Best Conditions for Rooting Success: Tips on providing the right temperature, light, and humidity levels to help cuttings root successfully.
- Common Mistakes and FAQs: Practical advice on avoiding common mistakes and answers to frequently asked questions to support you in successfully propagating your own grapevines.
Products
To buy high-quality garden seeds, check out Burpee.
For a wide selection of perennial garden plants, check out Nature Hills Nursery.
For gardening equipment, check out Bootstrap Farmer
Why Propagate Grape Vines from Cuttings?
Propagation by cuttings is one of the most popular methods for grape vines (and other fruits) because:
- Cost-Effective: No need to buy young plants; simply take cuttings from a healthy grapevine. So if you only have a few plants, you can save so much money by creating duplicates right in your backyard.
- Easy for Beginners: Little equipment or expertise is needed, making it accessible to everyone. This method is much easier than others, with limited prior knowledge needed. It is also much more successful than other methods, with almost a 100% success rate.
- Preserve Grape Varieties: Clone an existing vine with known traits, ensuring you’ll get the same grape quality. When propagating any plant from cuttings, the new plant is exactly the same as the parent plant. This means we can preserve our favourite grape varieties.
Whether you’re a beginner or an experienced gardener, this method can yield great results with minimal effort.
When to Take Grape Vine Cuttings
The best time to take hardwood grape cuttings is between late fall and mid winter, while the vine is still dormant. Dormancy is crucial because it allows the plant to focus on root development instead of actively growing leaves or fruits.
Aim to take cuttings after all the leaves have fallen in the fall and the first frost hits. And take them before new growth starts in the spring.
Some people will also say that you can take cuttings in late winter, but I think this is pushing it a little bit. You really don’t want the grape vine to be actively growing.
Step-by-Step Guide to Propagating Grape Vines from Cuttings
1. Gather Your Materials
- Pruning shears
- Sharp knife
- Spray bottle
- Rooting hormone powder (optional but incredibly helpful)
- Small pots, seed trays, plastic bags, or plastic containers.
- Coco coir
- Clear plastic bags or mini greenhouse covers (to create humidity)
2. Selecting and Taking the Cuttings
- Choose Healthy Canes: Look for healthy dormant canes that are a little bit thicker than a pencil and have grown within the past year. I am currently experimenting with thicker cuttings to see if they are worth it to propagate as well.
- Cut Your Sections: Each cutting should be about 6-8 inches long and have 3-4 buds. Make a clean, straight cut just below the lowest bud, and an angled cut above the top bud. This will help you remember which end goes into the soil.
- Remove Extra Growth: Strip off any dry tendrils remaining on the cutting. You can also strip off the outer bark if it starts to peel. If it’s not peeling, just leave it.
3. Preparing the Cuttings for Rooting
- Scrape the Cuttings: I like to gently scrape the lower inch of the stem to encourage root growth. You also want to scrape the cambium layer, which is a thin layer inside the cutting that is present after the green part (phloem) is exposed. I know this sounds complicated, but you just have to scrape the bark, scrape the green part, and then scrape the thin darker layer. That’s it. That’s the hardest part.
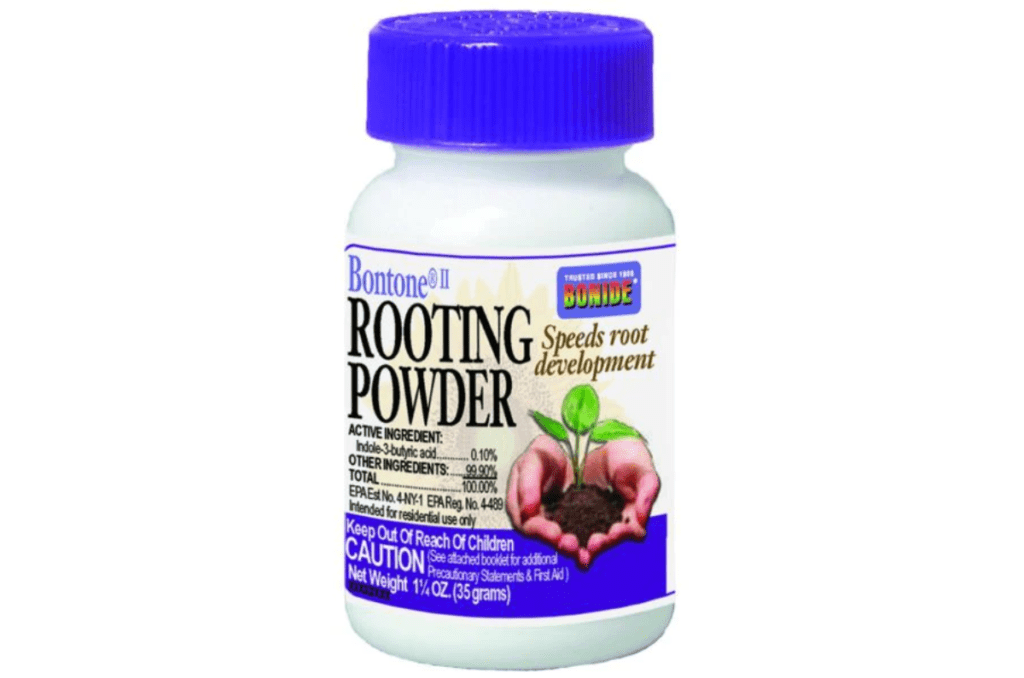
- Dip in Rooting Hormone: While grape vines can root without this step, applying rooting hormone powder or gel can encourage faster rooting. I like to dip the cutting into the rooting powder, shake off the excess, and then let it sit on the table for a few minutes to allow the rooting hormone to be absorbed.

4. Planting the Cuttings
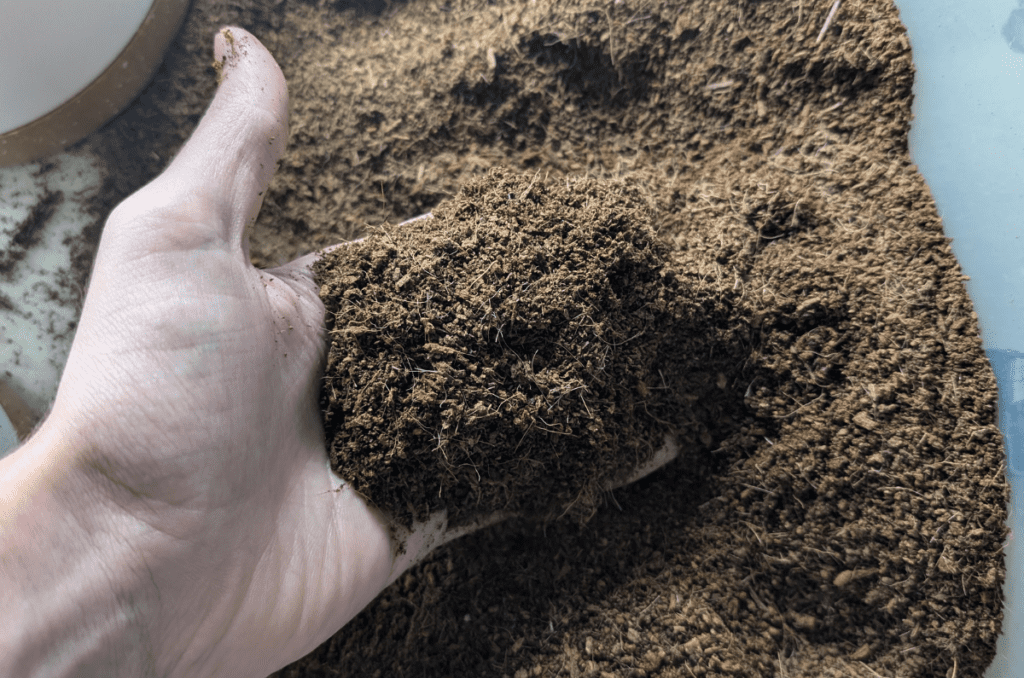
- Moisten the Coco Coir: I use this coco coir because it is sterile and retains moisture really well. It comes in hard, dry bricks, so just slowly add water until it is completely broken apart. This should only take a few minutes. Add only enough water to moisten it; you don’t want the coco coir to be completely wet.
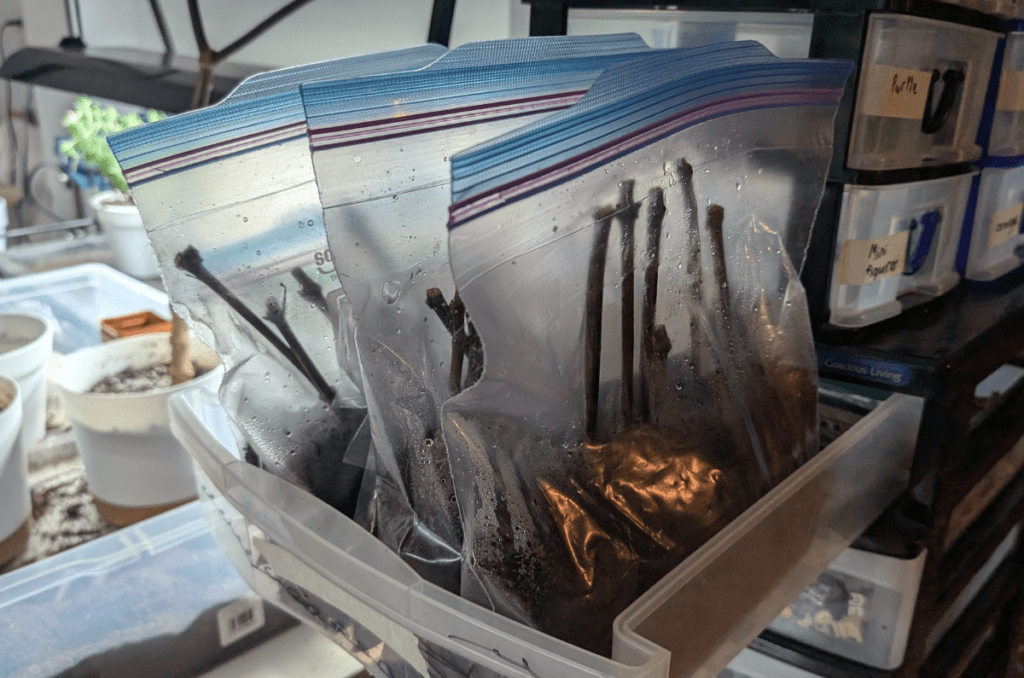
- Prepare Your Pots: Fill small pots or trays (or plastic bags) with the moistened coco coir. If you moistened the coco coir correctly, you shouldn’t have to worry about it being too dry or too wet.
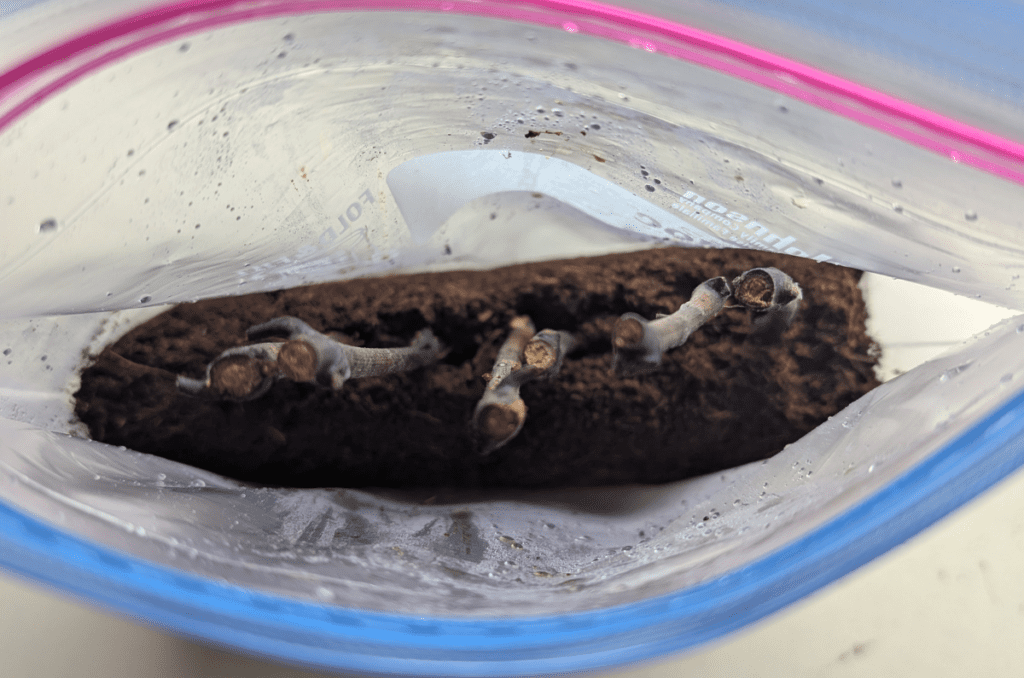
- Insert the Cuttings: Insert each cutting about halfway into the soil, ensuring at least one bud is above the soil surface. Make sure the scraped end is inside the soil (just saying!). Give the grape cuttings a nice healthy spray of water.
- Create Humidity: Place a clear plastic bag over each pot or use mini greenhouse covers. This helps retain moisture, which is essential for root development. If you are using plastic bags, you can just zip them closed if the cuttings are short enough to not stick out.
5. Provide the Right Conditions
- Sunlight: Place the cuttings in a location with indirect sunlight. Direct sun can dry out the cuttings too quickly. It should still be a fairly bright area; don’t put them in complete darkness.
- Temperature: A consistent temperature of around 60-70°F (15-20°C) is ideal.
- Moisture: Keep the cuttings evenly moist but not overly wet. Overwatering can lead to rot, so it’s best to use a spray bottle to mist the cuttings as needed.
Waiting for Roots to Develop
Rooting typically takes 4-8 weeks but can vary based on conditions and grape variety. Check for roots by gently tugging on the cutting; if you feel resistance, roots are developing.
If you are using clear plastic bags, you will be able to see the roots very easily. Same with clear plastic containers.
At this stage, you may see small buds or shoots forming along the vine, a good sign that your cutting is growing successfully.
Once roots have developed, you want to transplant each cutting to its own container. However, this is only necessary if you placed multiple cuttings together in the same container to root. Personally, I like to do this, as it helps me to save time and space.
That being said, each newly rooted cutting is going to need its own place to stay until the weather warms up.
You may be tempted to give the cuttings some direct light, but it is not necessary at this time. You can wait until your grapes have developed a few leaves before giving them direct light (from the sun or grow lights).
Transplanting Your Young Grape Plants
Once your cuttings have developed strong roots and warmer weather has arrived, it’s time to move them outdoors.
- Choose a Sunny Spot: Grapevines thrive in full sun and well-drained soil.
- Prepare the Soil: Loosen the soil in the planting area and consider adding compost for extra organic matter. However, grapes are not heavy feeders, so avoid adding too much granular or liquid fertilizers.
- Plant Carefully: Dig a hole slightly larger than the root system of the cutting, place it in the hole, and cover it with soil. Be sure to water immediately. Also, keep the young plants sheltered from harsh sunlight, winds, and heavy rain. This will help increase the success rate of your plants.
- Provide Support: Install a small trellis or stake to support the young vine as it grows. If you are limited on space, check out our post on how to grow grapes on a fence.
Common Mistakes to Avoid When Propagating Grape Vines
- Overwatering: Too much water can lead to rot. Keep the coco coir moist but not soggy. To achieve this, lightly spray the cuttings when they start to dry out. Don’t pour water directly in the containers.
- Using Weak or Diseased Cuttings: Start with healthy vines to give your cuttings the best chance. If you don’t have any grape vines to start with, you can get some from a friend and neighbour who grows grapes.
- Skipping Rooting Hormone: While not required, using rooting hormone can speed up the process and improve success rates. I like to use this powdered rooting hormone every time, with all of my cuttings.
Discussion Questions:
- Have you tried propagating grape vines from cuttings before? What is your preferred method?
- What other plants have you successfully propagated from cuttings, and do you have any tips for other gardeners?
Frequently Asked Questions
Although it may be possible, I have always had more success when rooting grape cuttings in coco coir. But you can try with water!
Rooting hormone is definitely not necessary when propagating grape vines, but it will definitely increase your chances of success, especially with certain varieties.
It will take the cuttings approximately 4-8 weeks to put out roots. But from cutting to mature fruit, it may take upwards of 3-4 years.
Yes, grape vines can be propagated from green cuttings, but these are generally more delicate and require careful humidity control to avoid wilting. Hardwood cuttings are more reliable for beginners.
Even More Gardening Ideas
Here are a few more posts to get the ball rolling in your garden!
- 7 Types of Maple Trees for Your Fall Landscape
- 8 Foods You Can Still Forage in the Winter
- 9 Winter Shrubs to Beautify your Landscape
Propagating grape vines from cuttings is a simple yet rewarding process. By following these steps, you can successfully grow your own grapevines and enjoy the satisfaction of watching them flourish over time.
If you enjoyed this article, make sure to share it with your friends and family members who are also looking to improve their gardening skills. Also, consider signing up for our email newsletter; don’t worry, we won’t send you spam, just fresh gardening tips and tricks every week!
If you want to learn more about gardening, foraging, and nature, check out The Real Gardener on LinkedIn, YouTube, and Pinterest.
Pin this post for later:


Leave a Reply