Disclaimer: This blog post contains affiliate links. If you make a purchase through these links, I may earn a small commission at no additional cost to you. Learn More. Thank you for supporting our garden community.
Mastering Orchid Care: Essential Tips for Thriving Orchids
Last Updated: July 8, 2024
Are you mesmerized by the exotic beauty of orchids but find yourself bewildered by their care? Orchids, with their diverse species, captivate with their elegance and complexity. Yet, the misconception that they’re high-maintenance often deters enthusiasts. Fear not, for mastering orchid care is within your reach, transforming seemingly enigmatic tasks into a simple and enjoyable routine.
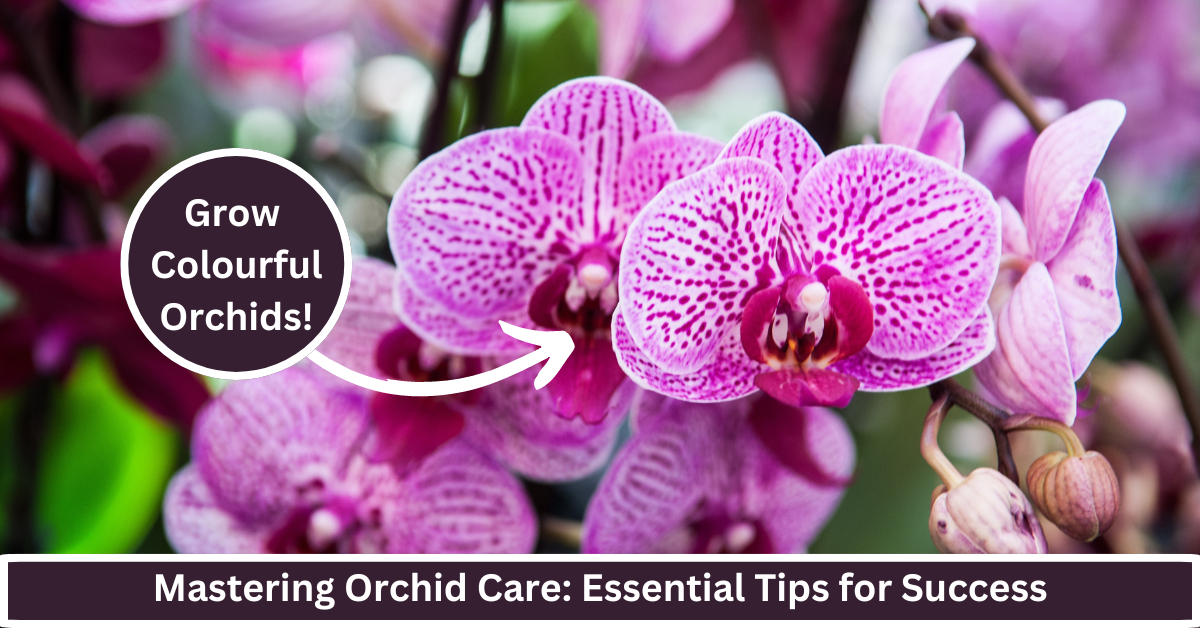
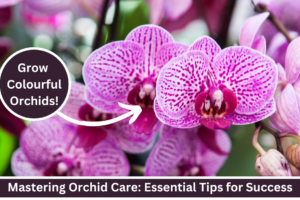
I remember when I received my first orchid as a gift, a stunning Phalaenopsis with delicate purple blooms. Initially, I was intimidated by its exotic appearance, convinced I lacked the green thumb needed to keep it alive.
Despite my fears, I embraced the learning curve, paying close attention to its lighting and watering needs. To my delight, not only did my orchid survive, but it rebloomed the following year, a proud moment that sparked my enduring passion for these captivating plants.
I managed to stay consistent with my efforts and the orchid eventually paid me back.
Unfortunately, the orchid has since died, not because my care efforts didn’t work, but because I stopped caring for it.
Mastering Orchid Care
From this detailed guide on orchid care, you will learn:
- Fundamental Orchid Care Requirements: This post educates on foundational aspects such as the right lighting, correct watering practices, and the importance of proper potting for orchids, demonstrating how to create optimal living conditions for these delicate plants.
- Post-Bloom Maintenance: You will gain insights into the specific care needed after orchids bloom, including how to prune spent stems, the significance of a rest period, and consistent care tips to ensure plants remain healthy and poised for new growth.
- Nutrition for Orchids: This guide provides valuable information on how to properly fertilize orchids; it covers the types of fertilizers to use, the frequency of feeding, and how to interpret the plant’s health through the condition of its leaves and roots.
- Avoiding Common Mistakes: We identify common errors in orchid care, such as overwatering and inadequate light, and offer practical advice on how to avoid these pitfalls to maintain healthy, blooming orchids.
If you want to buy an orchid plant for your home, check out Leaf and Clay.
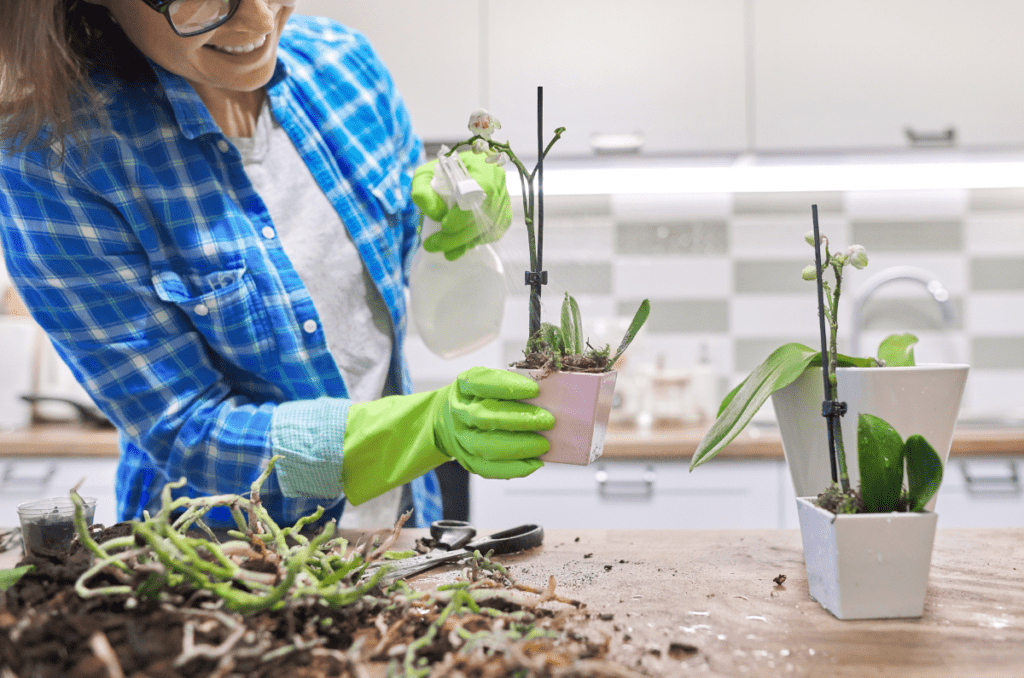
The Foundations of Orchid Care: Getting Started
Orchids defy the one-size-fits-all approach, thriving under specific conditions tailored to their unique needs. Understanding these fundamentals is crucial:
These requirements reflect their origin in the wild. Their habitat was perfectly formulated for their needs, which is why we need to replicate it in our homes.
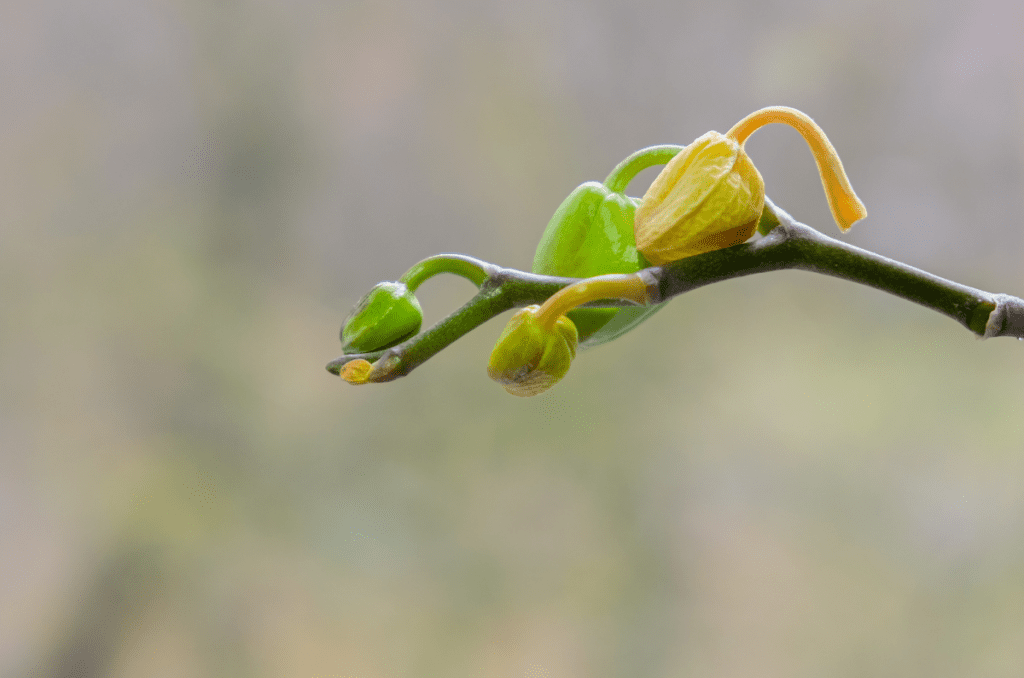
Orchid Care Post Bloom: Ensuring Continuous Beauty
Orchids’ blooming cycles are a marvel, and with post-bloom care, you can set the stage for future splendor.
- Trimming Spent Stems: For some species, cutting the flower spike can encourage a second bloom. However, specific guidance varies among types. Generally, the spent flower stalk should be cut down to leave two nodes for future growth. Next year, the new flower spike will emerge from one of these nodes.
- Rest Period Importance: Orchids enjoy a period of rest. Reduce watering slightly and refrain from fertilizing until new growth appears. This helps to mimic their natural cycle in nature.
- Consistent Care: Even post-bloom, maintain your routine of light, temperature, and humidity control to support your orchid’s overall well-being.
Fertilizing Fundamentals: Nourishing Your Orchids
Feeding your orchids is akin to offering gourmet food that’s specifically crafted for their tastes.
- Type and Frequency: Use a balanced, orchid-specific fertilizer. Monthly applications are a good starting point, but observe your orchid’s response and adjust as needed. I like to fertilize every time I water when in full bloom, and every other watering time when in rest.
- Leaf and Root Health: Healthy leaves and roots are indicators of effective fertilization. Watch for vibrant color and robust growth as signs your orchid is well-nourished. The leaves should be plump and dark green, while the roots should be bright green or greyish-green. If the roots are brown, you have likely been over watering. Simply trim these roots off and you should be good to go!
Check out Arber for their wide selection of indoor organic fertilizers.
Common Orchid Care Mistakes to Avoid
Even the most seasoned orchid enthusiasts encounter challenges. Awareness of frequent pitfalls is the first step toward avoidance:
- Overwatering: This is the leading cause of orchid distress. Ensure your watering routine is adapted to your orchid’s specific needs. I say to water every 10-14 days, but if you notice that the substrate is still very moist after 14 days, wait a little bit longer to water again.
- Inadequate Light: Too much or too little light can hinder growth. Find that sweet spot of bright, indirect light where your orchid flourishes. Too much light can burn the leaves, especially if it is direct sunlight. Too little light can cause stunted growth.
- Ignoring Humidity: Orchids thrive in higher humidity. Consider a humidifier or a water tray to boost humidity levels, especially in dry conditions.
Discussion Questions
Which orchid care mistake did you overcome, and how?
Have you checked your orchid’s potting mix lately? How often do you find yourself repotting?
Leave your answers in the comments below!
Frequently Asked Questions
Generally, orchids need to be repotted every one to two years. Signs that indicate a need for repotting include overflowing roots, slow growth, or deteriorating potting media. For example, if the sphagnum moss has become moldy, or something along those lines.
No, regular potting soil is not suitable for orchids because it can retain too much moisture and suffocate orchid roots. Instead, use a specialized orchid potting mix that typically contains bark, perlite, and charcoal.
After flowering, you can cut the spike near the base for species like Phalaenopsis. Some orchids may rebloom from their old spikes, so it’s essential to know the particular needs of your orchid species.
Yellow leaves can be a sign of several issues, including overwatering, insufficient lighting, or nutrient deficiency. Adjust the care accordingly and observe if the plant improves.
Orchids can recover from root rot if action is taken early. Remove the plant from its pot, trim away any brown, mushy roots, and repot into fresh orchid-specific mix. Reduce watering to allow the roots to heal.
Even More Gardening Ideas
Here are a few more posts to get the ball rolling in your garden!
- How to Get Rid of Aphids on Plants
- The 10 Most Fragrant Flowers for Your Garden
- Nasturtium: The Garden Must-Have
Products
For orchid plants, check out Leaf and Clay
For all-purpose organic fertilizers, check out Arber.
To buy organic, non-GMO garden seeds, check out SeedsNow.
For a wide selection of perennial garden plants, check out Nature Hills Nursery.
Conclusion: Orchids may seem like a mystery wrapped in enigma, but with the right knowledge and care, thriving orchids can adorn your space. Embrace these tips, observe your orchids, and adjust your care accordingly. Your blooms will be a testament to the love and effort you invest.
Are you ready to become an orchid care expert? Share your experiences, triumphs, and challenges in the comments below. Don’t forget to spread the love and knowledge by sharing this post on social media or signing up for our comprehensive plant care newsletter. Happy orchid caring!
If you want to learn more about gardening, foraging, nature, and sustainability, check out The Real Gardener on Instagram, YouTube, and Pinterest.
Pin This Post For Later

Leave a Reply