Disclaimer: This blog post contains affiliate links. If you make a purchase through these links, I may earn a small commission at no additional cost to you. Learn More. Thank you for supporting our garden community.
How to Make a Hugelkultur Raised Bed for Growing Vegetables
Many new gardeners have never even heard of “hugelkultur,” which is a shame because it is one of the best soil-building techniques. Hugelkultur is an old (but good) gardening technique that uses natural materials like wood, branches, and other organic matter to create nutrient-rich raised garden beds. This method mimics natural forest ecosystems and offers numerous benefits for vegetable gardeners.
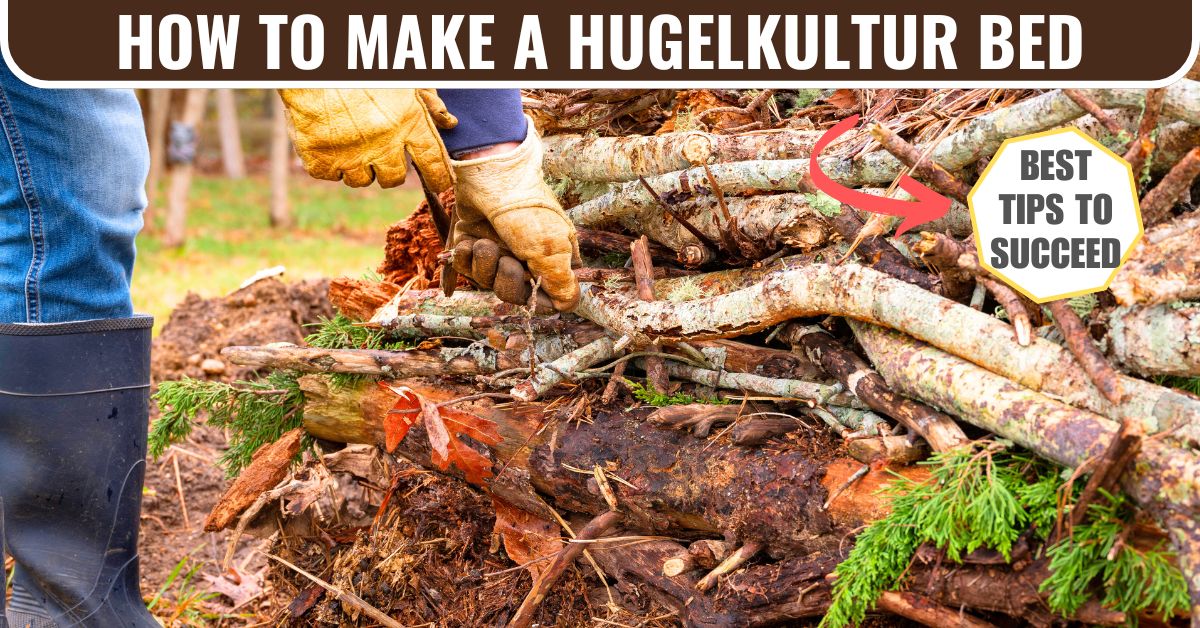
How to Make a Hugelkultur Raised Bed
To beginners, hugelkultur might seem like more work than just a regular raised bed. Pulling around logs, piling organic matter, and more can seem like a lot to do.
But that couldn’t be further from the truth! Even if there is slightly more upfront work that needs to be put in, the next years are going to be less work once everything is established.
That being said, there are just a few things that have to be done right in order to succeed with hugelkultur.
So let’s get right into how to make a hugelkultur raised garden bed!
Products
To buy high-quality garden seeds, check out Burpee.
For a wide selection of perennial garden plants, check out Nature Hills Nursery.
For gardening equipment, check out Bootstrap Farmer.
What is Hugelkultur?
The term “hugelkultur” comes from German and literally means “hill” or “mound culture.” It originated in central and eastern Europe and has been used there for centuries.
It was named this way because you are essentially creating a mound of organic matter under your garden soil.
This process involves creating raised beds by layering organic matter in order from slowest to decay to fastest to decay.
This means that the larger and harder waste (logs, branches, twigs, etc.) would go at the bottom, while the smaller and softer waste (grass clippings, food waste, etc.) would go closer to the top.
These woody pieces will take roughly 5-10 years to fully decompose. This is why we put them at the very bottom.
But eventually, all of this organic matter will decompose and provide fertility, moisture-retention, and more for your vegetables.
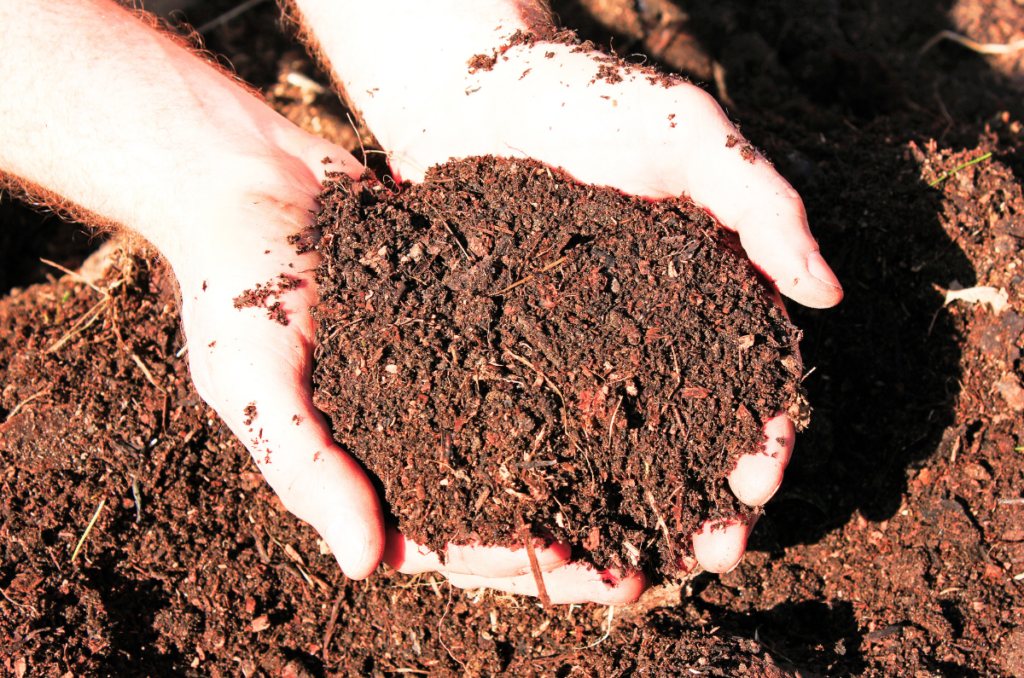
Benefits of Hugelkultur for Your Garden
Hugelkultur beds offer a range of advantages that make them perfect for vegetable gardeners:
- Improved Soil Fertility: As the organic matter decomposes, they release nutrients into the soil, reducing the need for supplemental fertilizer. It is essentially compost, which provides long-term fertility for your vegetables.
- Water Retention: The woody core of this garden bed acts like a sponge, holding onto water for when plants need it. This prevents your soil from drying out quickly, especially in warmer climates.
- Waste Reduction: Because hugelkultur repurposes old garden waste, less is going to the landfill. Instead of throwing away your grass clippings, food scraps, and other organic matter, it can be recycled into your own garden soil.
- Improved Drainage: The elevated design of this type of garden bed makes it very difficult for water to pool. Additionally, all the organic matter at the bottom allows for excellent drainage and aeration.
- Low Maintenance: Over the years, your hugelkultur bed will require less and less maintenance. Not as much fertilizing, tilling, weeding, or watering will be needed when your raised bed is established.
Is Hugelkultur Right for You?
Hugelkultur is ideal for anyone looking to:
- Recycle natural materials that would otherwise be thrown away.
- Improve the quality of your garden soil to grow vegetables in it.
- Reduce the frequency and quantity of water used to irrigate your vegetables.
- Adopt more sustainable practices in your vegetable garden.
Whether you’re a beginner or an experienced gardener, hugelkultur offers a rewarding way to grow healthy plants while supporting the environment.
How to Build a Hugelkultur Raised Garden Bed
So let’s get right into how to make a hugelkultur raised garden bed. Make sure to get your tools and muscles ready!
1. Choose a Permanent Spot
Once this bed is in the ground, it is not going to be easy to move it. Make sure to know exactly where you want it.
Make sure the spot gets lots of direct sunlight, has good drainage, and is in a good position for your garden.
2. Remove Grass / Weeds
Remove all of the grass and weeds around or in your raised bed. You may be surprised, but they will go through all of that organic matter if you let them.
3. Add a layer of cardboard
Before putting any logs, add a layer of non-glossy cardboard. This will help to suppress the weeds for the first year and provide a clean base for everything else.
Additionally, add a layer of wire mesh on top of the cardboard. This will help to stop digging pests (like voles and groundhogs) from digging up through your raised bed.
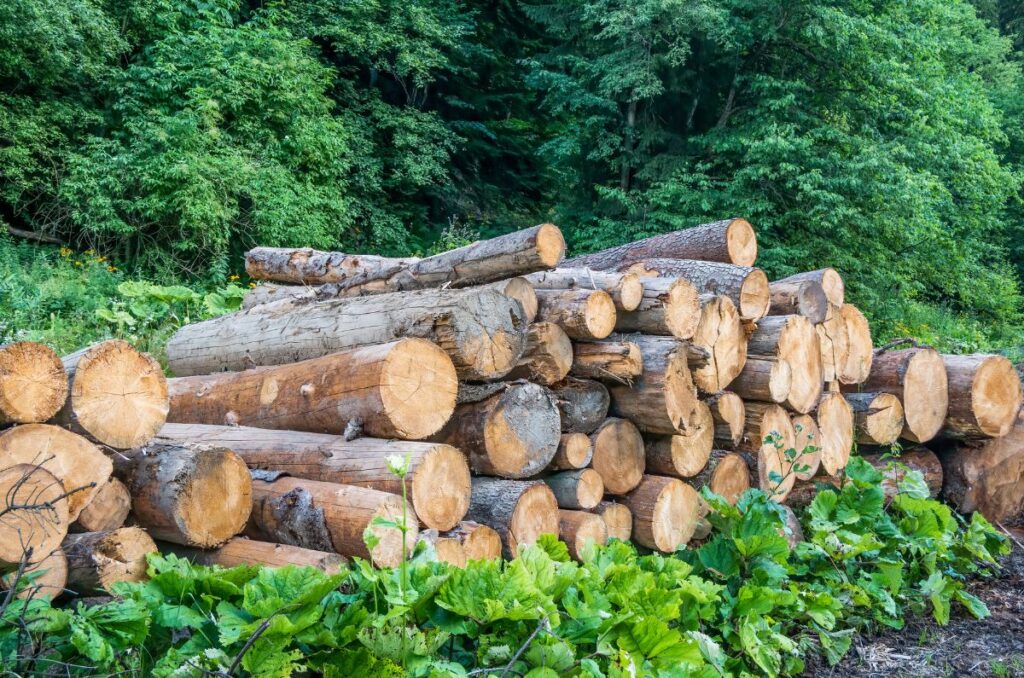
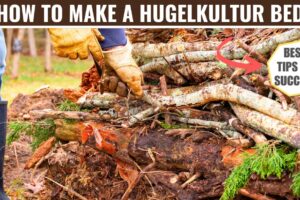
4. Add large woody pieces
This includes logs, stumps, branches, and other large pieces of wood.
These go at the bottom because they take the longest to decompose out of everything.
5. Add smaller woody pieces
This can include wood chips, bark chips, wood shavings, sawdust, and twigs. These will fill in the gaps between all of the larger pieces of wood.
6. Add all your other organic matter
This is the fun part! Just dump every piece of organic matter that you have on hand into the raised bed.
Grass clippings, food scraps, straw, hay, shredded paper, cardboard, and much more can be used to fill the rest of the space up.
7. Add the topsoil
Leave 10-12 inches of space for actual soil.
Make sure to choose the highest-quality soil mix that you can get; don’t cheap out on this! With all the space you are saving it shouldn’t be a problem to spend some more money on the topsoil.
You should also add some compost or manure to the topsoil, which is always a good thing to do.
8. Water each layer
The bed will naturally settle over time, sometimes a few inches in the first year.
To help reduce this settling, make sure to step on each layer and water it in to press it down fully. This will help to get everything nice and compacted so that you won’t find a sunken bed next spring.
9. Start planting
Plant any vegetables that you want to in your new hugelkultur raised bed.
Depending on how tall the raised bed is, I tend to avoid planting the taller plants (like tomatoes and pole beans). But if it is only a foot or two, you can even plant these.
But nothing is off the table. Some people will say not to plant things that need a lot of nitrogen. But, news flash, every single plant needs lots of nitrogen.
10. Add mulch
Mulch is the top layer of your garden soil. It protects from the sun, temperature fluctuations, and rapid evaporation.
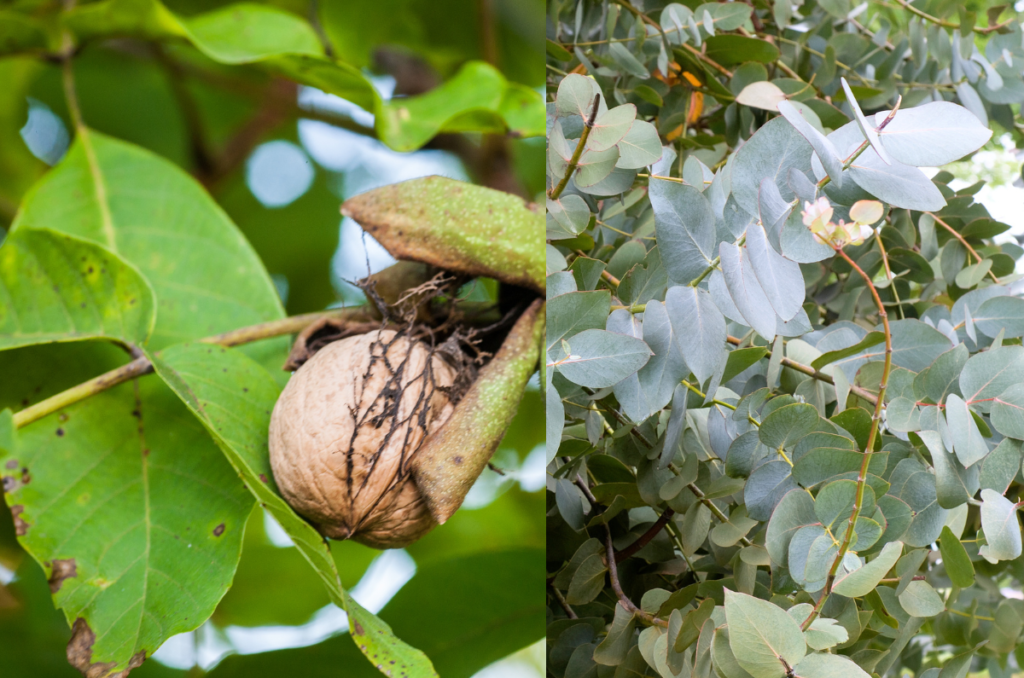
What Should You Not Use in Hugelkultur?
Here is a list of items that you can and shouldn’t add into your hugelkultur raised garden bed. Obviously I can’t include every single thing on this list, but it’s just meant to give you some ideas.
| What to Add in Hugelkultur Raised Bed | What Not to Add in Hugelkultur Raised Bed |
| Logs, branches, stems, twigs | Wood from black walnut or eucalyptus trees |
| Woodchips, bark, sawdust, wood shavings | Glossy cardboard / paper |
| Grass clippings, weeds | Weeds with seeds |
| Fallen leaves, pine needles | Leaves from black walnut or eucalyptus trees |
| Spent plants | Pressure-treated wood |
| Food scraps | Painted wood |
| Unfinished compost, fresh manure | Plastic, glass, metal |
| Spent mushroom growing medium | Disease / pest-infested plants |
| Straw mulch, hay bales | Charcoal briquettes with synthetic chemicals |
| Hair, nail clippings, urine | Stones, rocks, gravel |
| Sheep wool | High-salt materials |
| Old organic fibre clothes (cotton, wool, linen, silk, jute) | Synthetic fabrics |
| Pet hair, pet feces | Concrete pieces |
| Shredded paper / newspaper, cardboard | Industrial waste |
| Grass sod (upside down) | Roots of invasive plant species |
| Old potting soil | Fabric softener sheets |
| Pinecones | Lawn clippings with herbicide / pesticide residue |
| Algae / seaweed | Wet wipes |
| Coconut coir | Household cleaners / chemicals |
| Charcoal / potash | Inorganic mulch |
Does Rotting Wood Steal Nitrogen?
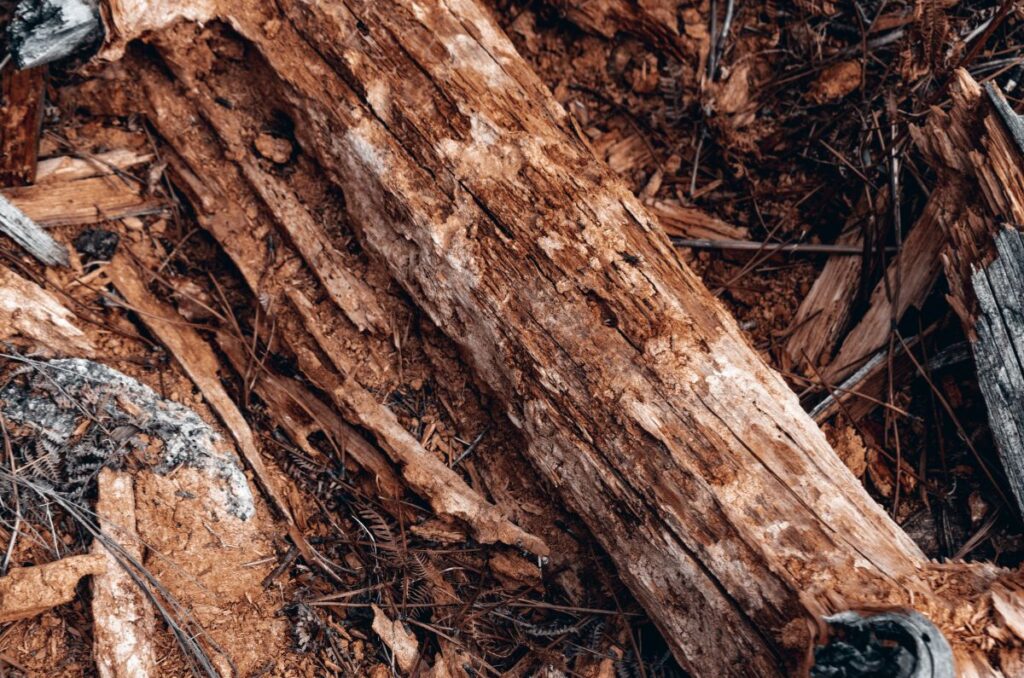
Most of the anti-hugelkultur gardeners complain about the same issue: the decomposing wood in the raised bed steals nitrogen from your soil.
They say this because carbon-rich materials (like wood and leaves) actually do need nitrogen to properly decompose.
When somebody says this, we have to ask, how little topsoil did you apply?
The reasoning behind this is the fact that the logs are all the way at the bottom. After piling on the other organic matter and topsoil, the roots won’t be near the logs. But even then, only the soil touching the woody pieces would be at risk.
That means that if you apply 10-12 inches of actual soil on top of the organic matter, you should have no problem with the logs stealing your nitrogen.
However, it is still true that carbon-rich matter needs nitrogen to break down. So to ensure that the logs get enough nitrogen, pack lots of nitrogen-rich matter (like grass clippings and food scraps) around the logs and on top of them.
This will create the balance of carbon and nitrogen needed to decompose the organic matter.
Discussion Questions:
- Have you tried building a hugelkultur bed in your garden before? Are you one that likes it or hates it?
Let us know in the comment section below!
Frequently Asked Questions
Wood from any tree that does not contain allelopathic chemicals. Use spruce, oak, birch, maple, poplar, or any other wood that you have on hand. Avoid using black walnut and eucalyptus because these contain chemicals that inhibit plant growth.
Hugelkultur raised beds can last for over 20 years before needing a replacement. This is because the wood takes a very long time to decompose, releasing its nutrients over many years.
You definitely can use fresh wood for hugelkultur. This will make your bed last longer because fresh wood is not broken down at all.
By applying the same hugelkultur principles on a smaller scale, you can absolutely make your containers this way. However, because of the small size, you may want to avoid adding large woody pieces like logs and branches. Instead, opt for organic matter that is quicker to decompose.
Even More Gardening Ideas
Here are a few more posts to get the ball rolling in your garden!
- The Best Raised Beds for Growing Vegetables
- Best Organic Mulch for the Vegetable Garden
- Amending Clay Soil to Grow Better Vegetables
If you enjoyed this article, make sure to share it with your friends and family members who are also looking to improve their gardening skills. Also, consider signing up for our email newsletter; don’t worry, we won’t spam you, just fresh gardening tips and tricks every week!
If you want to learn more about gardening, foraging, and nature, check out The Real Gardener on LinkedIn, YouTube, and Pinterest.
Pin this post for later:


Jonathan, Your post is very helpful. I have applied this technique before with my first vegetable raised beds. That was several years ago and since I’m planning to build two more I wanted to refresh my memory. Your article is very thorough and gave me new appreciation and additionally insight.
Hey John, thanks so much for your kind words. I’m glad to help. What are you planting in those new garden beds?