Disclaimer: This blog post contains affiliate links. If you make a purchase through these links, I may earn a small commission at no additional cost to you. Learn More. Thank you for supporting our garden community.
How to Make Biochar as a Soil Amendment
Biochar is an ancient soil amendment with modern benefits. Its ability to improve soil health and boost crop yields makes it a valuable tool for vegetable gardeners, farmers, and environmentalists alike. In this guide, we’ll cover everything you need to know about biochar, including what it is, its benefits, and step-by-step instructions on how to make biochar at home.
How to Make Biochar
Biochar has become pretty popular among home vegetable gardeners. This is because of the benefits it can bring to your garden.
It is also very easy and cost-effective to make, requiring very few ingredients and minimal labour.
That being said, there are some things that you need to get right before making biochar at home.
So let’s get right into how to make biochar!
Products
To buy high-quality garden seeds, check out Burpee.
For a wide selection of perennial garden plants, check out Nature Hills Nursery.
For gardening equipment, check out Bootstrap Farmer.
What is Biochar?
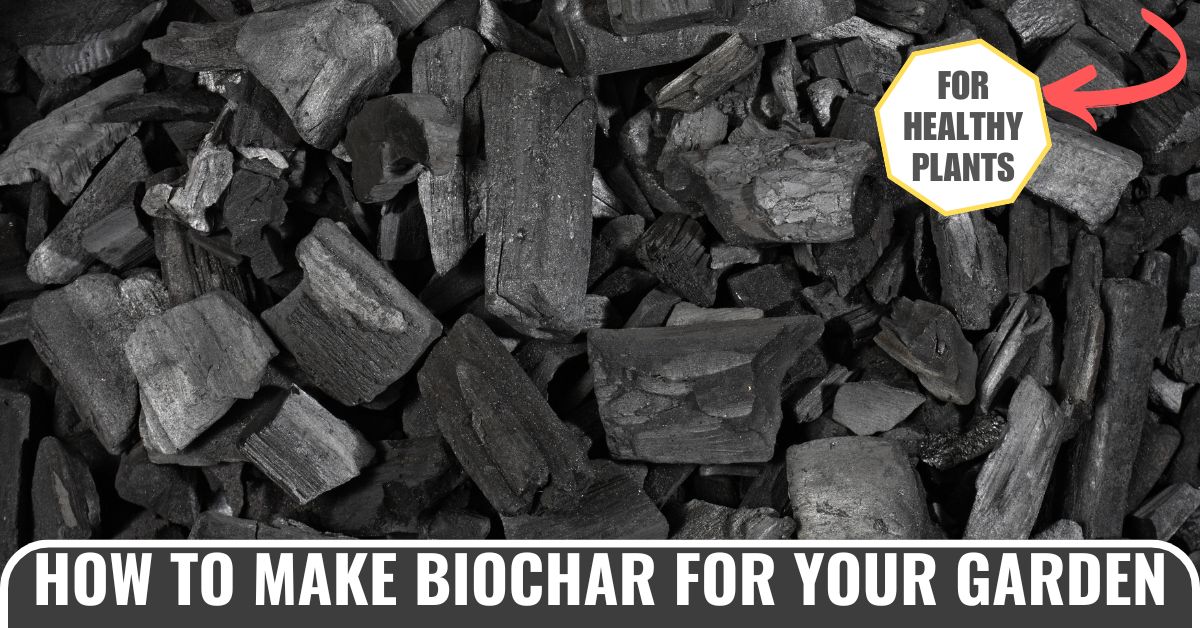
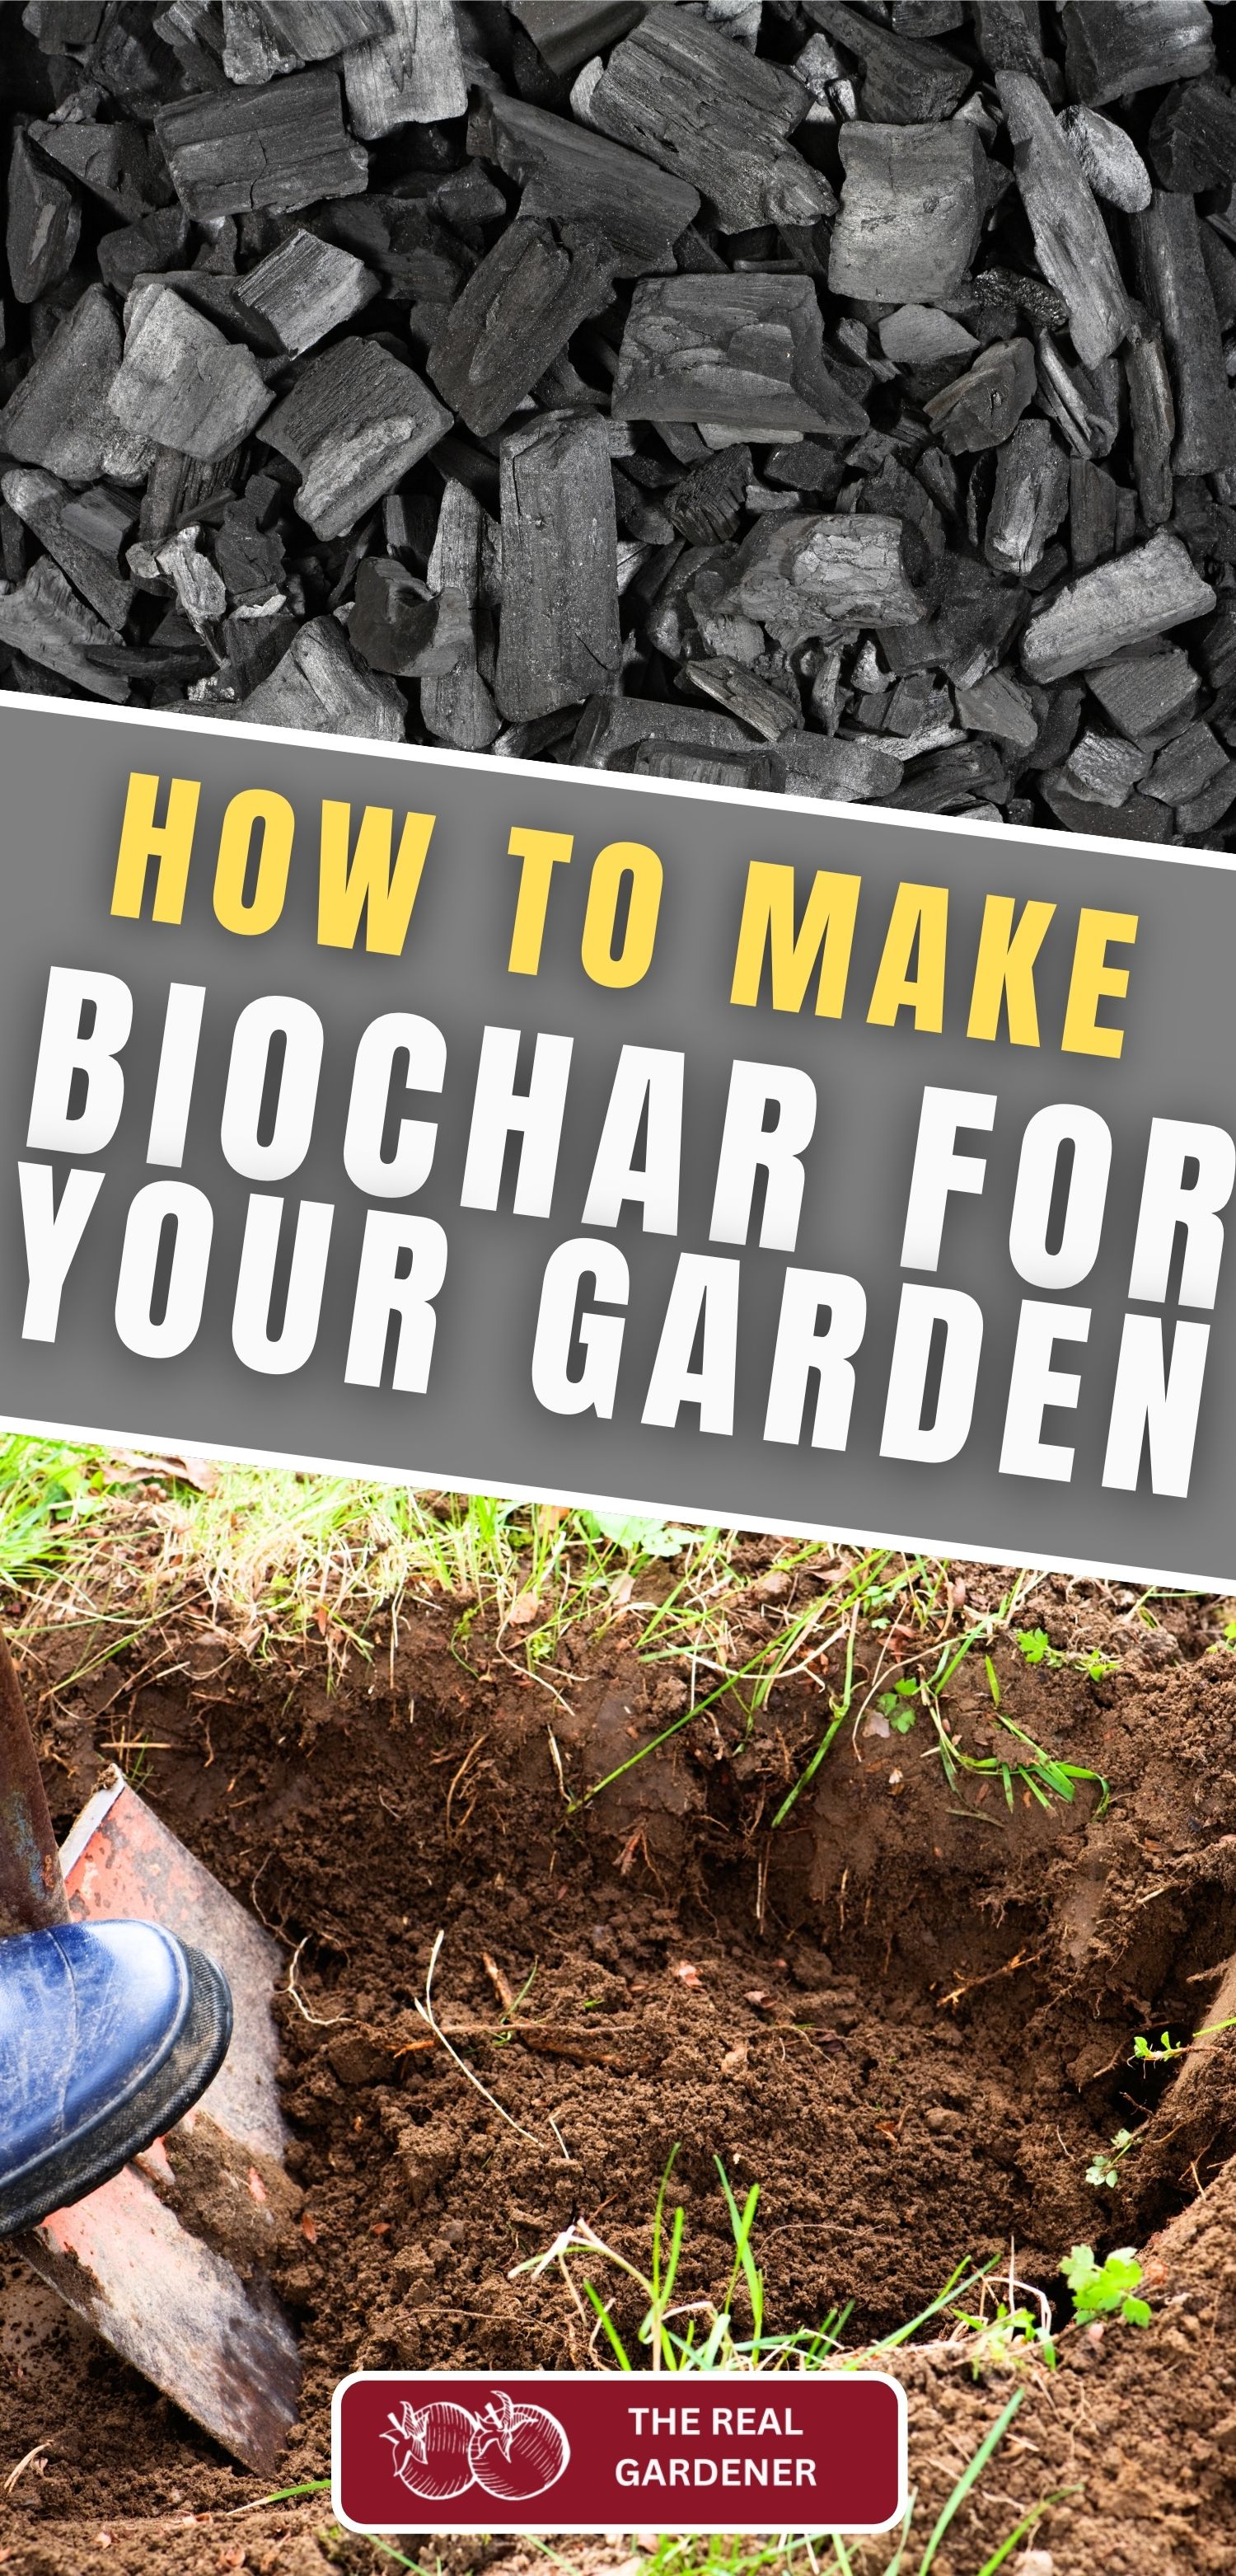
Biochar is charcoal that is produced by a process known as pyrolysis. Pyrolysis is when you burn any organic matter without oxygen.
This means that there is no actual fire, the material is just heated to high temperatures until its composition is broken down.
This gives you a stable, carbon-rich material, known as biochar.
If you have too much oxygen and fire is used to burn the organic matter instead, you will end up getting potash (K₂O).
Potash is too high in oxygen, potassium, and other minerals to provide the same benefits as biochar. We want to get the material with the highest amount of carbon in it.
So we have the “char” part, but what about the “bio” part?
The “bio” part of biochar comes from the living microorganisms living instead of it. These are typically inoculated into the charcoal before adding it to your soil.
Benefits of Biochar
- Improves Soil Fertility: Biochar increases soil’s ability to retain nutrients and water, making them available to plants over time. When soil can’t hold onto nutrients, they just wash away with every water and make you soil infertile.
- Boosts Microbial Life: One gram of biochar can be flattened out to the size of a tennis court! This makes it an excellent microorganism hotel for your soil.
- Reduces Waste: Making biochar repurposes organic materials like wood scraps and garden waste, reducing landfill contributions. Even on a smaller scale, you have the opportunity to recycle waste from your garden to create something even better for your soil.
Materials Needed to Make Biochar
To make biochar at home, you’ll need:
- Organic Material: Hardwood scraps, nut shells, or garden clippings. Make sure everything is completely dried out.
- A Kiln or Metal Drum: A closed container to control airflow during the pyrolysis process. You can also just use a hole in the ground.
- Safety Gear: Gloves, goggles, and a fire extinguisher for safety.
- A Fire Source: Wood, charcoal, or propane to start the burning process.
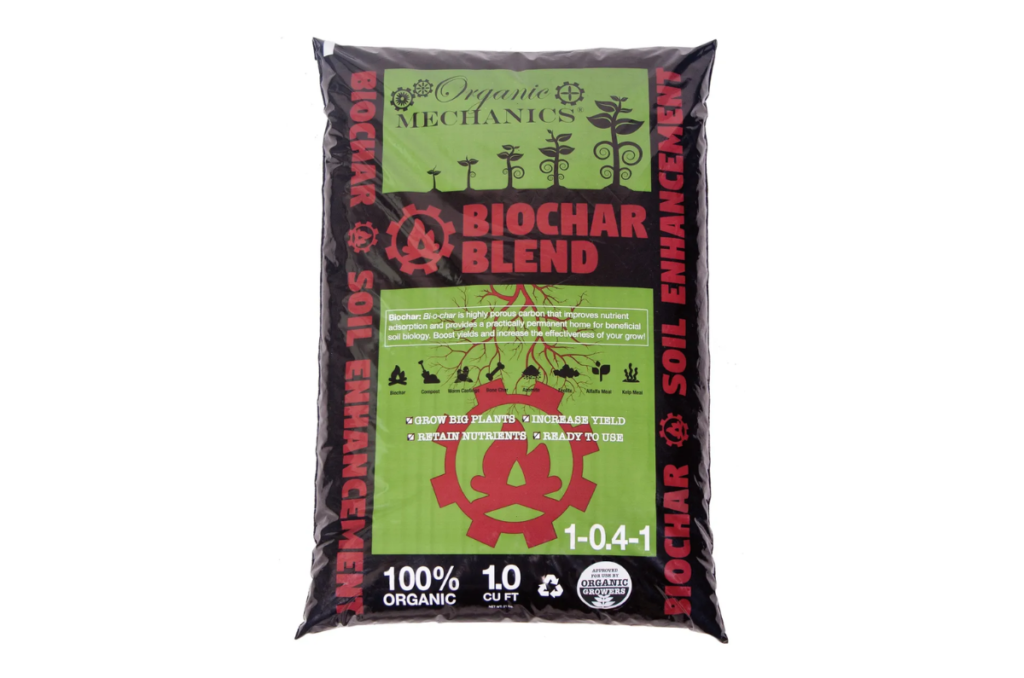
Or maybe you don’t want to go through the full process of burning the organic matter. To avoid this, consider purchasing this pre-made horticultural charcoal from Burpee and then going straight to the inoculation section of this post.
How to Make Biochar at Home
So let’s get right into this simple process of making biochar at home for your vegetable garden.
1. Prepare Your Materials
Choose a dry, organic material to turn into biochar. Cut everything into smaller pieces to ensure that it burns evenly.
Make sure to gather everything you need first so that you won’t be running around with an active fire burning later on.
2. Set Up Your Kiln or Drum (or Dig a Hole)
Use a metal drum with a tight-fitting lid and drill small holes near the bottom to allow for airflow. Place the drum on a fireproof surface away from buildings and vegetation. This can be a slab of concrete or bare dirt.
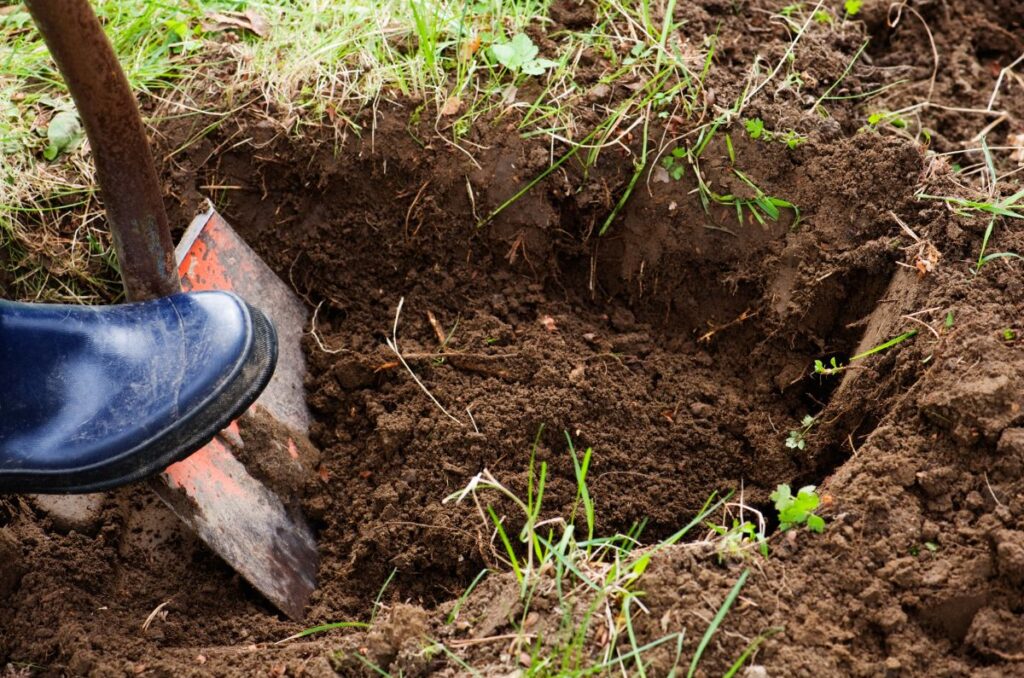
Instead of a drum, you can also just dig a hole in the ground away from vegetation. Make sure the hole is big enough for all your organic matter, and find a lid that can cover it.
3. Start the Fire
Place your material and a small amount of fuel at the bottom of the drum. Light the fire and allow it to burn until you see smoke. This tells you that the pyrolysis process has begun.
4. Limit Oxygen Supply
Once the fire is established, cover the drum with its lid to reduce oxygen intake. This slows the combustion reaction and allows the organic material to burn without turning to ash.
This is essential for making biochar. As I said previously, we want to avoid tuning the charcoal into ash because it doesn’t provide the same benefits as biochar. Potash has too much oxygen and not enough carbon.
5. Monitor the Process
Keep your eyes on the fire and adjust airflow as needed. This process can take several hours, depending on the size of the materials and the drum.
Be patient and don’t sacrifice quality for efficiency.
6. Cool the Biochar
When the fire dies out and the drum cools, carefully remove the lid. Allow the biochar to cool completely before handling it to prevent burns.
7. Inoculate the Biochar
Before adding biochar to your garden, inoculate it by soaking it in a microbe-rich solution like compost tea. Soak the biochar for one week before adding to your garden.
By doing this, you are adding more microorganisms to your soil, which will only benefit your vegetable garden.
Using Biochar in Your Vegetable Garden
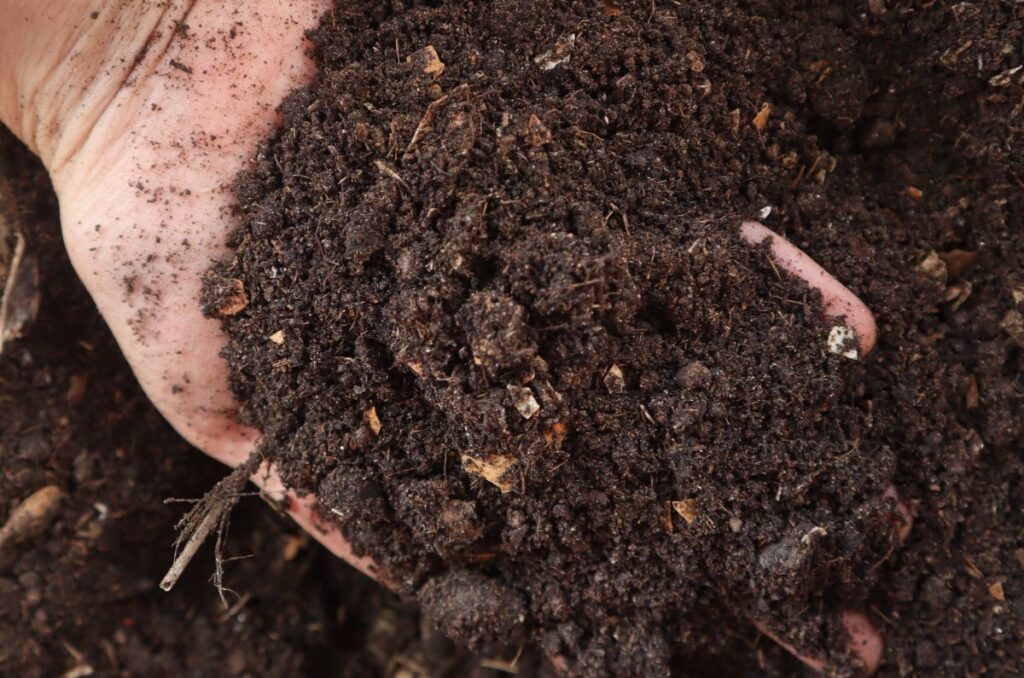
Once the biochar is soaked, you can break it up basically into a powder and mix it into your soil. The optimal ratio is about 1:12, meaning 1 part of biochar to 12 parts of garden soil in volume.
Over time, the biochar will boost soil health by increasing microbial activity and improving soil structure and fertility.
Frequently Asked Questions
If you use too much biochar, it may start to absorb nutrients from your soil. This means it is basically stealing the nutrients from your plants. So follow the 1:12 ratio of 1 part biochar to 12 parts garden soil in volume to mitigate this risk.
Charcoal is just the material that results when organic matter is burned without oxygen. Biochar, however, is charcoal that has been inoculated with microorganisms. This gives it the “bio” and the “char.”
Charcoal from your BBQ can be inoculated and used as biochar. Despite what some gardening sources say, charcoal is charcoal and any charcoal can be used in your garden as biochar.
To activate or inoculate biochar, soak it in a microbe-rich solution, like compost tea, for one week. This will allow the microbes to migrate from the solution to the biochar.
Even More Gardening Ideas
Here are a few more posts to get the ball rolling in your garden!
- The Best Raised Beds for Growing Vegetables
- Vegetable Garden Watering Tips for Healthy Plants
- Amending Clay Soil to Grow Better Vegetables
If you enjoyed this article, make sure to share it with your friends and family members who are also looking to improve their gardening skills. Also, consider signing up for our email newsletter; don’t worry, we won’t send you spam, just fresh gardening tips and tricks every week!
If you want to learn more about gardening, foraging, and nature, check out The Real Gardener on LinkedIn, YouTube, and Pinterest.
Pin this post for later:


Leave a Reply