Disclaimer: This blog post contains affiliate links. If you make a purchase through these links, we may earn a small commission at no additional cost to you. Learn More. Thank you for supporting our garden community.
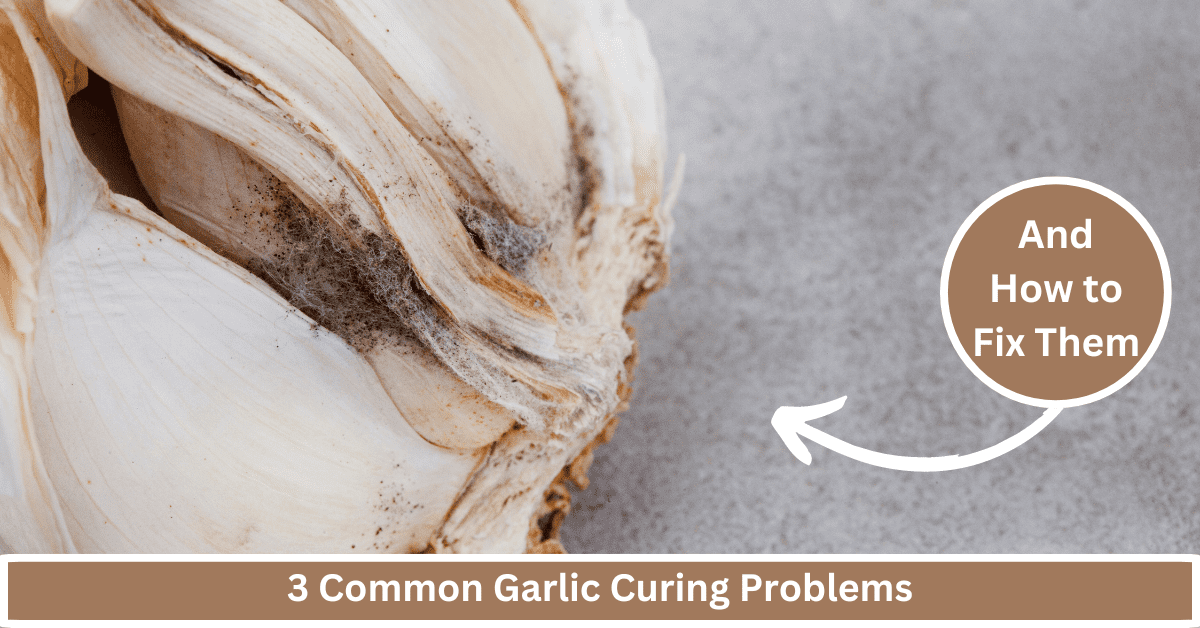
3 Common Garlic Curing Problems and How to Avoid Them
Last Updated: August 7, 2024
Experiencing problems with curing your garlic? You’re not alone. Many gardeners face challenges during the garlic curing process, but with the right knowledge, you can overcome these issues swiftly. In this comprehensive guide, we’ll explore common garlic curing problems, provide expert solutions, and offer tips to ensure your garlic stays flavorful and long-lasting.
Common Garlic Curing Problems
Here’s what you will learn from this article:
- Understanding Garlic Curing: You will gain a comprehensive understanding of what garlic curing is, including its purpose and importance in enhancing the flavor of garlic and extending its shelf life.
- Identifying Common Curing Issues: This post educates you on typical problems that can arise during the garlic curing process such as mold growth, sprouting, and shriveling, providing insight into their causes.
- Practical Solutions: For each identified problem, this post delivers actionable solutions and preventive measures to help you effectively tackle these issues, ensuring a successful curing process.
- Best Practices and Expert Tips: This article provides a list of best practices for optimal curing, such as proper ventilation and uniform trimming. Additionally, you will learn about the ideal conditions for curing and storing garlic, supplemented with frequently asked questions to further expand your knowledge.
What is Garlic Curing?
Garlic curing involves drying garlic bulbs to reduce moisture content, enhancing flavor, and prolonging shelf life. Proper curing prepares the garlic for storage, preventing decay and preserving its potent qualities.
3 Common Garlic Curing Problems and Their Solutions
Here is a list of 3 of the most common problems that arise when curing garlic for storage. Also detailed are the causes for each issue and the solution. This will help you to ensure proper garlic curing and long-term storage.
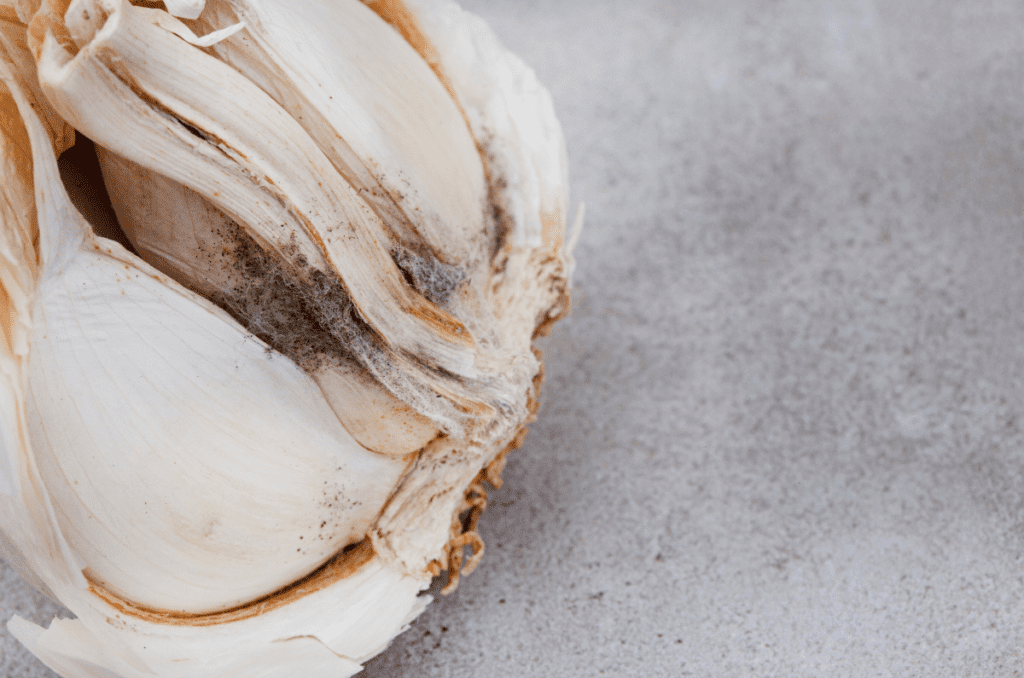
1. Mold Growth
Cause: High humidity or insufficient air circulation can lead to mold on your garlic.
Solution: Ensure that your garlic is dried in a well-ventilated area with low humidity. Using fans or dehumidifiers can also help manage air quality and reduce moisture. When storing, ensure the garlic bulbs have enough space in between them to prevent a buildup of moisture.
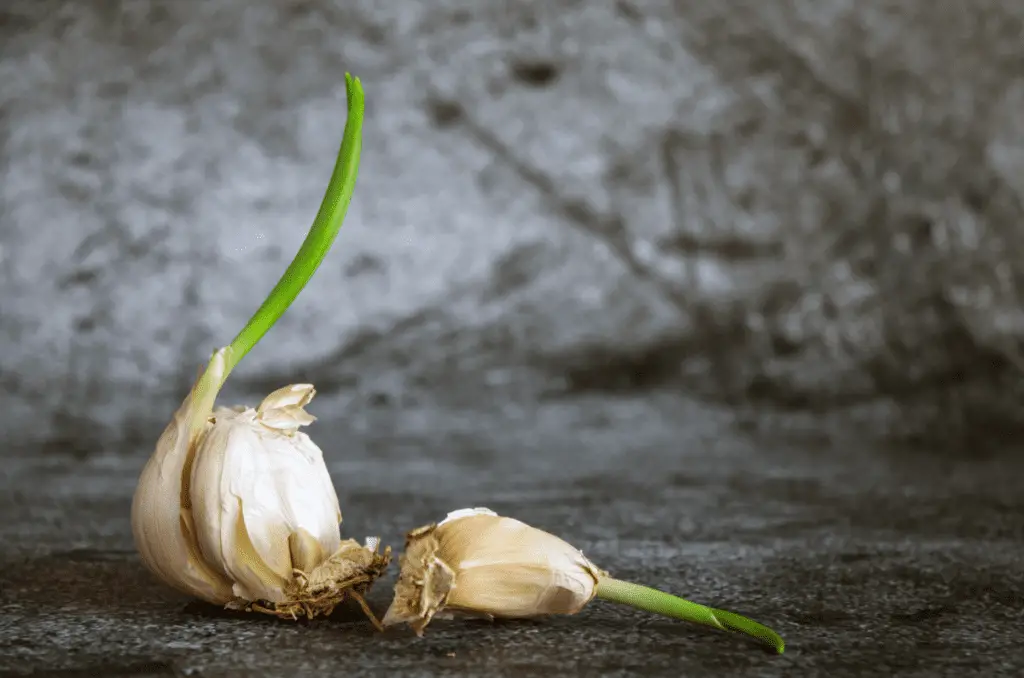
2. Sprouting Garlic
Cause: Garlic may start to sprout if exposed to warm temperatures too soon after harvesting.
Solution: Store garlic bulbs in a cool, dry place away from direct sunlight. Maintaining a temperature around 60-65°F (15-18°C) is ideal to prevent sprouting. This can be achieved by putting the bulbs in a cellar or near a vent if possible.
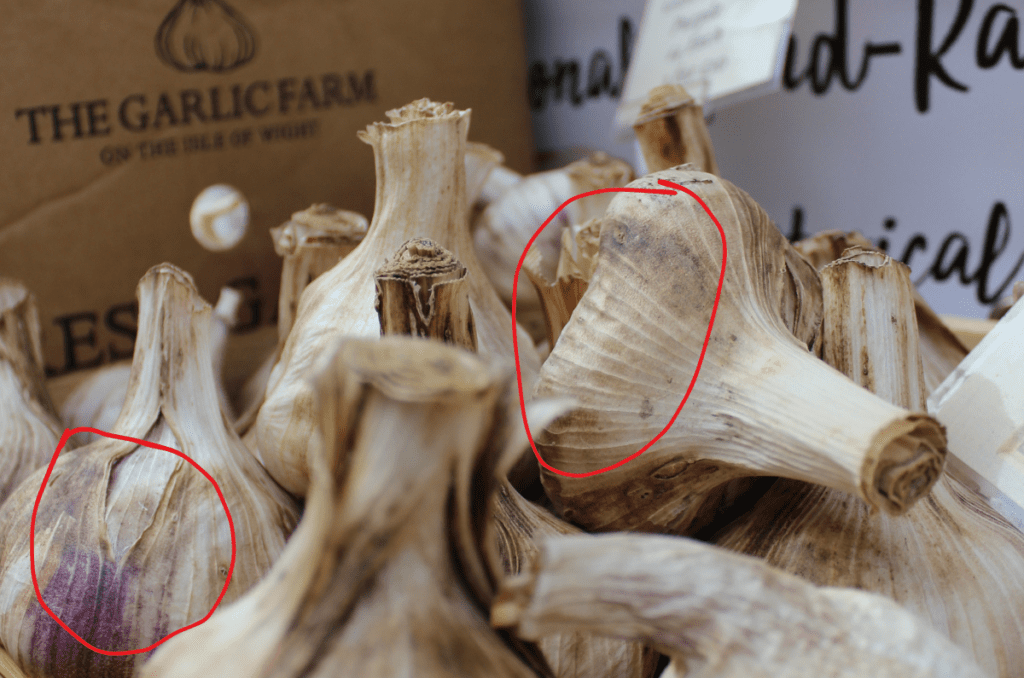
3. Shriveled Garlic
Cause: Excessively quick drying or overly dry conditions can cause garlic bulbs to shrivel.
Solution: Curing garlic should be a gradual process. Ensure that garlic is initially kept in a shaded, dry place with good air circulation to prevent rapid moisture loss. They should be kept away from direct sunlight; dappled sunlight can be ok in some cases as well.
Tips for Successful Garlic Curing
- Leave the stem and roots on: This helps the bulb cure properly. Trim them to about an inch after curing is complete.
- Monitor the garlic: Check on your garlic regularly during curing. If the room feels too humid, increase air circulation with a fan.
- Curing time: The curing process typically takes 2-4 weeks. The garlic is cured when the tops and roots are completely dry and brittle.
Addressing Garlic Curing Problems
If you notice moldy, shriveled, or sprouting garlic during curing, it’s important to take action to prevent further spoilage. Here’s what to do:
- Mold: Discard any moldy garlic bulbs. You can try to save nearby bulbs by carefully removing any mold spores with a damp cloth and increasing air circulation around the remaining garlic.
- Shrivel: Discard any shriveled garlic cloves. If it seems to be widespread, it may be best to discard the entire bulb.
- Sprouting: You can still use cloves that have begun to sprout, but they may not store as long and may taste bitter. You can even use the sprout itself for a less potent garlic flavour.
Frequently Asked Questions
Is it okay to wash my garlic before curing?
No, do not wash garlic before curing. Washing can introduce moisture that can lead to rot or mold growth during curing.
Why is my garlic getting moldy during curing?
Mold on garlic during curing can happen due to high humidity. Simply increase air circulation around the garlic bulbs using a fan, or hang them to dry in a cooler place.
How long should garlic cure after harvesting?
Usually, garlic should sit out for 2 to 4 weeks after harvesting, or until the skin is completely dry and the roots are brittle. 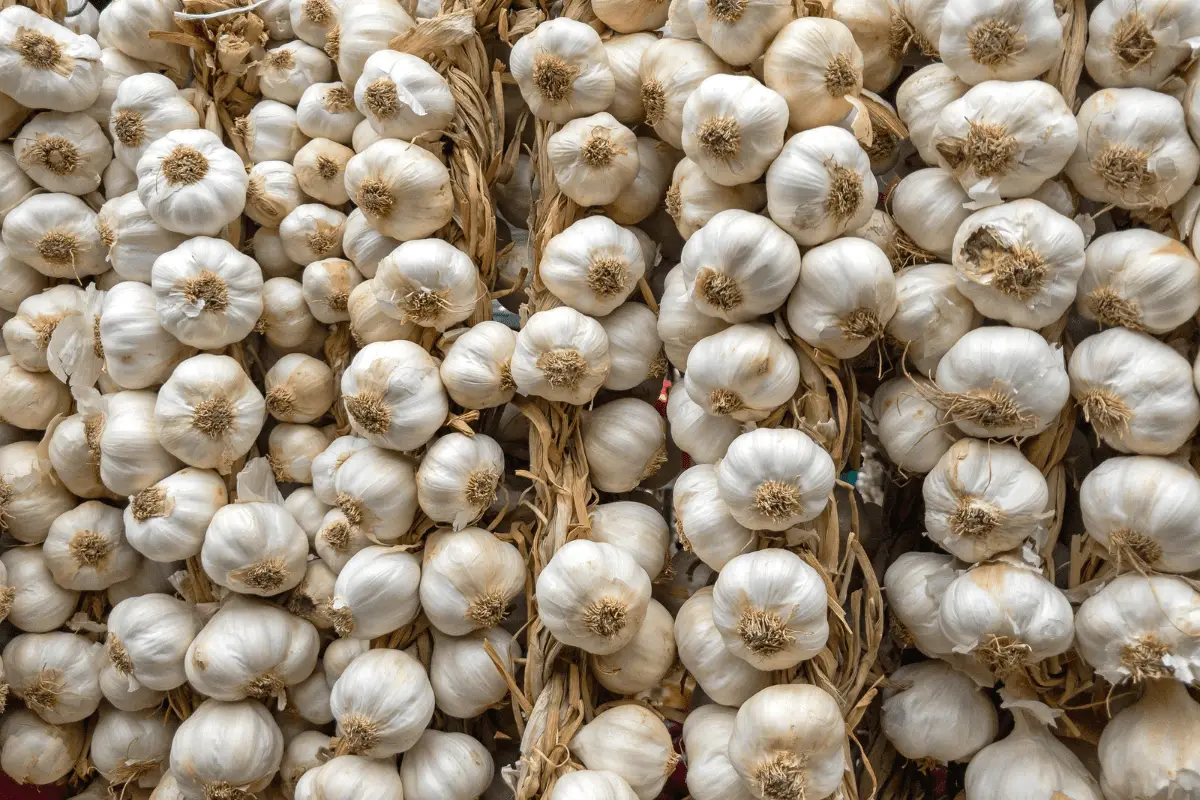
Can I cure garlic in a greenhouse?
Yes, a greenhouse can be a suitable location provided you can maintain a dry environment with good air circulation and keep the temperature stable and not too hot.
What do I do if my garlic starts to sprout during curing?
If garlic sprouts, it may have been exposed to too much moisture or high temperatures. Use sprouted garlic promptly, as its shelf life is reduced. For future batches, ensure a drier, cooler curing environment.
Even More Gardening Ideas
Here are a few more posts to get the ball rolling in your garden!
- 10 Most Fragrant Flowers for Your Garden
- How to Grow Peppers this Summer
- Companion Planting Chart PDF
Products
For all-purpose organic fertilizers, check out Arber.
To buy organic, non-GMO lavender seeds, check out SeedsNow.
For a wide selection of perennial garden plants, check out Nature Hills Nursery.
For gardening equipment, check out Bootstrap Farmer
Conclusion
Curing garlic may initially seem like a task filled with potential pitfalls, but with the right knowledge and approach, you can significantly enhance the longevity and quality of your harvest. By understanding the common issues that can arise and implementing the solutions outlined in this guide, you’re well on your way to mastering the garlic curing process.
Do you have any personal experiences, tips, or questions about curing garlic? Perhaps you’ve encountered a unique challenge or discovered a handy trick that made all the difference? We’d love for you to share your insights and join the discussion.
If you found this guide on garlic curing problems helpful, consider signing up for our email newsletter where you’ll get fresh, new gardening ideas every Monday and Friday!
If you want to learn more about gardening, foraging, nature, and sustainability, check out The Real Gardener on Instagram, YouTube, and Pinterest.
Pin this post for later:


Leave a Reply